
Making Teletubbies! :)
This is a VERY EASY & QUICK pictorial for anyone trying to learn how to make simple Teletubby characters. Trial and error is key here! All you’ll need is fondant, toothpicks, a small brush in some water, a small kitchen knife or exacto knife, a fondant shaping tool, a black edible marker or edible color/gel.
Step 1 :
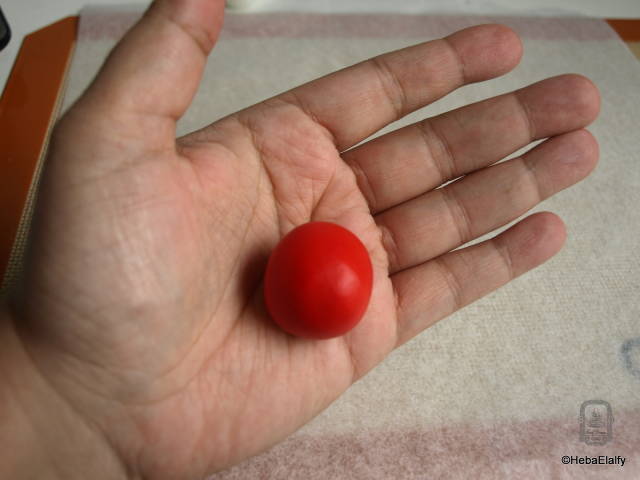
I start out with a piece of fondant that I’ll shape as the body.
Step 2 :
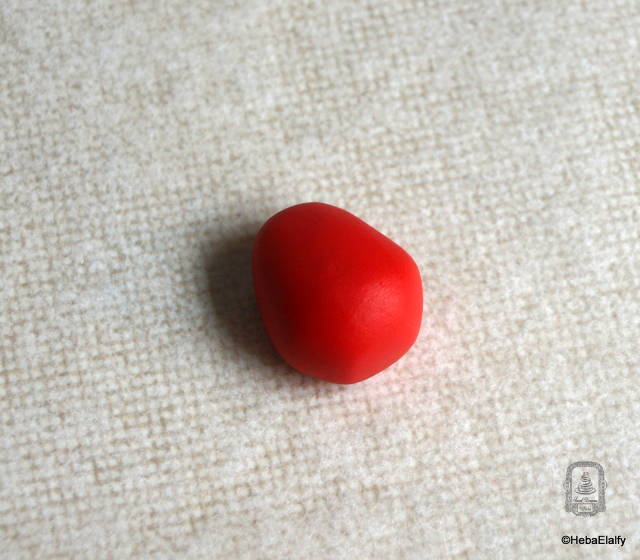
I tapered the top a little and then I lightly flattened the bottom and sides, onto where I’ll stick the legs.
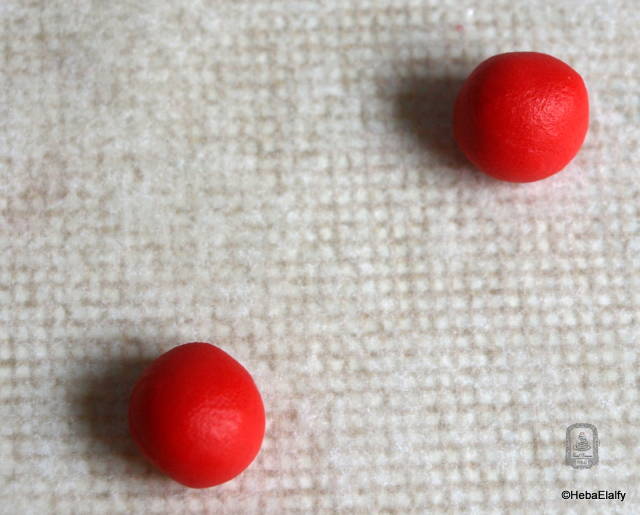
Step 3 :
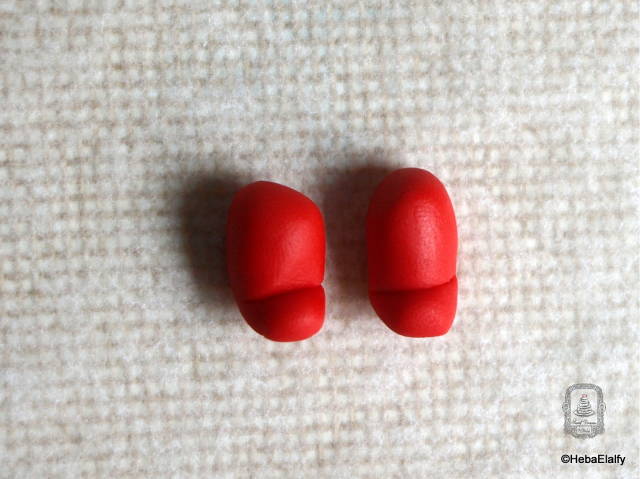
Use two equal sized round fondant pieces and roll into short ‘sausages’ then using your fondant tool, fold and crease the bottom edge over to make the foot. Slightly flatten the top corner which is where you’ll stick it onto the body.
Step 4 :
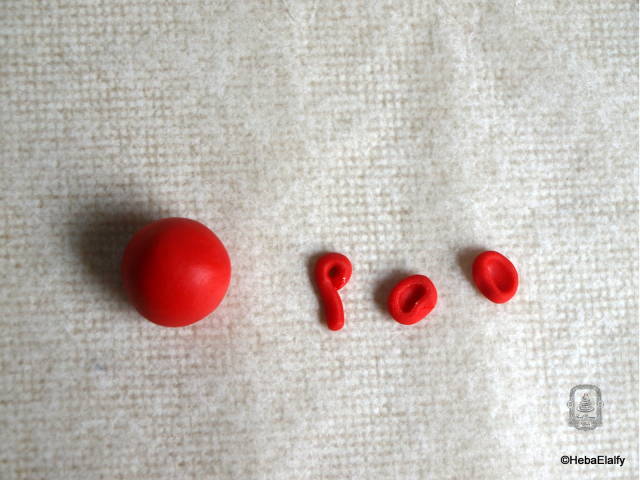
These are the pieces for the head; a fondant ball a little smaller than the one used for the body, a small piece of fondant rolled and curved inwards at the top as the antenna, and two tiny little balls that are caved in and flatted on one edge (these are the ears).
Step 5 :
For the arms, use two equal sized fondant balls a little smaller than the size used for the head.
Step 6 :
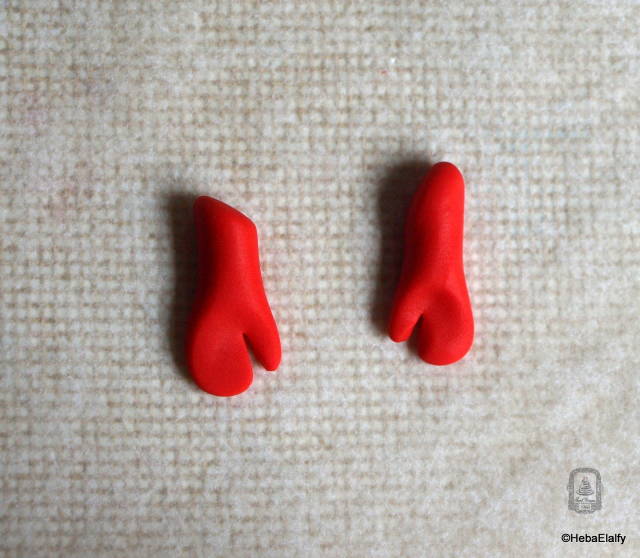
Roll out each ball into a ‘sausage’ and angle one edge (L), flatten the other end slightly and then use your knife to cut a slit at an angle as shown, to smoothen out as the hand.
Step 7 :
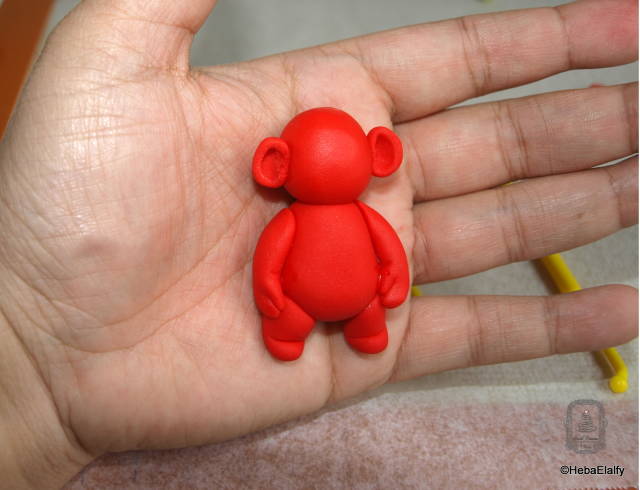
With a tiny dab of water, attach all the pieces as shown to create the main character.
Step 8 :
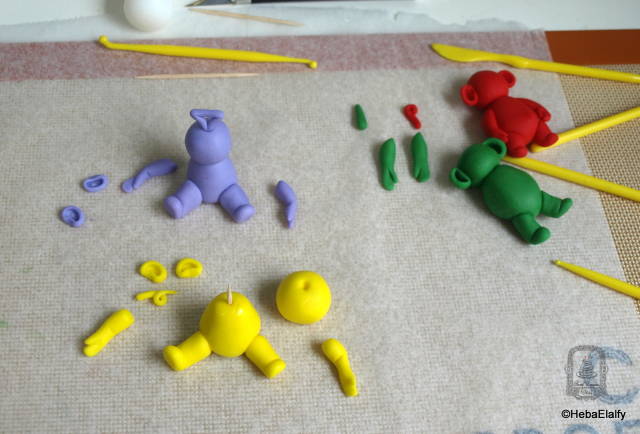
In this photo, some characters would use a toothpick through the center as support and some don’t need it. It’s your choice. I used a toothpick for the two standing characters and no toothpicks for the seated characters (I did remove the one in the yellow character prior to sticking on the head).
Step 9 :
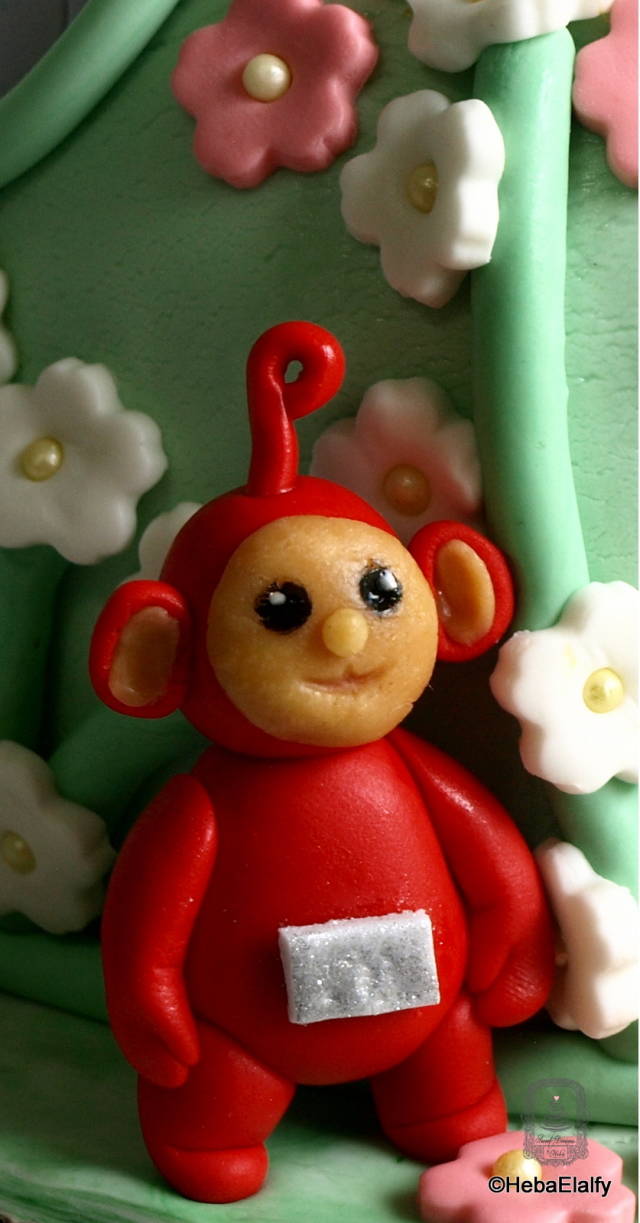
Once you cut a small rectangle and paint it, stick it on the tummy with a tiny dab of water. Cut small round circles and flatten them for the faces and add a tiny round nose, add it on the head with a tiny dab of water. Stick on the antennae and fill in the ears with another tiny piece of fondant, and draw on the eyes, and finally, slit open the smiles.
Step 10 :
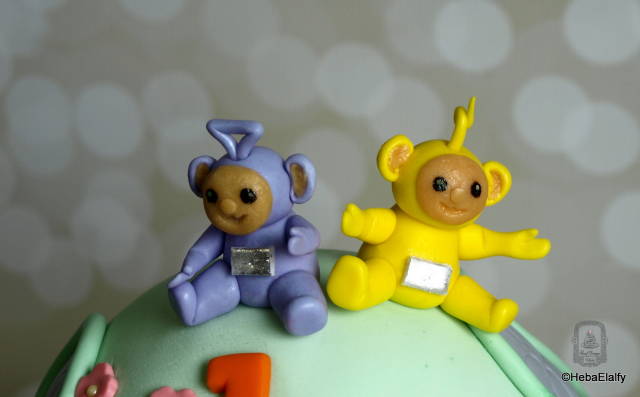
Ta-da! :) Easy.
Heba Elalfy ***more photos at https://www.facebook.com/sweetdreamstoyou
23 Comments

So cute! Thank you for sharing!

Hahaha these are cutes!!
Gele's Cookies
Sweet 😃 thank you for sharing!
Olina's taarten

Muchas gracias por compartir!!
Raquel García Martínez

So cute! Thank you for sharing!
Thanks everyone! :) x
Heba Elalfy ***more photos at https://www.facebook.com/sweetdreamstoyou

They are so adorable, Heba!
Thank you for sharing 😘
Clara

So cute, thanks for sharing xx
sugar and art - perfect combination! sugarmagic22@gmail.com
Thank you! :) xx
Heba Elalfy ***more photos at https://www.facebook.com/sweetdreamstoyou