AIRBRUSH #2: Kickin' It with my airbrush boyfriend called Johnny
KICKIN IT WITH MY AIRBRUSH CALLED JOHNNY
This afternoon it is just ME, MY AIRBRUSH JOHNNY and CAKE…. Johnny and I are going to kick some cake butt and turn this white sugar canvas into something BRIGHT, Fun and DOCTOR WHO
It is super important to make sure your cake foundations for your cake build are the best they can be.
CRAZY CAKE LADY TIP {Your finished cake is only as good as your cake foundations. If you can’t get your foundations right then don’t expect your cake to be finished right.}
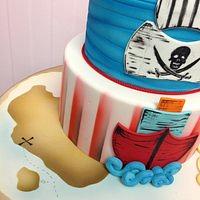
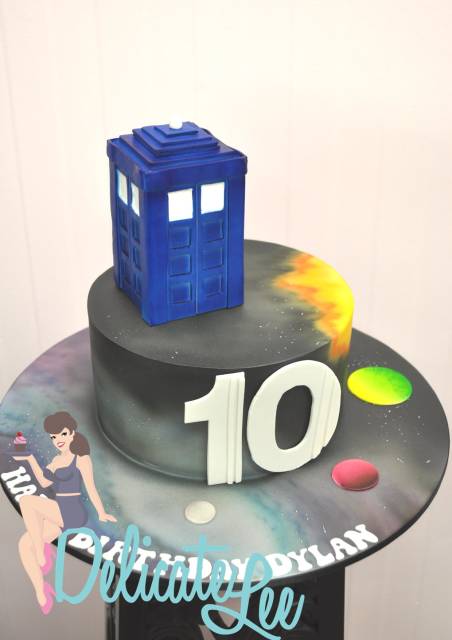
I have my inspiration picture and I want to achieve the bright spacey colours to help set the feel of my “Doctor Who” cake creation for Dylan.
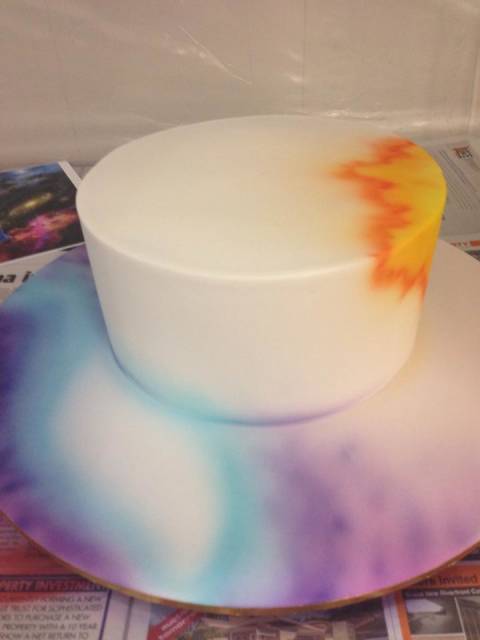
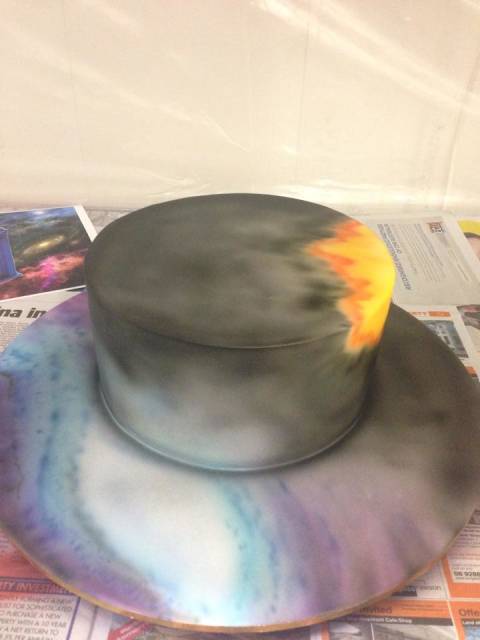
First up… I hit the edge of the cake with Americolor Airmist ELECTRIC YELLOW, no need to be fussy on look at this stage. This is the first layer to help set the right colour tones I want.
I then add some texture with the EGG YELLOW to start to introduce some “light and shade” into my work. Sharpen off the edge with some dagger strokes and more texture with the ORANGE to create some sort of FIRE visual.
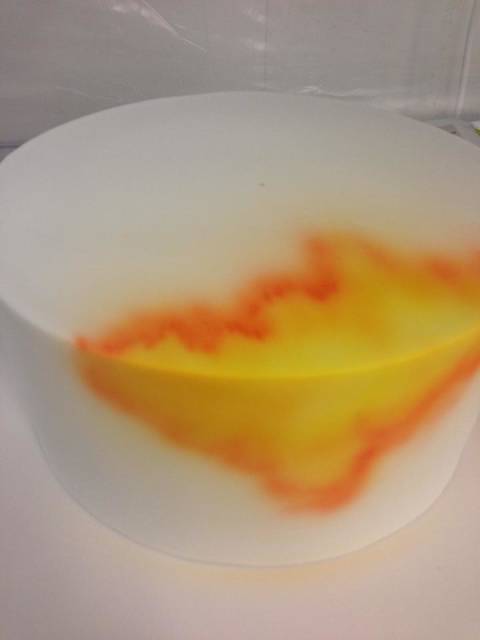
MY CAKE IS ON FIRE
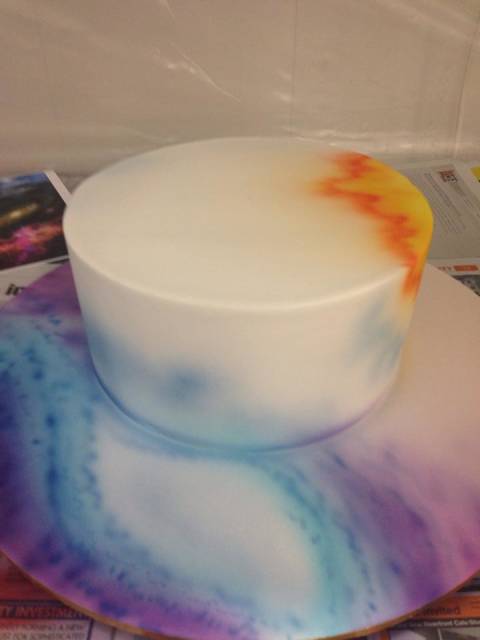
Johnny and I then attack the cake board and line out the blue/purple milky-way with a SKY BLUE leaving an eye shape. No need to be scared as this is just a guide and to help build the affect.

Around the outside of the “eye” shape, I high like with an ELECTRIC PURPLE and blending the colour out. Again this stage is just to help guide and add layer and texture.
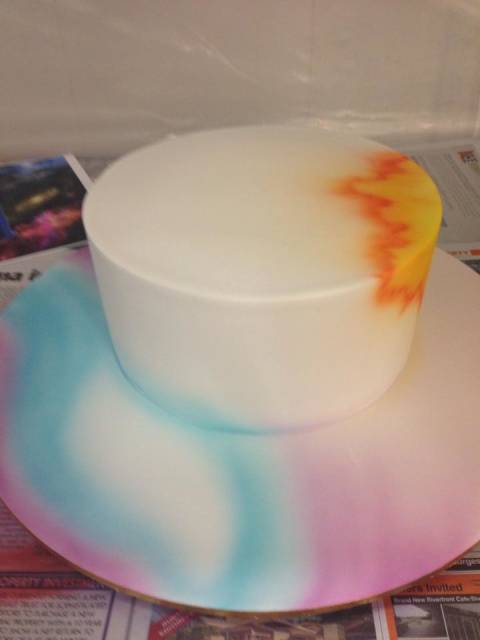
I LOVE THIS PURPLE
Now using a wonderful shade of ROYAL PURPLE/VIOLET {which is my MOST USED airbrush colour} I begin to add in some “movement” which will help the black later on give our cake and cake board the spacey Doctor Who background. As we work with transparent colours it is VERY important to know your colour wheel and use this to an advantage when creating with your airbrush.
What so you think so far? Can you see it come to life?
Johnny and I are working at building and setting the cake for the final layer (which will be a metallic silver) SO next up on stage we use a ROYAL BLUE… We add some light shade around our space “fire” and some light blends around the cake board to add another shade which creates a nice dark purple (leaving the light shades towards the centre). We then bring our milky-way to life with some texture lines and movement keeping the moment strokes in the same direction.
Heading towards the finish line Johnny and I start to layer in the black keeping the lighter areas free of the “DARKNESS”
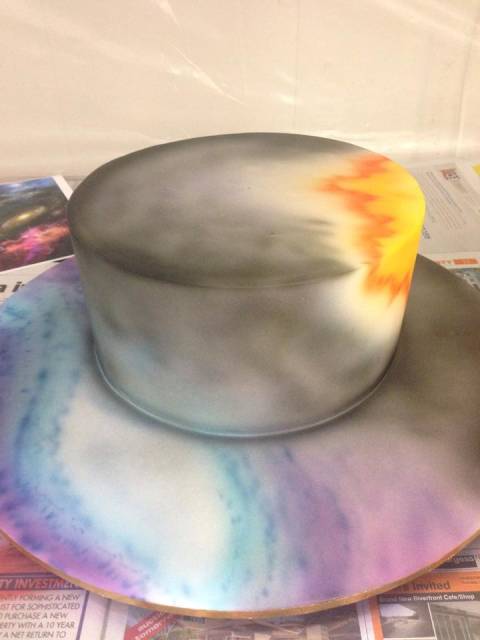
Don’t forget to add some texture and movement…
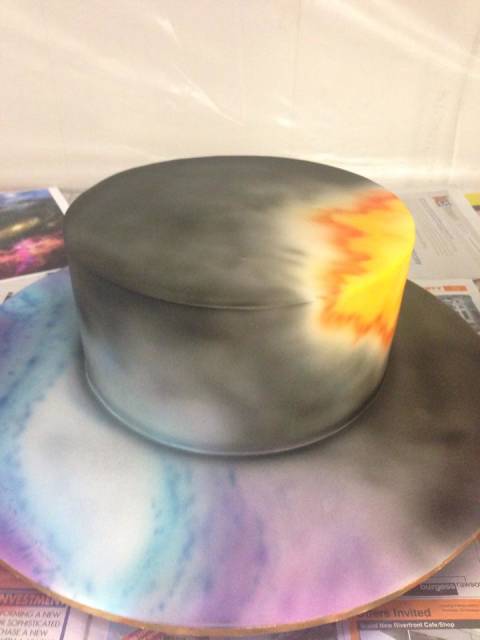
Finishing off with some “sparkle” using the RAINBOW metallic paint, DARK SILVER to enhance some magical space setting for out Tardis. This layer will also help when creating stars. You can add “stars” by using a toothpick and the silver. There is an airbrush technique that can do this and is a lot FASTER but that will have to wait for another day <3
Have fun and enjoy, spray shimmer in the face of fear and pick up your AIRBRUSH
-Kaylee
4 Comments
Thankyou xx
Wallace x http://www.facebook.com/AWGHobbyCakes
WOW very cool, thank you so much for sharing!!
Selma S. ~ Little Apple Cakes
This is a brilliant airbrush tutorial, thanks to you and johnny for sharing ;-)
sugar and art - perfect combination! sugarmagic22@gmail.com
Fantastic tutorial, thank you, can`t wait to try it x
Julie Cains Cakes