AIRBRUSH #1: RESPECT YOUR CAKE BOARDS -WITH JOHNNY
I believe cake board art is just as important as cake art… Do you agree?
[If you DON’T then please don’t waste your time reading this… Thank you]
I believe that your cake board sets and finishes you cake. Respect your work and cover your boards.
RIGHT, here is an airbrush technique that I use ALOT and can look very affective if created right. We work with transparent colours so not only do you need to know your airbrush, you will also need to know your colours.
You will need:
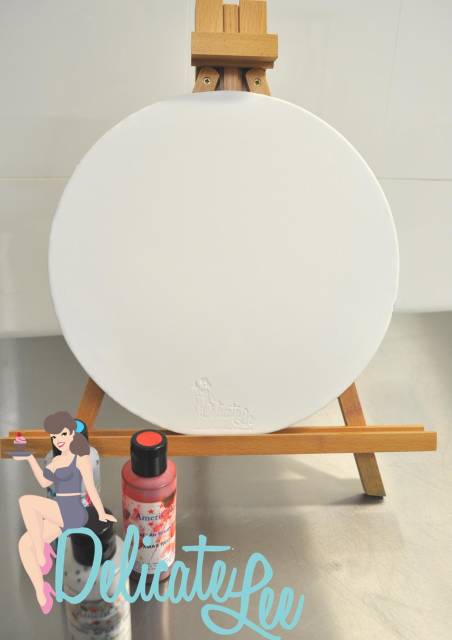
- Covered Cake Board, in Fondant (People don’t eat cake boards {well they shouldn’t} so this is the perfect way to use up your crumb/odd colour/off cut fondant) MAKE SURE IT HAS HAD OVER NIGHT TO DRY
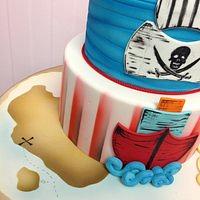
- Your Airbrush and Set up
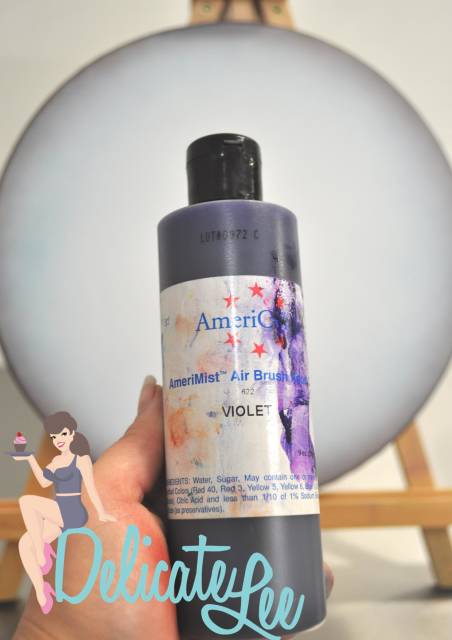
- Airbrush colours (today Johnny and I kicked it with Americolor Mist SKY BLUE, XMAS RED and VIOLET, I also had black on stand by but didn’t need)
- Turn Table ( I use a cheap Ikea lazy Susan for my airbrush only jobs, it gets all colourful and pretty)
- A Piece of Card or Plastic with a STRAIGHT edge
Johnny chillin’ with some colour
Let’s get STARTED…
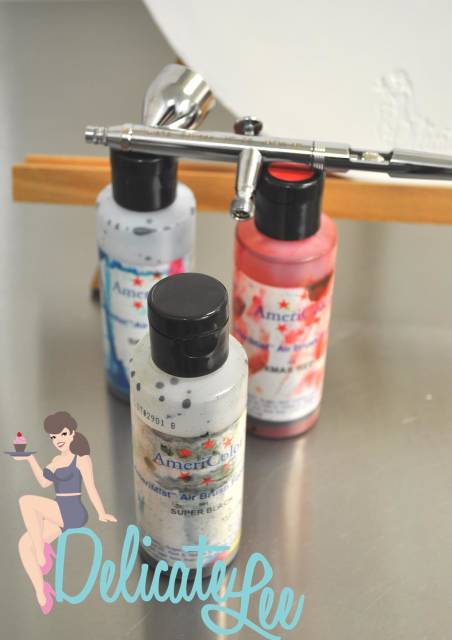
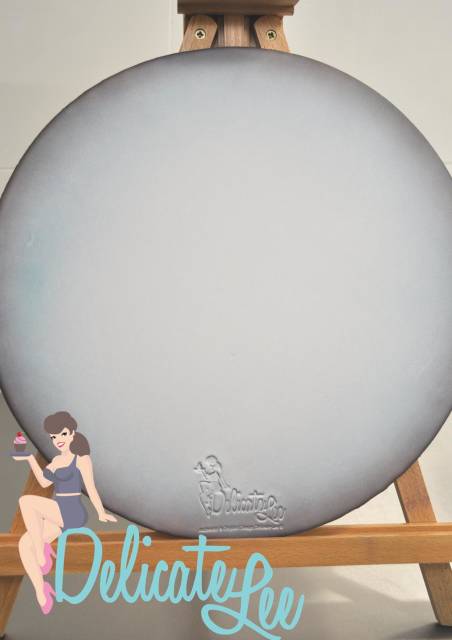
Beautiful White Blank Canvas… waiting
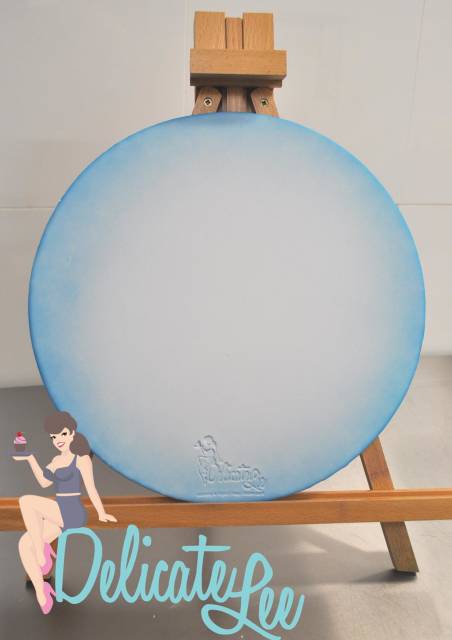
Here we go… First with SKYBLUE, hit the edge of your cake board. The direction of your airbrush should be at a 170 degree angle so that the colour will give you a darker edge and lighter centre. No need to be fussy at this stage as it is just he first layer to help build our Grape Purple colour. Use your turn table to help give your cake board a nice even coverage.
Using the XMAS RED I do the same but at a 160 degree angle so that some of the blue towards the centre of the board stays the blue colour. When the red hits the blue it gives me a nice grape purple. At this stage we only want light layers, if you go to heavy at this early stage you will end up with a black cake board. There is no “UNDO” button so LIGHT LIGHT LIGHT
I now add a few drops of the VIOLET to Johnny’s cap which still has a little of the red left.
For the next step you will need your piece {I use plastic, washable and I can use again} card or plastic (paper is to light and can be a little painful).
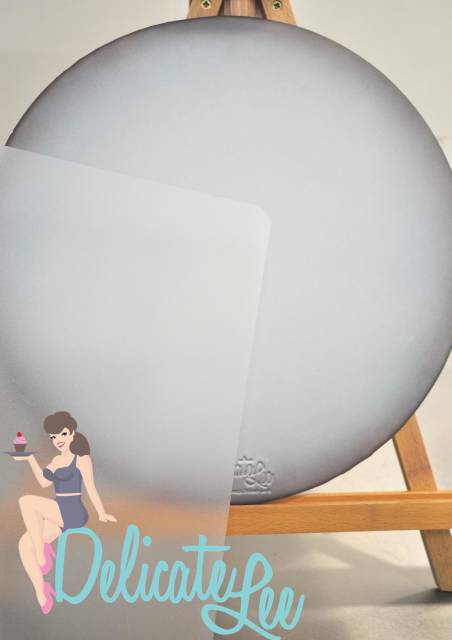
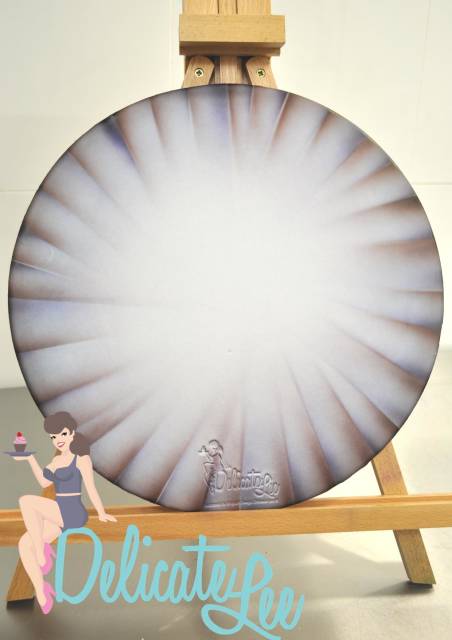
You piece of card or plastic will act as a mask. You want these lines to start darker on the edge of the cake board and fade to light towards the centre. Using a “flick” style motion, start at about 150 degrees on the edge and as you head towards the centre change your angle to 170 {this should give you a flick “UP” style motion, after time it will become more natural and you will pick up speed}.
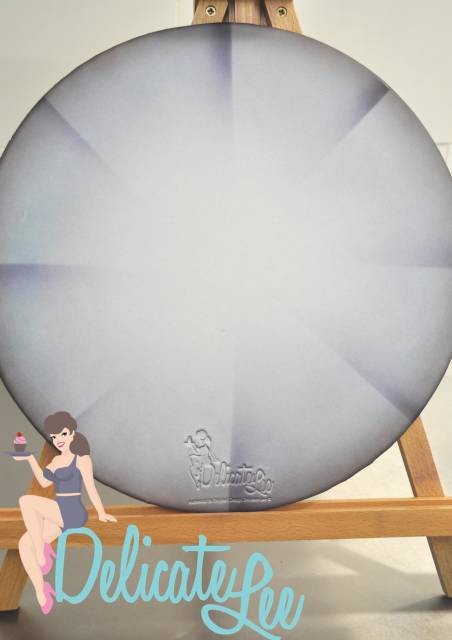
I divide my cake board up first in half, half, half again and half again.
SINGS “I’ve got sunshine on a cloudy day”
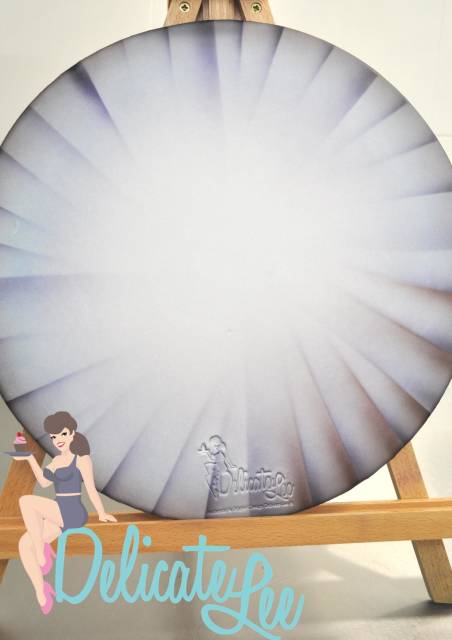
Now split again BUT this time not as strong and remember to give some space as we are going to hit the other side.
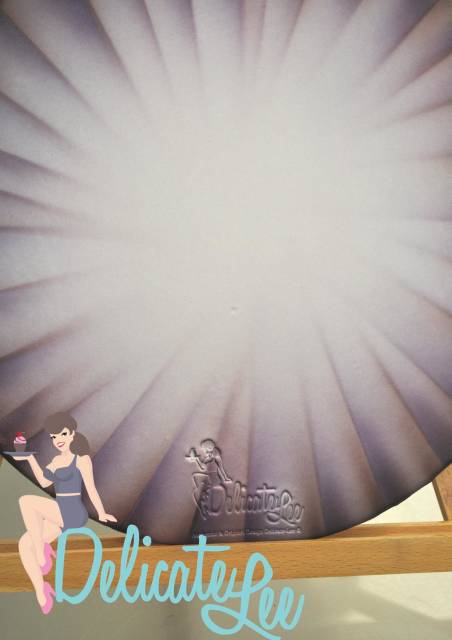
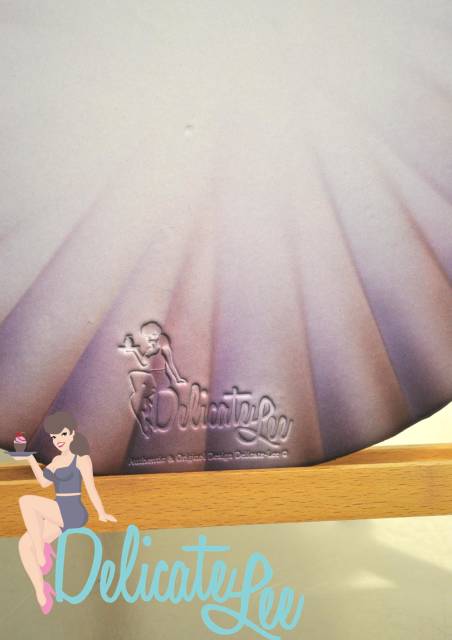
PRRREEETTTTYYY
Our RED will now act like a shadow to the violet, which will help give the cake board some movement. You will need to airbrush the other side of the “line” you just created using the same action and your piece of card or plastic {this feels a little tricky but just take your time and DON’T RUSH}.
Around we go again
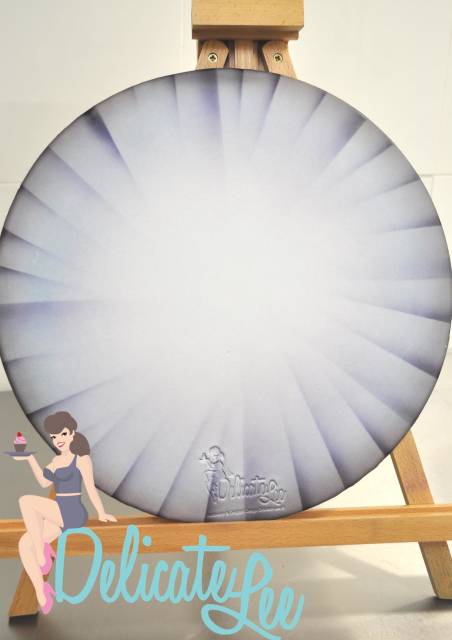
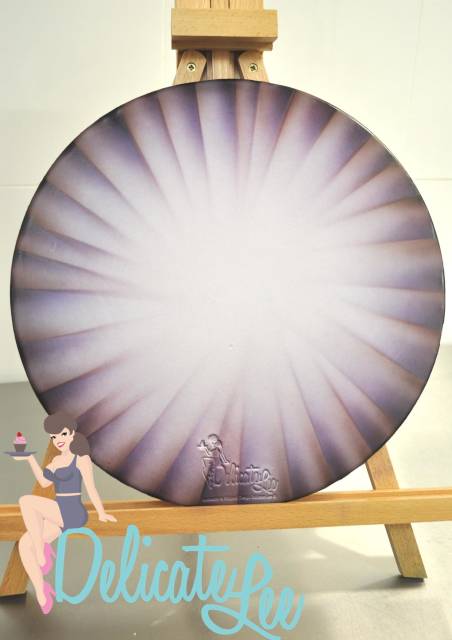
See… What do you think so far? Don’t get too excited, we aren’t finished yet… Now to blend…
Now using the SKY BLUE with a few drops of the VIOLET it is time to blend and even out the colour. This layer only requires light hands. If you go too heavy or dark you will loose all the work and effect you have created and built up.
TIPS
- Less is more
- Work clean
- Don’t Rush, slowly build up your layers
- Have fun
CHECK OUT some other colour examples and SEE MORE AIRBRUSH CREATIONS ON OUR FACEBOOK PAGE
9 Comments
I don’t even own an airbrush (yet) but every time I see one of your beaut boards I love how much effort you’ve put into it. Thanks for the great tute!
Mel, Yorkshire, http://www.facebook.com/doncastercustomcakery
Fantastic, thank you :)
Znique Creations at https://www.facebook.com/ZniqueCreations

Very cool!

very cool!!
Selma S. ~ Little Apple Cakes
amazing I just bought a g23 airbrush never used before dying to try it soon, will post after I finally do

Great tutorial !
Lisa Salerno Bespoke Cakes
What a stunning effect :) Thank you for sharing. Can’t wait to try it out.
For Heaven's Cakes - 4hcakes - Scotland
WOW! Thank you so much, I`ll definitely be trying this one x
Julie Cains Cakes

I love your colours! Totally agree that the covered board just completes and enhances your cake every time! A complete no brainer to cover cake boards and just can’t understand why bakers are still not doing this!
Cupcakes2Delite.com