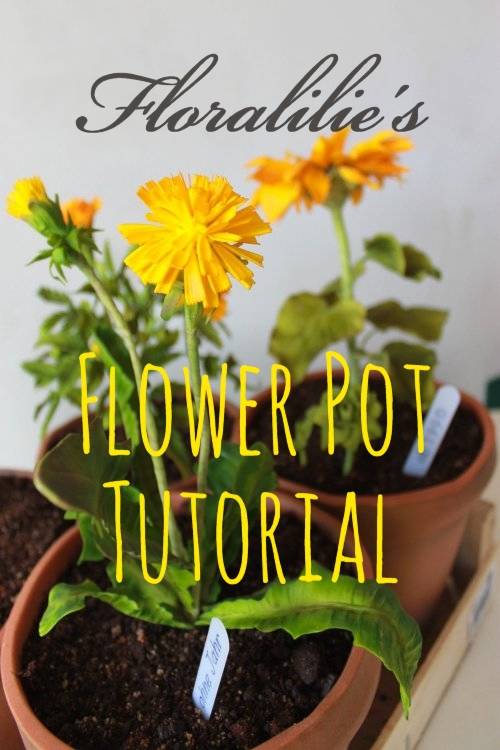
Flower Pot Cake Tutorial
Materials
- Airbrush
- Airbrush colors, white, green and black
- Bench scraper
- Cake recipe
- Cardboard cake circle, 8-inch
- 1 batch chocolate ganache
- CMC powder or Tylose powder
- Craft knife
- Drinking straw, thick
- Foam board
- 3 pounds fondant, colored terracotta
- Fondant smoother
- Gum glue
- Gumpaste flower with stem
- Icing spatula
- Measuring tape
- Mortar and pestle
- Needle nose pliers
- Oreo cookies
- Parchment paper
- Pizza cutter
- Small polystyrene square, 1/2 – 3/4 inches thick
- Sandpaper
- Terracotta flower pot, unused, 6 inches high with 7-inch width at top
- Wood slats, 1/4 inch thick
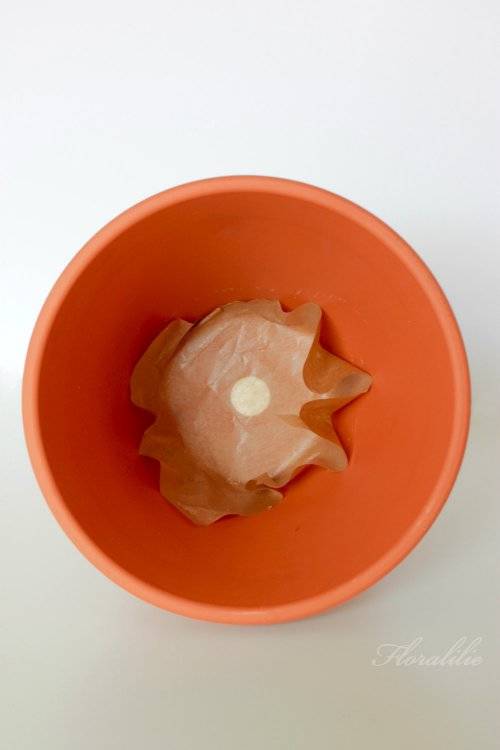
1. Line a clean, unused flower pot with parchment paper. Cut a small circle of baking paper and place it in the bottom of the pot.
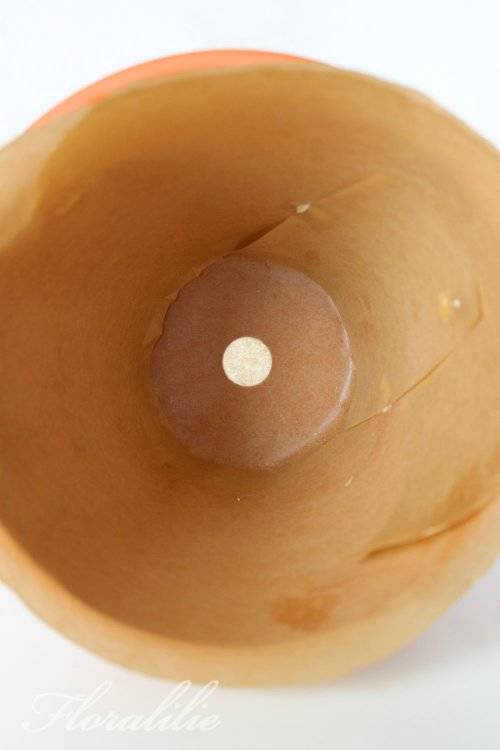
2. Line the sides with a strip of paper.
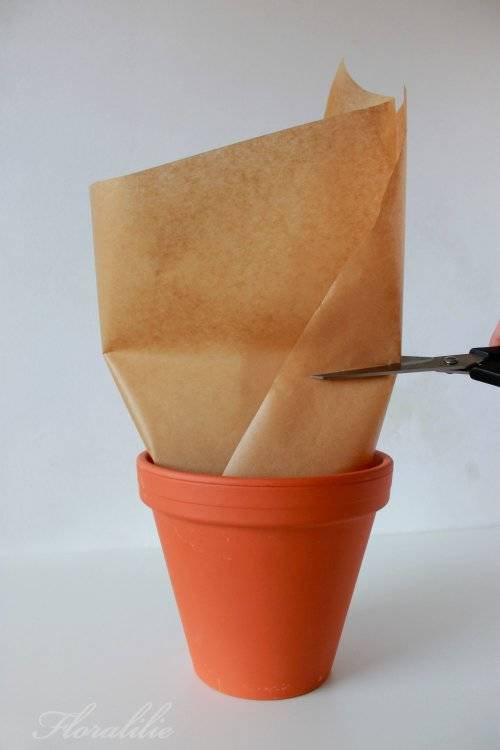
3. Trim the excess at the top with scissors.
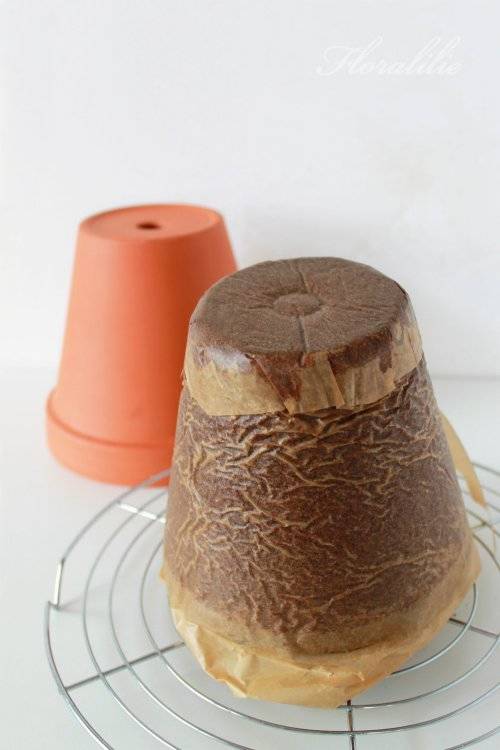
4. Fill the batter to approximately 3/4 full. Bake according to recipe directions. Once the cake is baked, unmold it and pull off the baking paper.
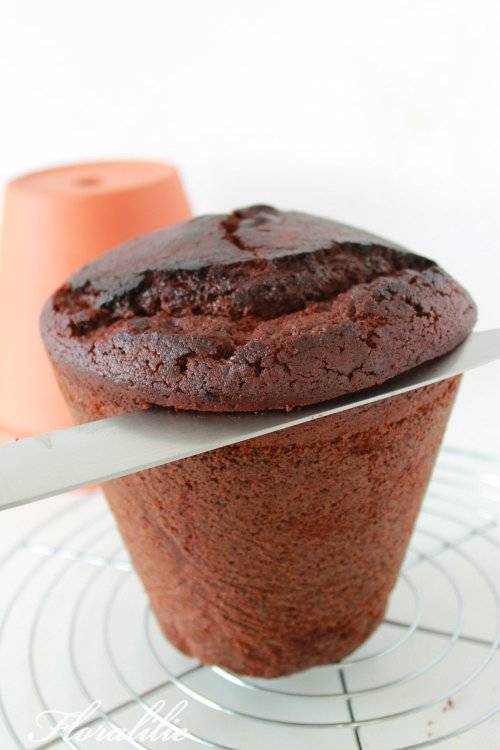
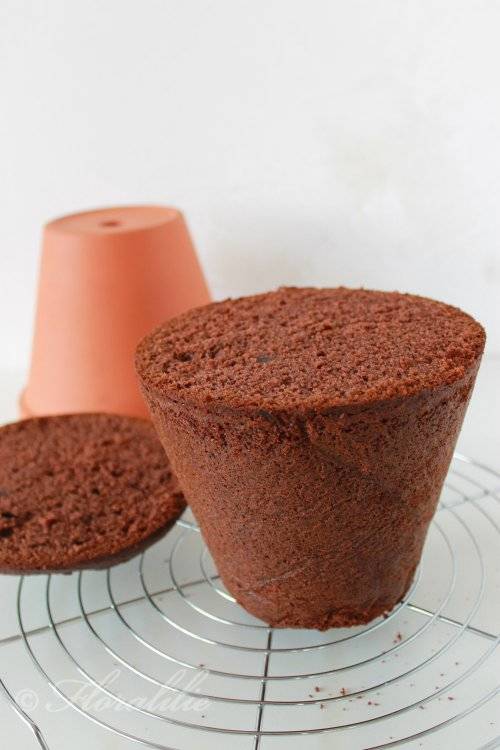
5. The surface of the finished cake must now be leveled. Reserve the cake that gets trimmed; it will be used to create the dirt.
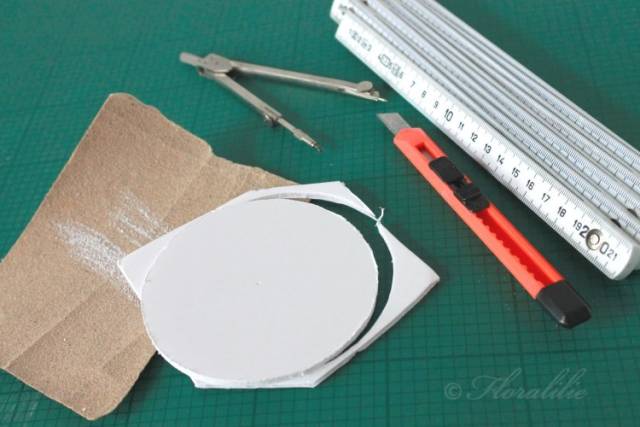
6. Cut a circle from the foam board for a base. The circle should be slightly larger than the base of the pot. This will help to achieve the desired thickness when applying the ganache. If your board has rough edges, smooth them with sandpaper.
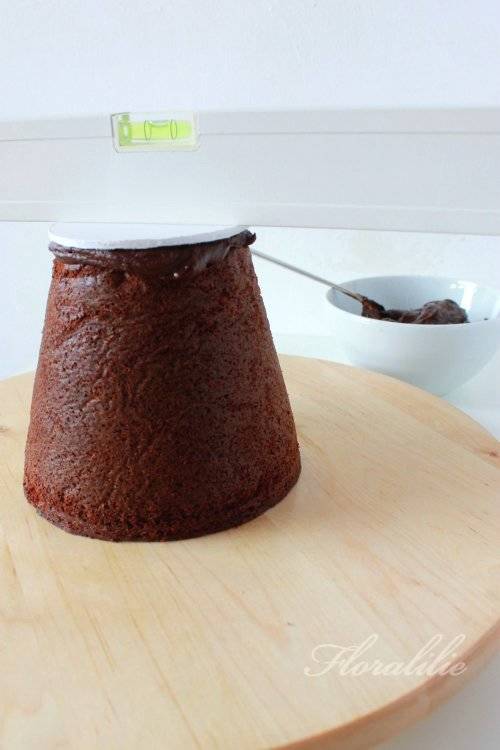
7. Attach the bottom of the cake to the board with a thick dollop of ganache. Be sure it is level with the help of a spirit level. Rest the cake on a piece of baking paper on a turntable.
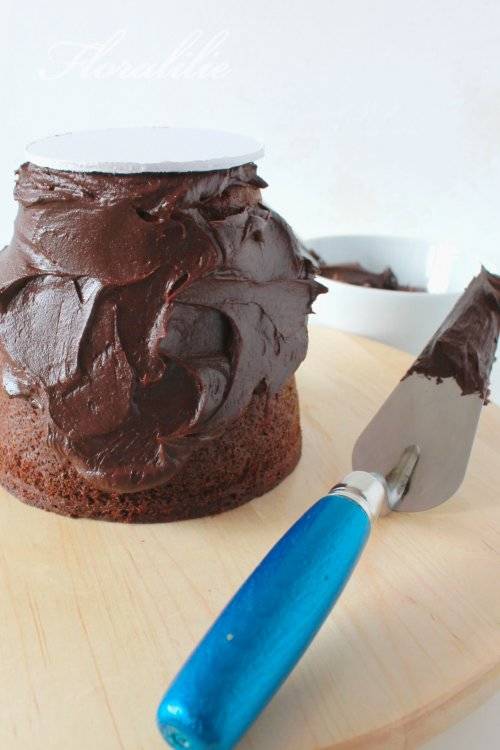
8. Apply ganache with an icing spatula.
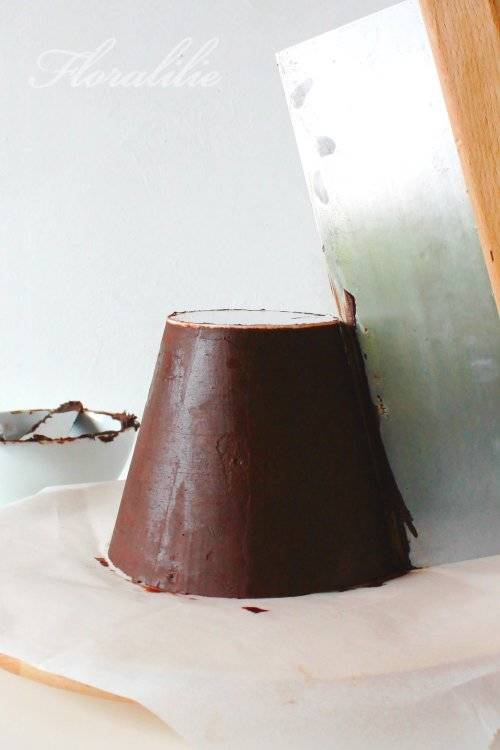
9. Smooth the ganache with the bench scraper while using the foam board circle as a guide. Refrigerate the cake until chilled.
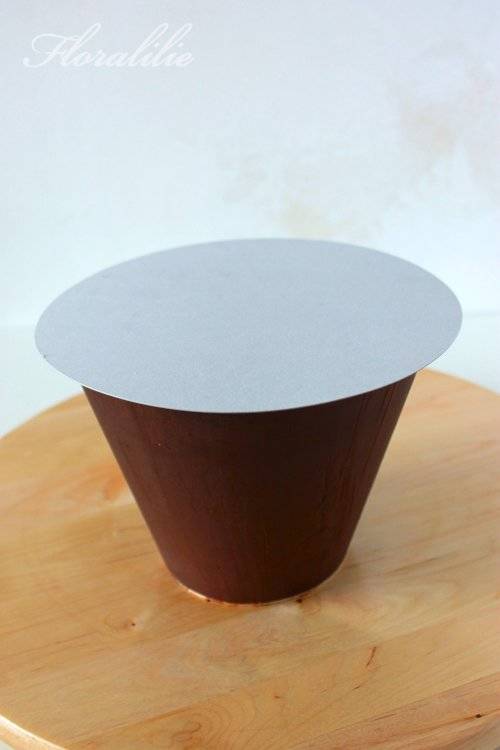
10. Now you can turn the cake right side up. Gently peel away the baking paper and put a small cardboard cake circle on top.
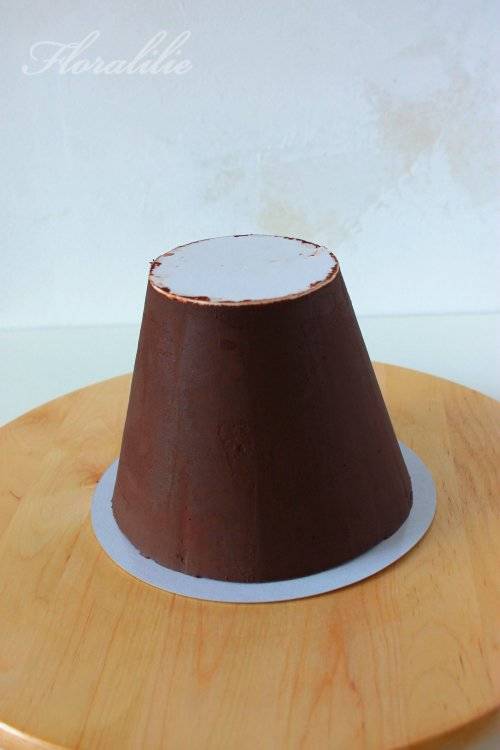
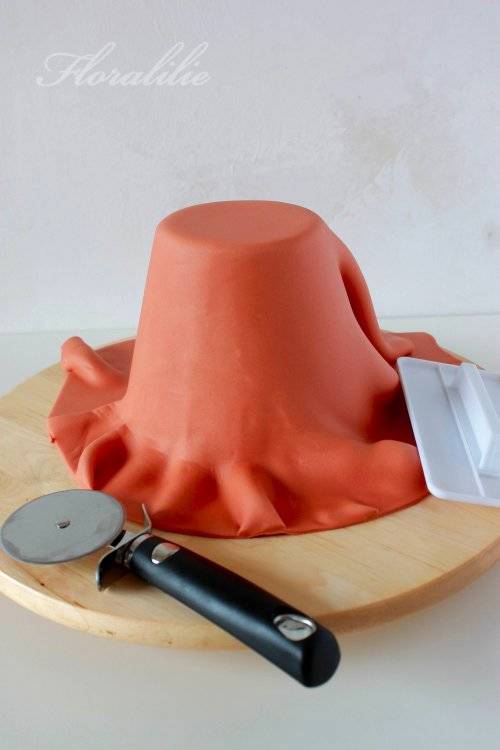
11. Now, you turn the cake over again. Roll out your fondant and place over the cake, and smooth the fondant and trim the excess. Mix the remaining fondant with some CMC (about 1 teaspoon to 1 pound). Give the CMC few hours to connect with the fondant, preferably overnight.
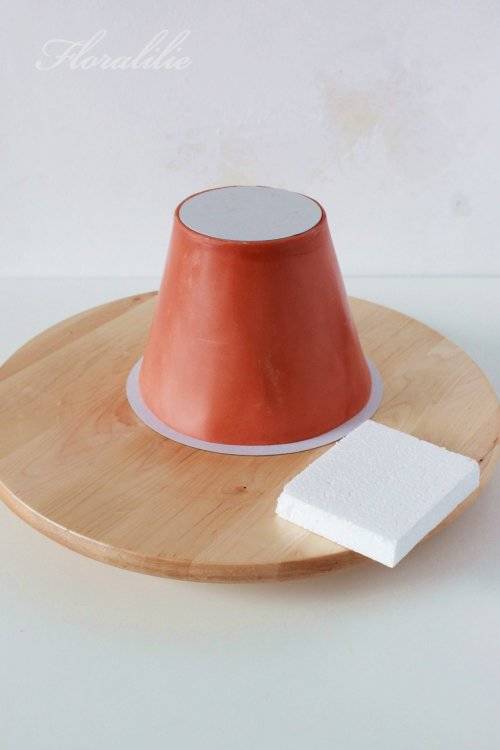
12. After the cake is covered, cut a cardboard cake circle that is slightly smaller than the bottom of the pot. Put it over the bottom of the pot.
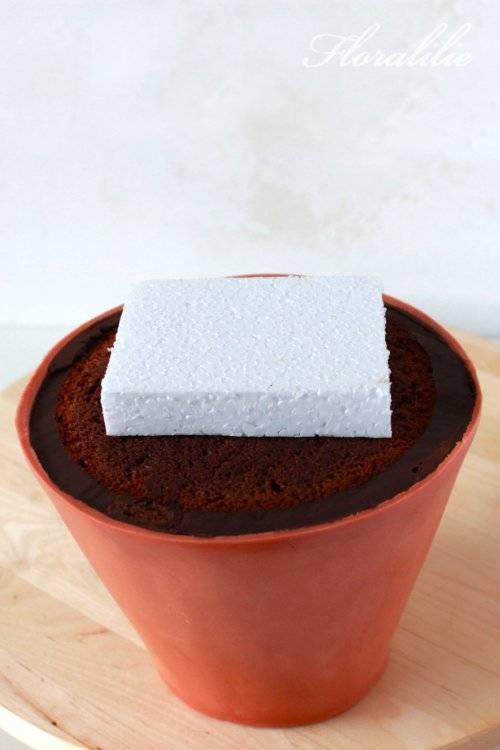
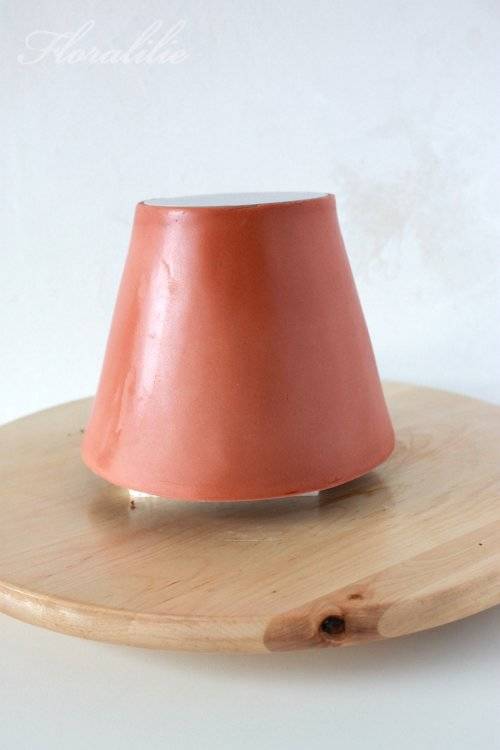
13. Hold the cake with your fingers on the cake boards and turn it right side up. Put the Styrofoam square on the top of the cake and flip it back over so it is elevated.
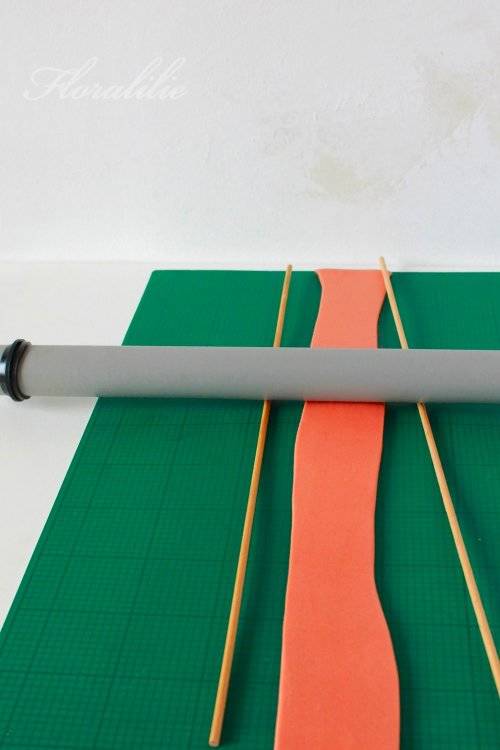
14. Roll the fondant with CMC/Tylose between wooden slats to 1/4 inch thick.
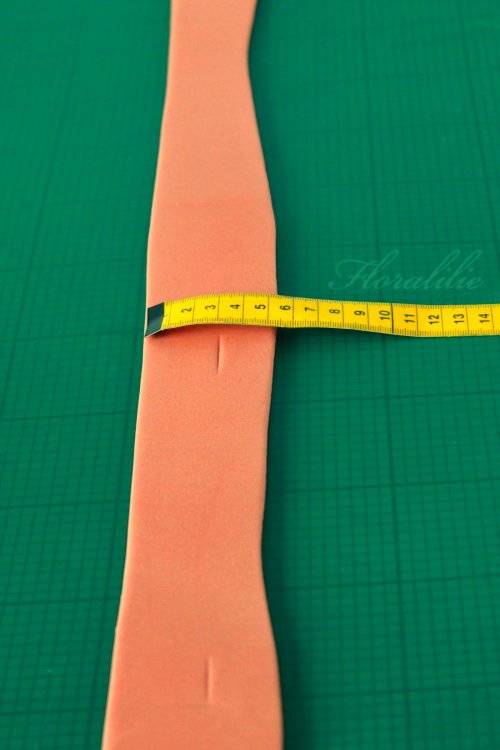
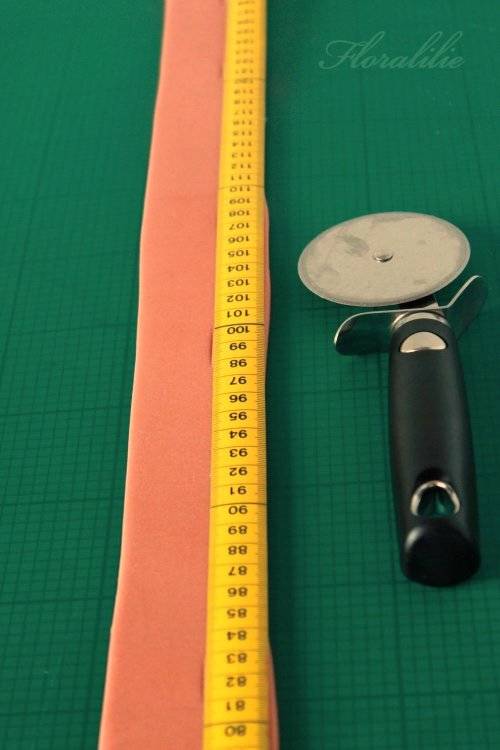
15. Cut a strip 1 1/4 inches wide, slightly longer than the circumference of your pot. Be sure the fondant strip isn’t stuck to the table before cutting to a to obtain clean cut.
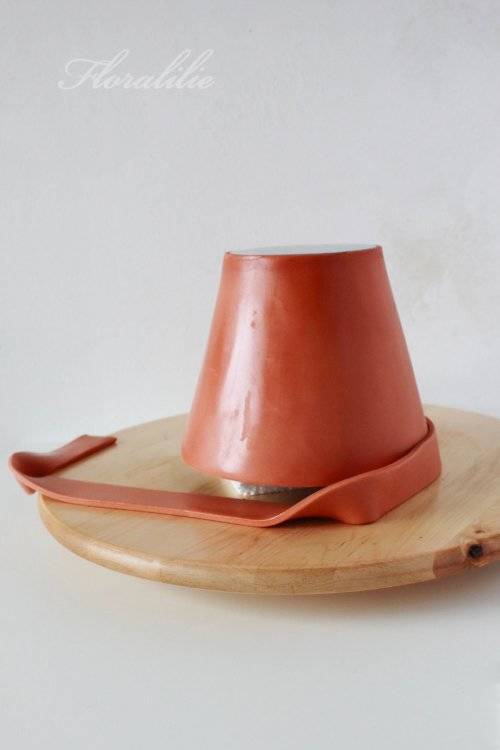
16. Attach the strip on the side of the pot with gum glue. The strip will touch the surface of the turntable, and this will create a lip to the pot.
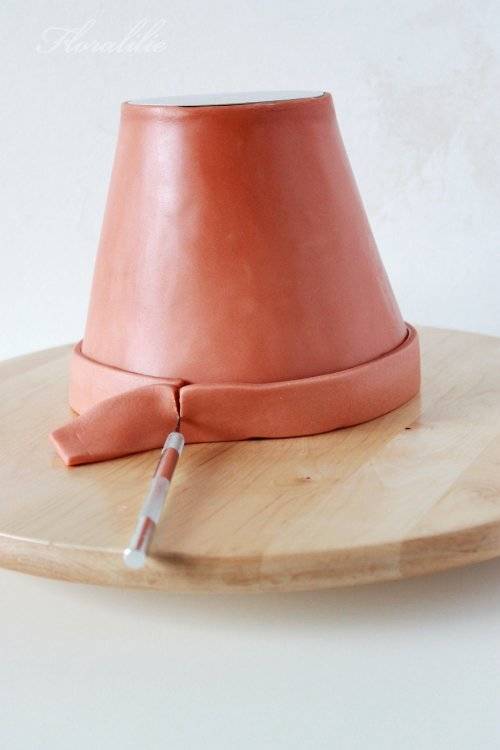
17. Cut the strip where they overlap and smooth.
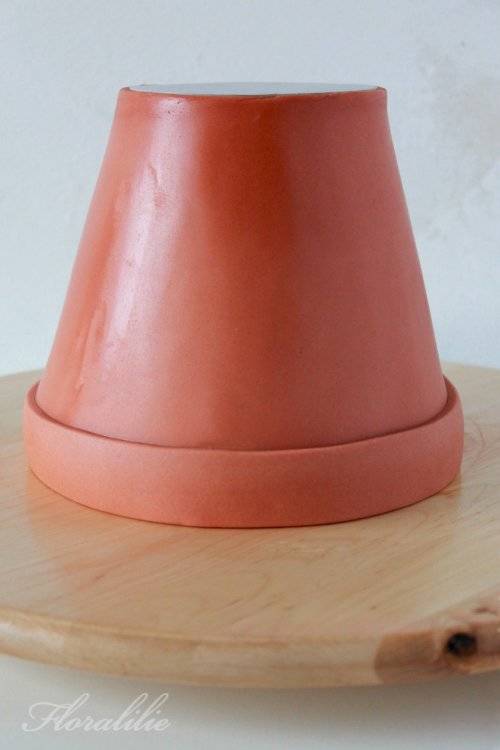
18. Let the cake rest for a bit before you turn it over so that the fondant pieces have time to properly adhere.

19. Next, the airbrush equipment is used. First, airbrush the upper part of the pot with white food coloring to achieve a lime effect. Make sure to spray lightly and at a distance.

20. The next color you will use is green in order to give the pot a moss-like effect.
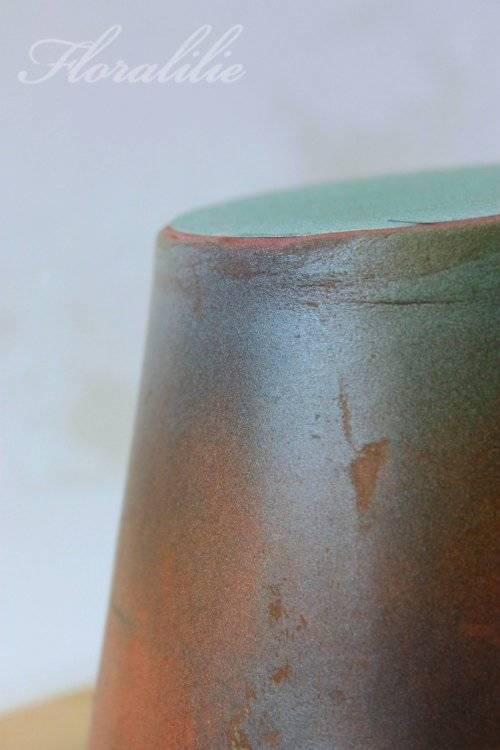
21. The last color to apply is black for a dirt effect. Irregularities do not matter, and are even desired to make the pot look really old and natural. Without an airbrush device, I would use powder colors for this purpose.
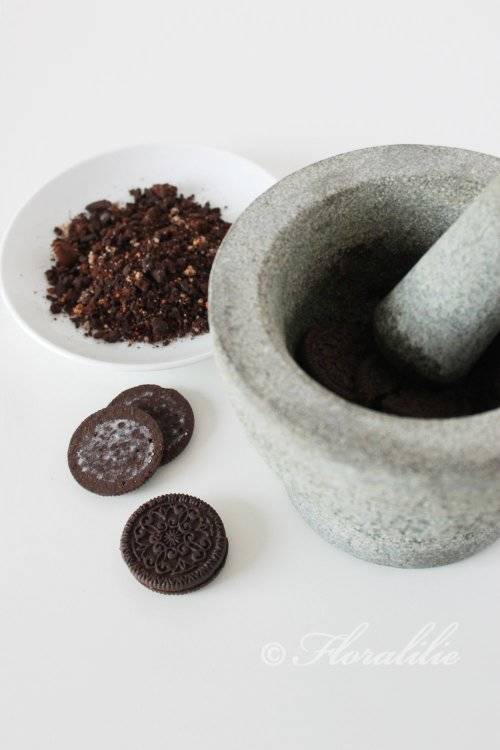
22. Using the cake scraps from trimming and chocolate Oreo cookies, make the potting soil using the pestle and mortar to create crumbs.
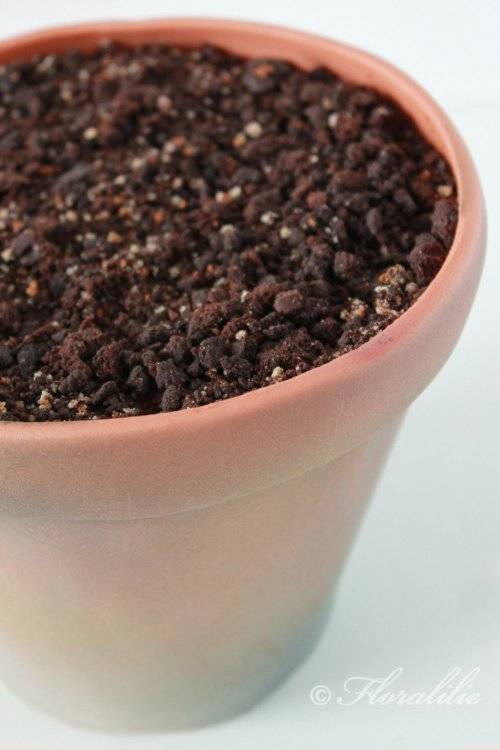
23. Distribute the soil evenly in the pot to the edge.

24. Stick the stem of a gumpaste flower into a thick straw so that the cake does not come in contact with the floral wire, and insert into the soil. Be careful when inserting since the edges of the pot are still soft and deform easily. It is best to use needle-nose pliers for this.
Have fun with your edible flower pots!
Tina ♥
Floralilie Sugar Art
25 Comments
What a beautiful tutorial!!!! Thank you so much for sharing, I would love to try this!!! Love it!! :-) x
https://www.facebook.com/elliwarrencakedesign https://www.facebook.com/elliricci elliricci@hotmail.com https://www.instagram.com/elliwarrencakedesign/
Now that is one amazing tutorial!!!! Thank you. Its so well done.
You must never limit your challenges, instead you must challenge your limits
Great tutorial, thank you for sharing
Siobhan Buckley
Thank you!!! ☺
I’t was a project in my summer holidays, two years ago.
I would love to see your flower pot cake, Elli! ♥
Floralilie Sugar Art
Wow – thanks for the huge amount of work that has gone into this and definitely want to give it a go x
Judy
Wow!!!! Thank you so much! What an awesome tutorial!!!
Toni, Pennsylvania, https://www.facebook.com/WhiteCraftyCakes
How neat! and very descriptive!!! What a great job!
Nancy (Nancy's Fancy's Cakes & Catering)
What a lovely tutorial, so well illustrated! xx
Pamela - http://madewithlovebyme.wordpress.com/ www.facebook.com/PamelaMcCaffreyCakes
Beautiful tutorial <3
http://www.facebook.com/veenaartofcakes , http://www.veenasartofcakes.com or http://veenaartofcakes.com
Thank you! Great tutorial!
Anka
