Broad Beans Pictorial.
The steps were made entirely by me, not following or copying anyone else’s tutorial. You’re welcome to follow these steps too but you must give credit to my page. Thank you and have fun! :)
1) I used some light brown fondant with a tint of yellow in it. Rolled them into small balls, tapered one side and lightly flattened them.
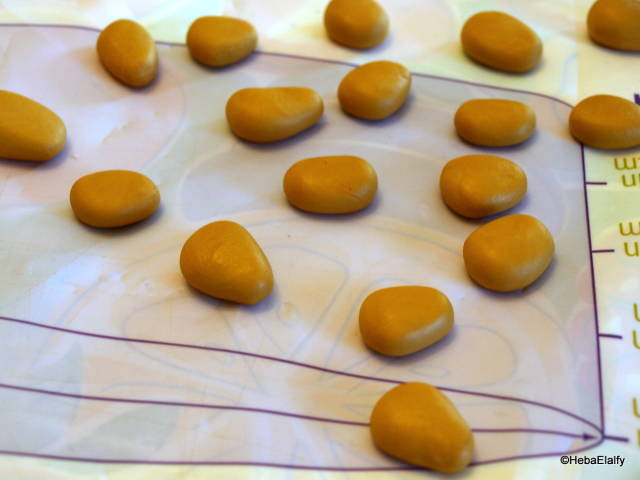
2) Into the larger end, I created a crevice.
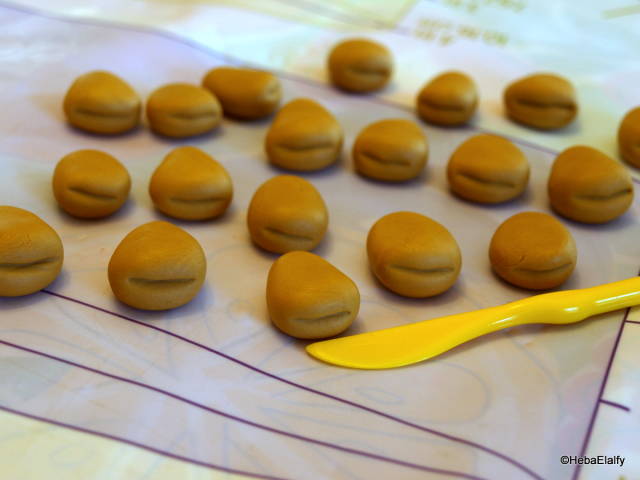
3) For each bean, I randomly sliced some ‘splits’.
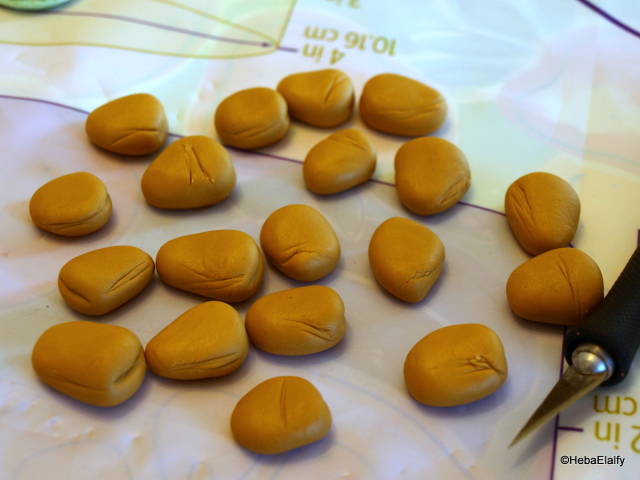
4) I rolled out very thin strips of black fondant to fill each crevice.
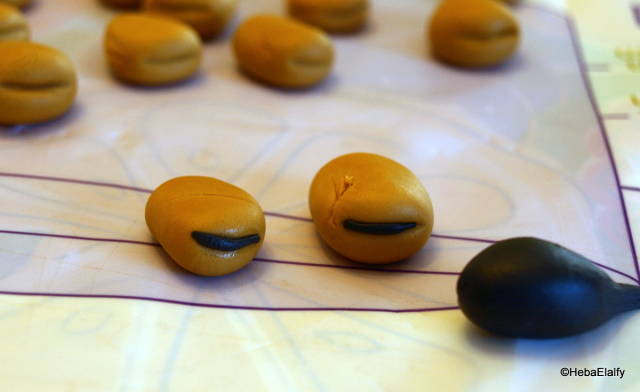
5) They should look like this before painting.
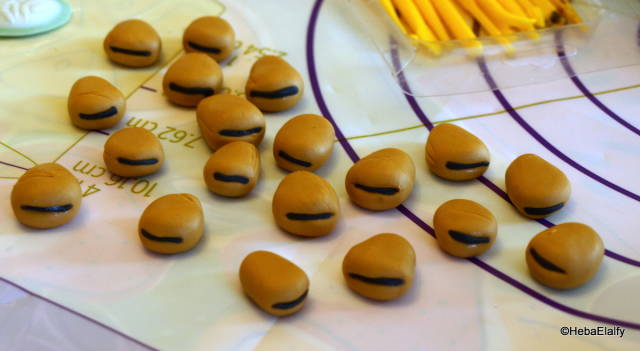
6) Mix brown, copper, golden yellow and white till you get the shade you want.
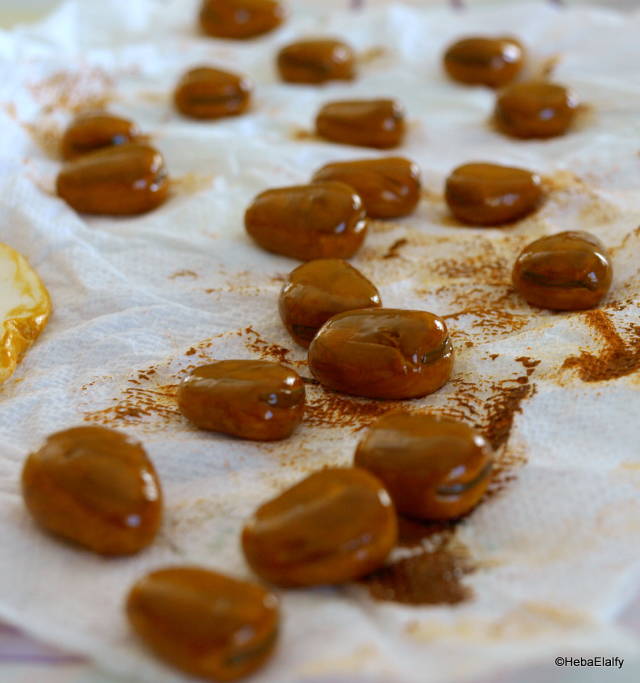
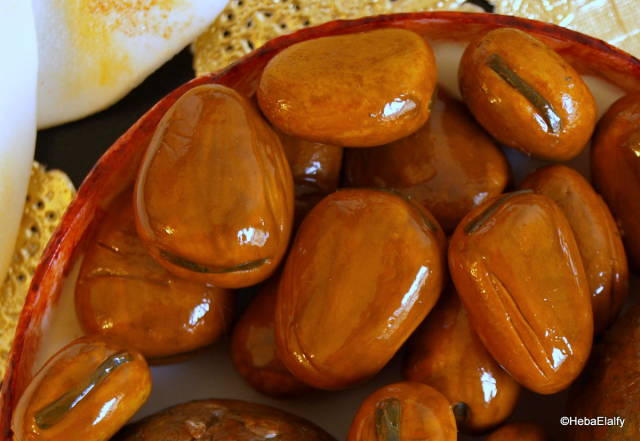
7) Finally, some oily beans to eat!
Heba Elalfy ***more photos at https://www.facebook.com/sweetdreamstoyou
26 Comments
Thanks for sharing Heba xx
Sweet-E
My pleasure, Enza xx
Heba Elalfy ***more photos at https://www.facebook.com/sweetdreamstoyou
Nice! Thanks for sharing!
Sugar Sugar by SSmiley
My pleasure Sandra :)
Heba Elalfy ***more photos at https://www.facebook.com/sweetdreamstoyou
They look awesome! Thanks for the tutorial!
Toni, Pennsylvania, https://www.facebook.com/WhiteCraftyCakes
My pleasure Toni <3
Heba Elalfy ***more photos at https://www.facebook.com/sweetdreamstoyou
Wonderful and creative x
The Cake Duchess
They look fabulous!! Thank you!! :-) x
https://www.facebook.com/elliwarrencakedesign https://www.facebook.com/elliricci elliricci@hotmail.com https://www.instagram.com/elliwarrencakedesign/
Amazingly realistic
You must never limit your challenges, instead you must challenge your limits
Very nice!
Selma S. ~ Little Apple Cakes


