Brick pattern
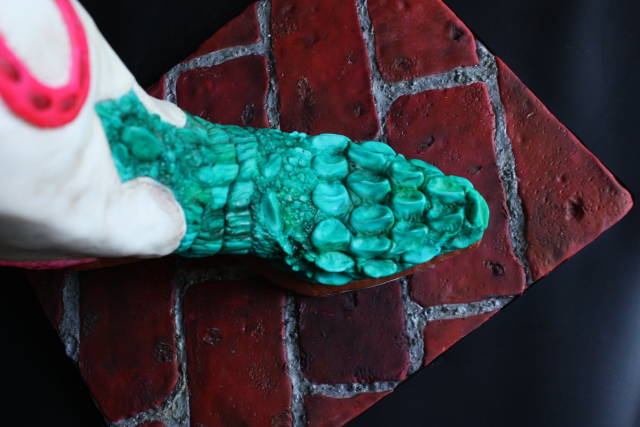
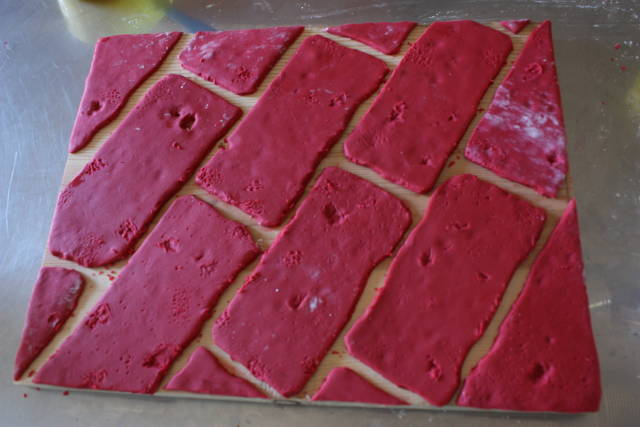
Ok go easy on me this is my first tutorial. Hopefully I have it in order right. To make a brick board first cut equal rectangles the size you want the brick. Then place them on the board and attach with gum glue. Use your thumbs and dent the bricks all over by pushing on them.
Next take an exacto and cut off a piece here and there. Make sure your corners are cut off to give the worn look. Try to make it so no two bricks are the same shapes cut out. Use a scribe tool to go around the edges and make a few marks here and there. Then use the scribe to poke holes in the stones. Again avoid doing the exact same thing on every brick or it won’t look natural. So one brick do a quarter size area with pricks, the next half the top, next in two places. Variation is key.
Lastly make a few really good holes in them with a tool of your choice.
Next fill the cracks with royal icing in gray. For a dirt road use brown royal icing and cover in graham cracker dust mixed with cocoa. Before it fully sets use a scribe and break up the royal icing top layer and move it around so it looks more like mortar. Let dry fully so you don’t get dusts all over your royal.
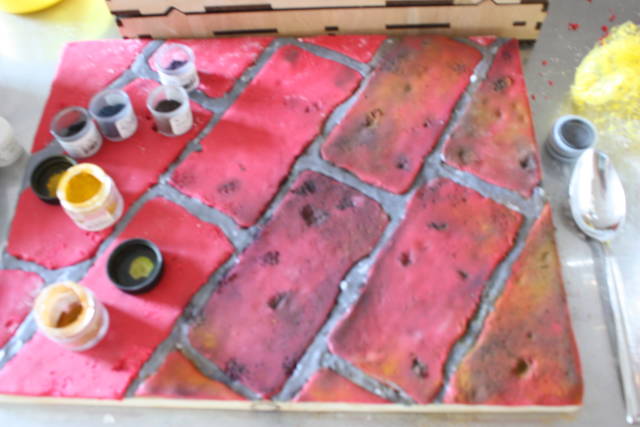
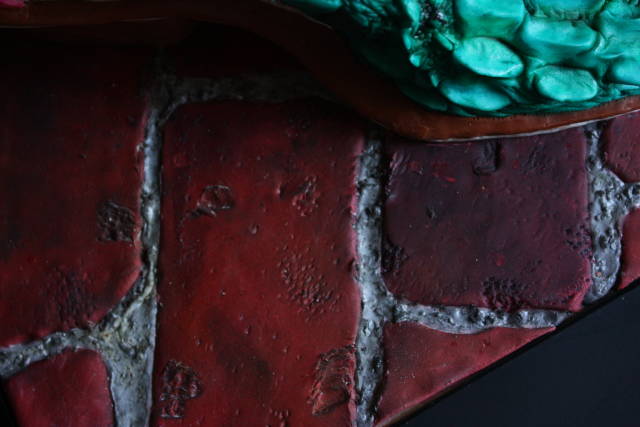
Once dry I used black dust to fill in all the larger holes then dusted over all the scribe pricks. Next I used blueberry, cocoa, Red terracotta, golden leaf, and white to add shades. Make one brick every third row dark . Steam to set.
33 Comments
It looks so real xx
Khamphet
Goodness that looks awesome …thank you so much for the wonderful tutorial ❤
This is so fantastic! Great tutorial, thank you!
Awesome! Thanks so much for sharing!
Marlene - CakeHeaven
That brick is totally real… Absolutely loved your boot as well. Thanks so much for showing us your remarkable technique. Fantastic tute x
You must never limit your challenges, instead you must challenge your limits
Thank you so much for this tutorial :)
Looks so real, thank you for sharing!
Learn from the past! Get yourself a blank canvas and paint your own life. Be your own artist! Mila, http://www.facebook.com/PureCakesbyMila http://www.tsu.co/PureCakesbyMila
Fabulous, thanks for sharing x
Love Life Eat Cake @ https://www.facebook.com/eatcakelovelife
Awesome tutorial! Thanks!
Teri, Ontario, Canada http://www.TeriLovesCake.ca
Love love love this Jamie :D
Heba Elalfy ***more photos at https://www.facebook.com/sweetdreamstoyou


