Edible Feather Tutorial
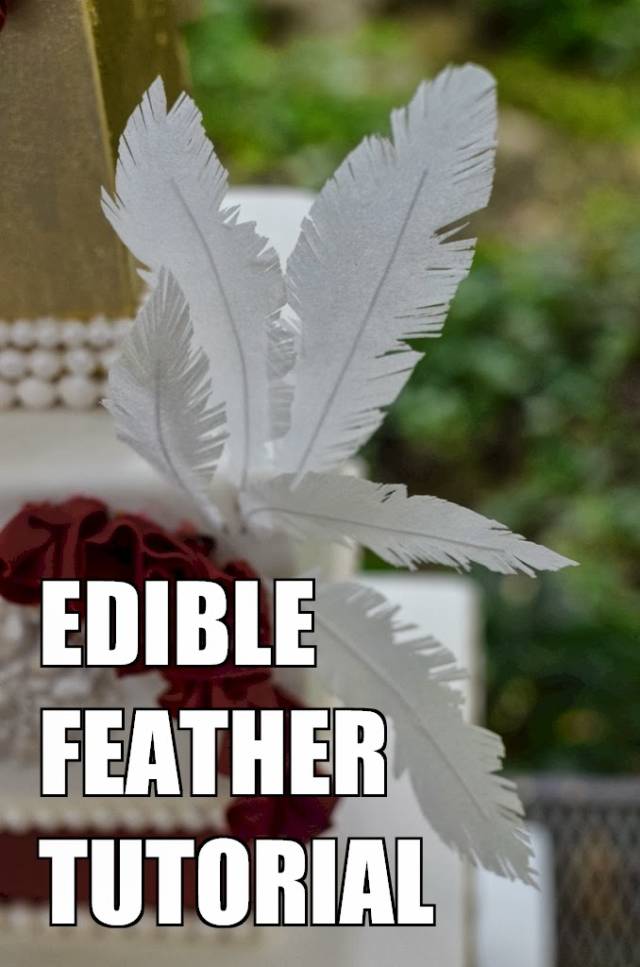
This has been one of the most popular tutorials on my blog, so I thought I would share with my CD friends!
My friend Kimberly told me a while about that she had made peacock feathers using wafer paper. I was intrigued, so I immediately ordered a package. And there it sat, for months and months, until I finally needed to make my Gatsby inspired cake for a photo shoot a while back. It was so easy to make!
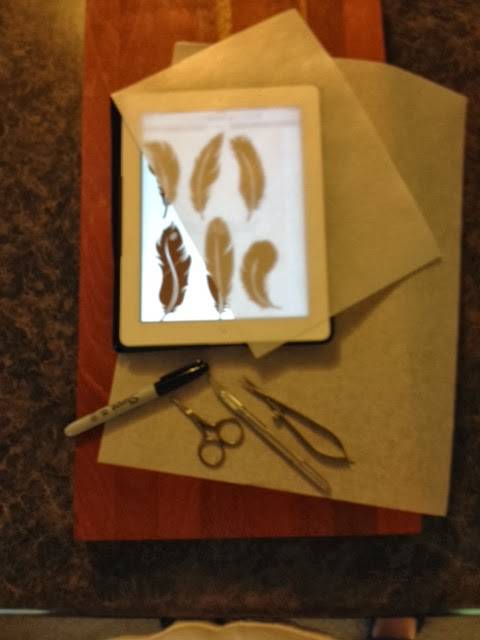
WHAT YOU’LL NEED:
1. Wafer Paper
2. Picture of your feather
3. Parchment paper (for tracing)
4. Marker
5. Scissors, Exacto knife, or Razor blade
6. Cutting board or surface
7. White wire
8. Tylose glue / Sassie Sap Glue
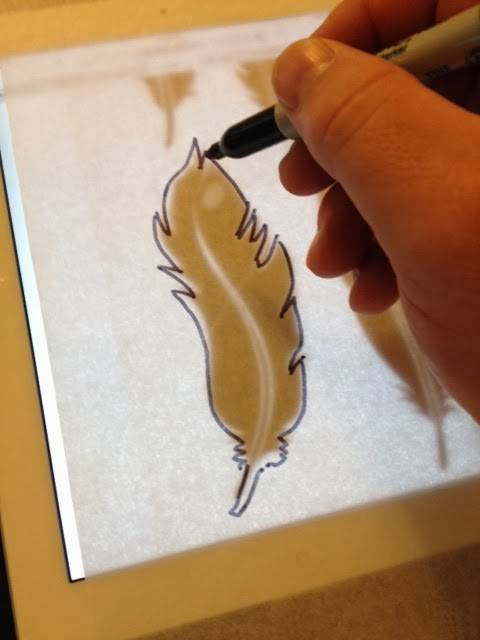
The first thing we need to do is get our feather pattern. I used this image and enlarged it to the size I wanted on my iPad. Then I put my parchment paper over it and traced the basic shape of the feather with my marker. You could also print it out on regular paper if you don’t have a tablet.
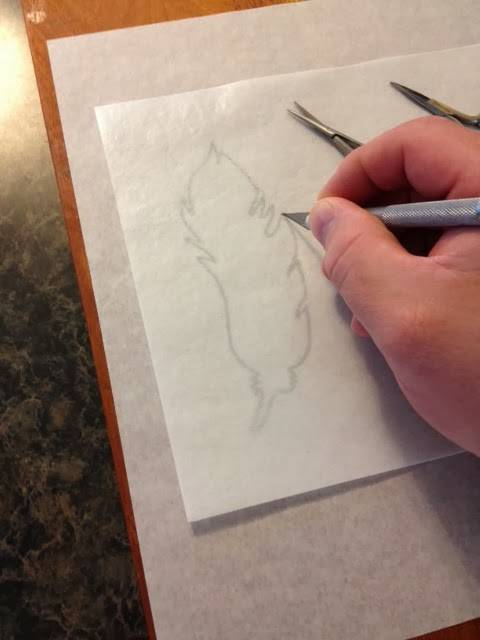
Now that we have an image to cut, just place your wafer paper over the parchment paper. You can see right through it! Just cut it gently with your Exacto knife on the cutting board. The wafer paper cuts easily and with a light hand you won’t even cut through the parchment paper.
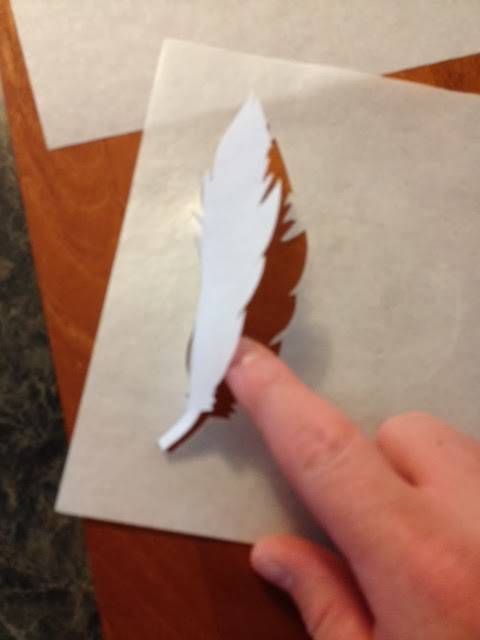
Pop out your feather and place it back on the cutting board.
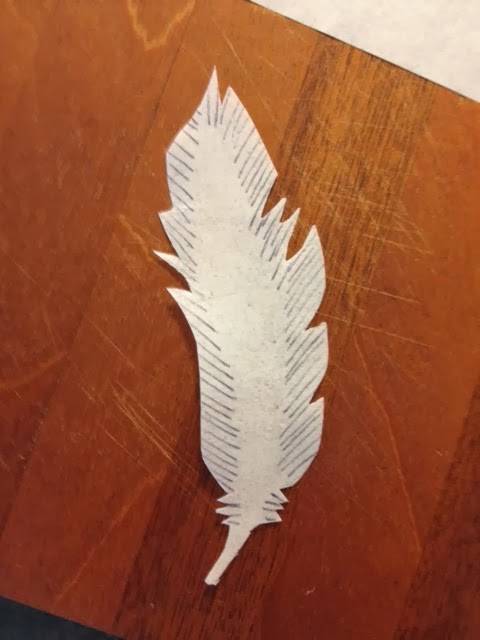
I made these lines on the wafer paper with a pen, but these are for illustration purposes only. These lines just represent how you will cut the blades of the feather.
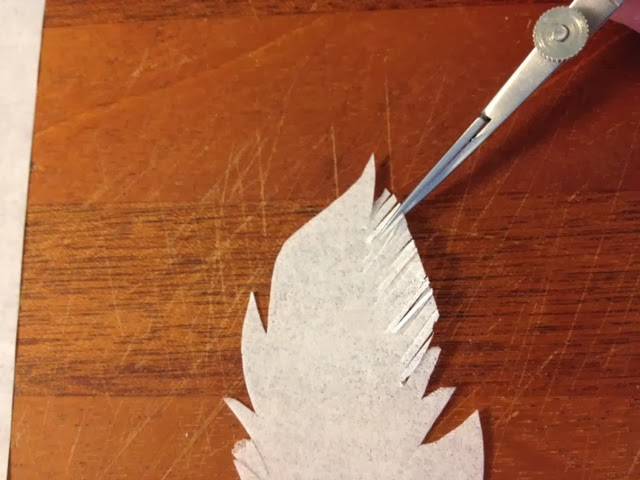
I found spring loaded sewing scissors work pretty well, they make tiny cuts, but I found it a little hard to get the cuts deep enough into the feather.
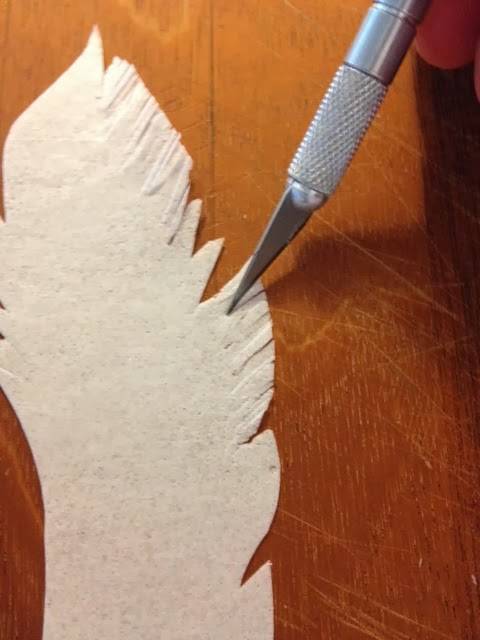
A very sharp Exacto knife goes more quickly and allows you to vary your cuts. Keep cutting the blades of the feather until your done with both sides. If you get a couple of jagged edges, it’s OK – it’s a bird feather!
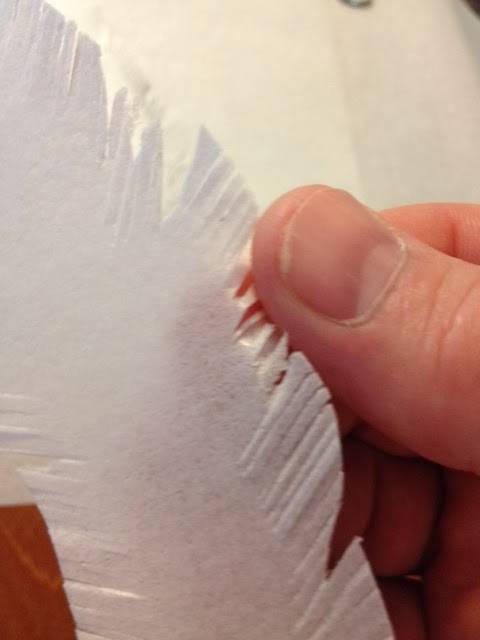
Now it’s time to ruffle some feathers! Just thumb through the blades to separate them a little. More if you really want a rustic look!
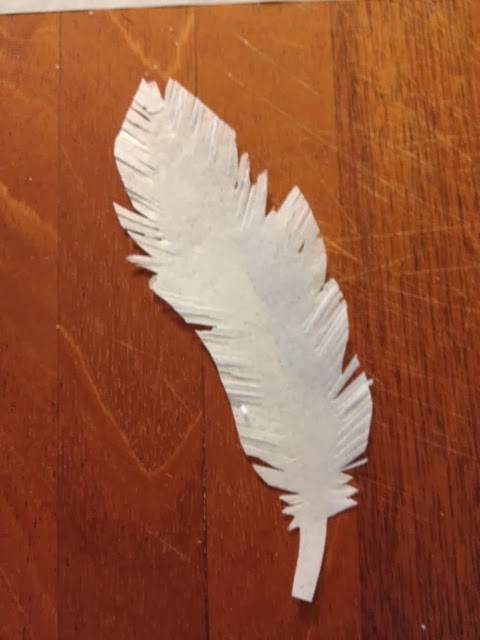
Now your feather is almost finished! To put on the cake just use some white wire to go the length of the feather (with some left over to insert) and adhere it to the feather with a little Sassie Sap sugar glue or some tylose glue. Your result will look just like the feathers at the beginning of this tutorial!
Jenniffer White, Cup a Dee Cakes - http://cupadeecakes.blogspot.com
13 Comments
amazing!! looks really super, thank you for sharing xx
'It Always Seems Impossible Until It is Done' Nelson Mandela http://www.facebook.com/CakesByFifi
Wow!!!! That is just so good and realistic too. Thanks so much for sharing Jennifer, much appreciated. Very professional and clear.
You must never limit your challenges, instead you must challenge your limits
Fabulous. Thanks for sharing. :) x
wow thank you so much for sharing just beautiful <3
Dubey Cakes
Beautiful!! Looks brilliant!! Thank you for sharing!! :-) x
https://www.facebook.com/elliwarrencakedesign https://www.facebook.com/elliricci elliricci@hotmail.com https://www.instagram.com/elliwarrencakedesign/
Thank you so much Jenniffer! What a great tutorial! I have some wafer paper that I bought a few months ago. I just might have to break it out and give this a go!
Toni, Pennsylvania, https://www.facebook.com/WhiteCraftyCakes
Great tutorial!
Znique Creations at https://www.facebook.com/ZniqueCreations
Great tutorial xx thanks for sharing xxx
karen,Gwynedd
Fab tutorial!!
The Cake Nook
How do you stop them wilting? I made these and they ooked amazing! However they wilted on my dummy wedding cake an had to be removed.
Candy's Cupcakes
