Muppet face cupcakes
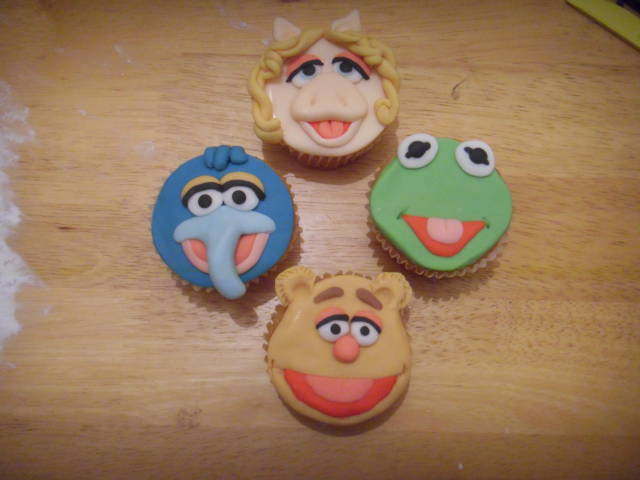
Muppet face cup cakes.
Ideal party cakes or gift for any Muppet fan!
You will need:
Tools- Small rolling pin, circle cutter, straight edged modelling tool, ball ended modelling tool, small dry paint brush (for sticking) sharp (vegetable) knife
Materials- Green, flesh colour (I use white with ‘paprika’ paste colouring, but pink with a touch of light brown works well too), orange, yellow, blue (2 shades), red, pink, black and white sugar paste.
(you can use black royal icing to pipe details instead of the black sugar paste if you prefer).
Jam to stick the paste to the cupcake. Icing sugar to prevent sticking.
Measure the top of your cake against your circle cutters to find the right size to cover the cakes. Cut the tops off of all the cupcakes to make them flat (If they are very flat to begin with you could skip this step), spread a small amount of jam on each cupcake (just enough to stick the icing, too much might smear out the edges while you’re decorating!).
The method used for covering all the Muppet cakes is to cut a circle from rolled out sugar paste, place it on the jammed cake and smooth down gently with the palm of your hand. The instructions below show how to decorate them after the first step.
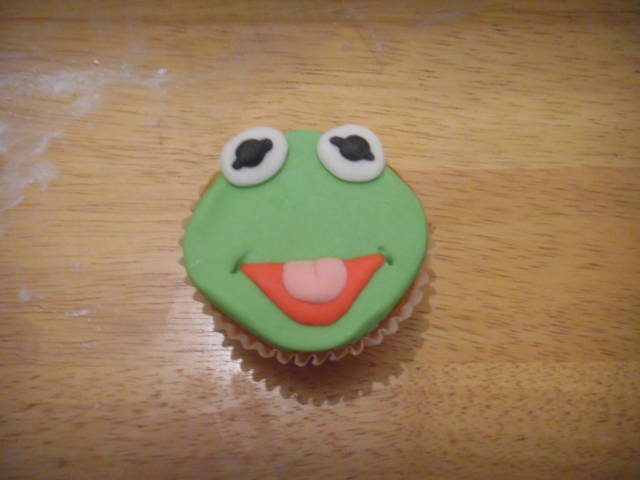
Kermit
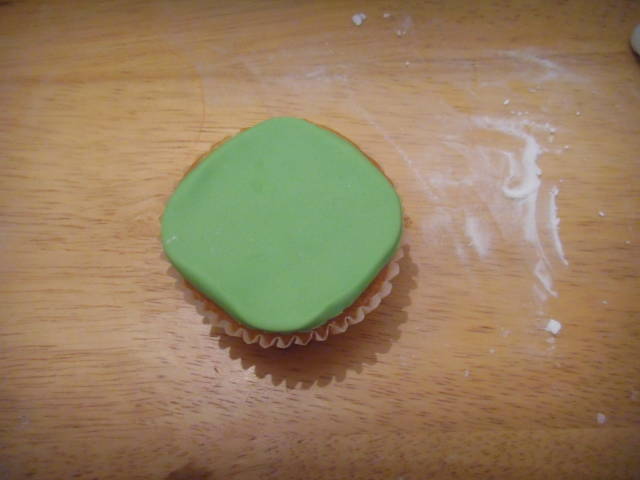
Cover your cake in green sugar paste. Pinch the sides of your sugar paste circle gently to make the head slightly diamond shaped.
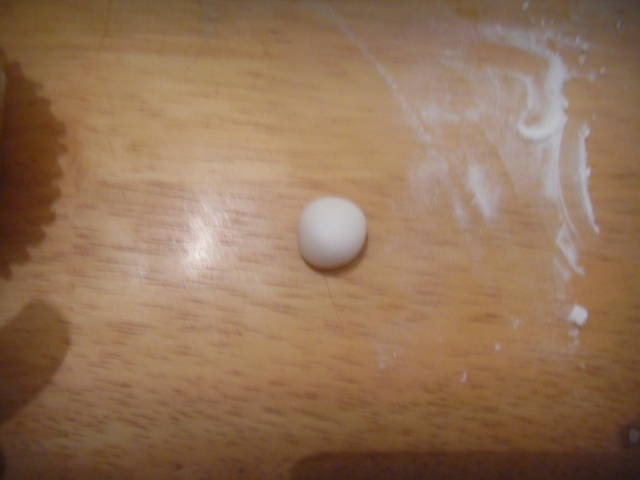
Roll a medium ball of white paste.
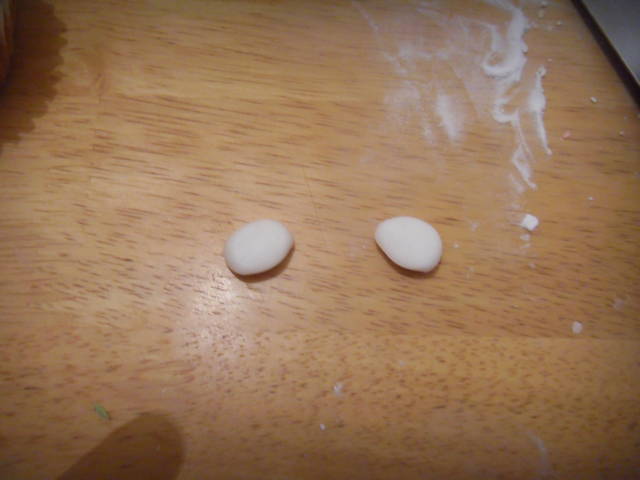
Cut it in half and flatten the pieces slightly.
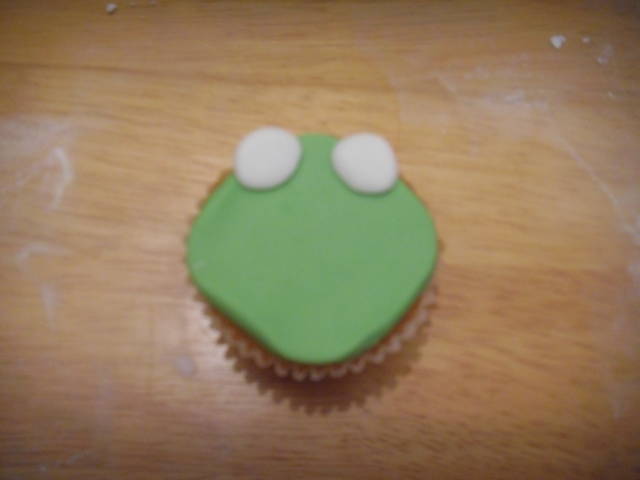
Stick the pieces on centre top of your cake with a space between them.
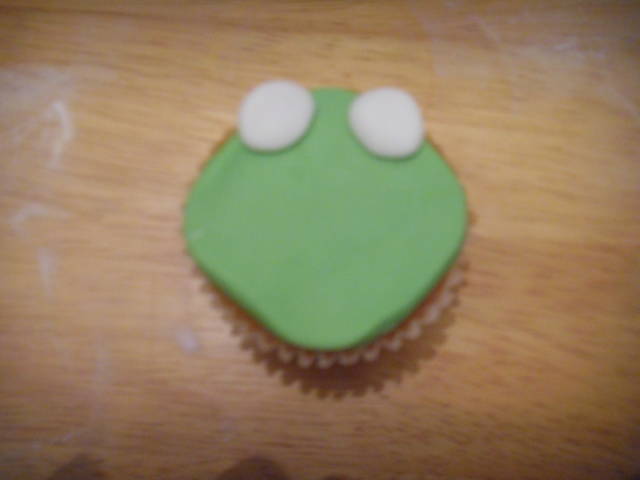
Roll out red sugar paste thinly, cut a ‘D’ shape for the mouth.
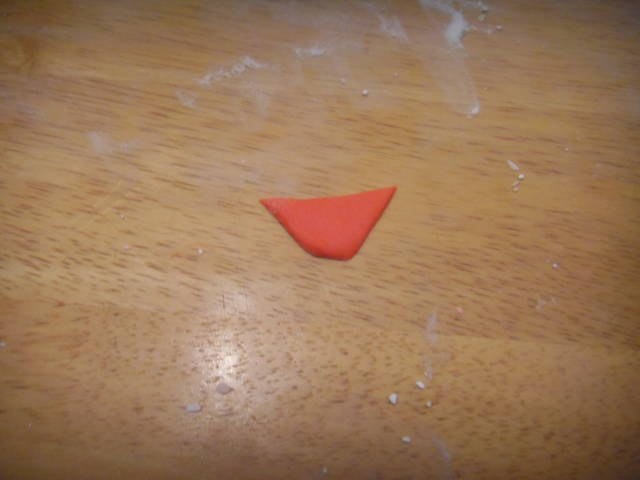
Mark dimple/smile lines with your straight edged tool.
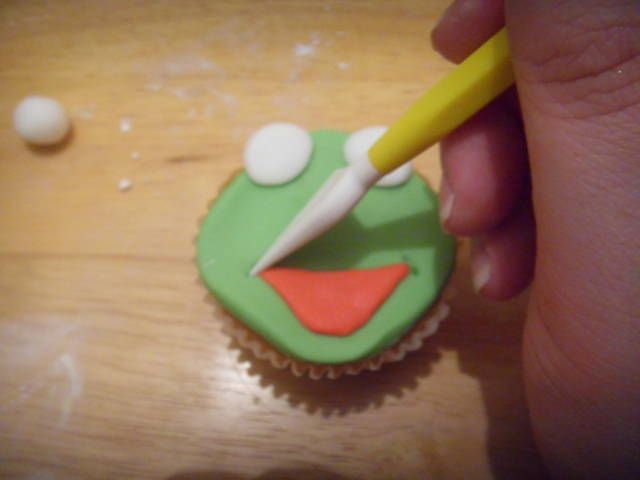
Squash a small ball of pink sugar paste between your fingers.
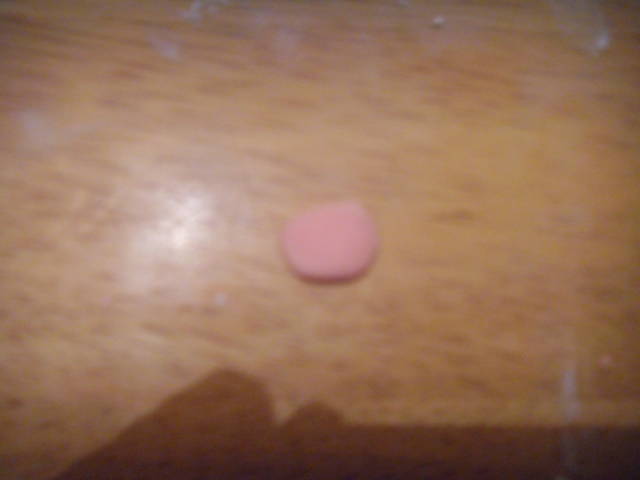
Stick it in the top, centre of the mouth and mark a line down the middle with your straight tool.
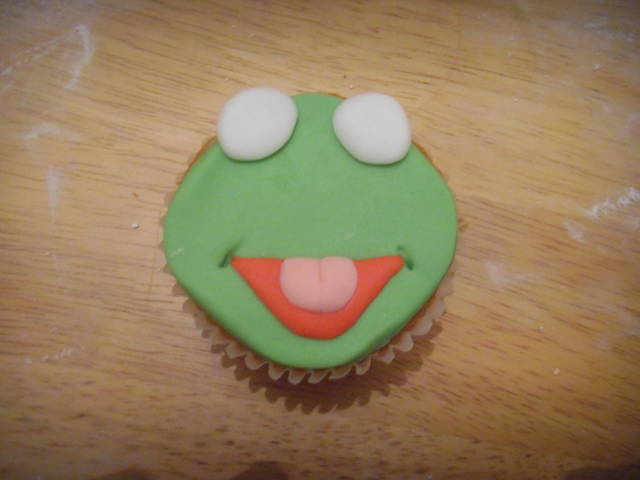
Roll 2 small balls and 2 small ‘sausages’ of black sugar paste.
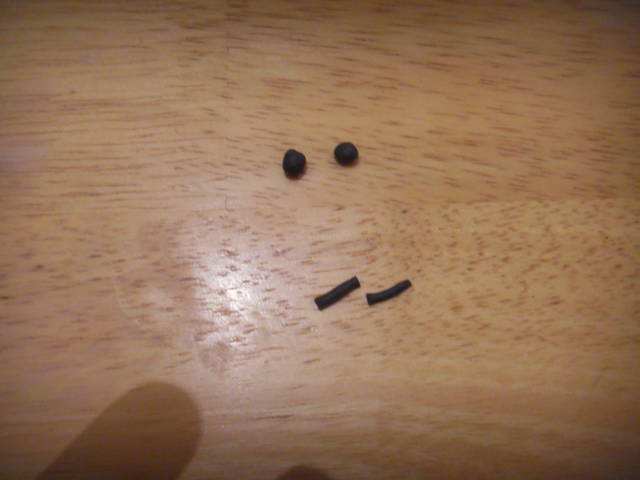
Stick the lines on to the middle of the eyes at an angle (in line with the edge of his head), flatten. Stick the balls to the middle of this line, flatten.
Fozzie
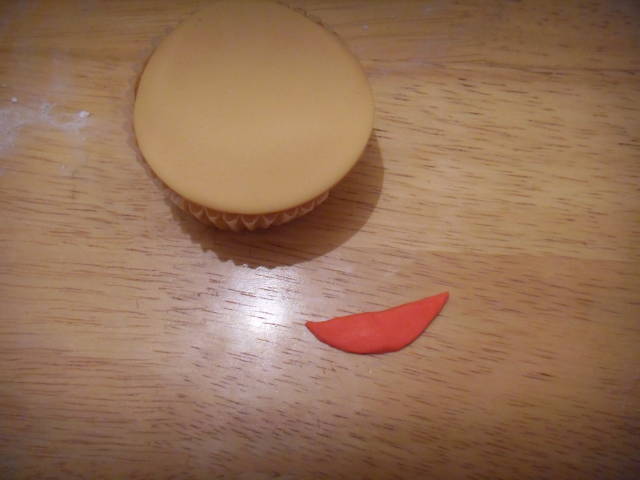
Cover your cake in orange sugar paste. Pinch the edges slightly at the top to make it pear shaped.
Roll out red sugar paste, cut a ‘D’ for the mouth.
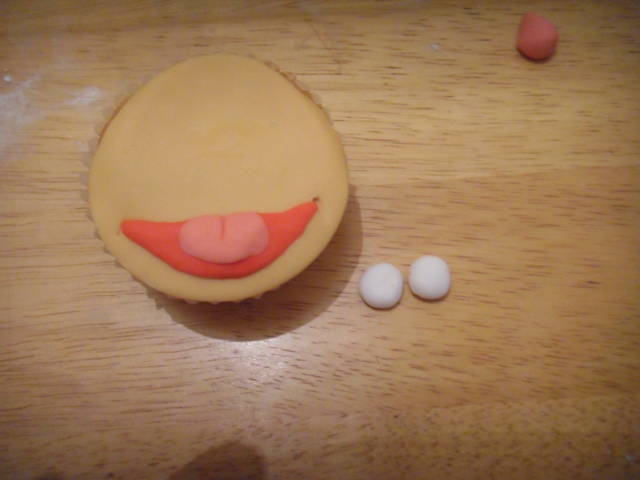
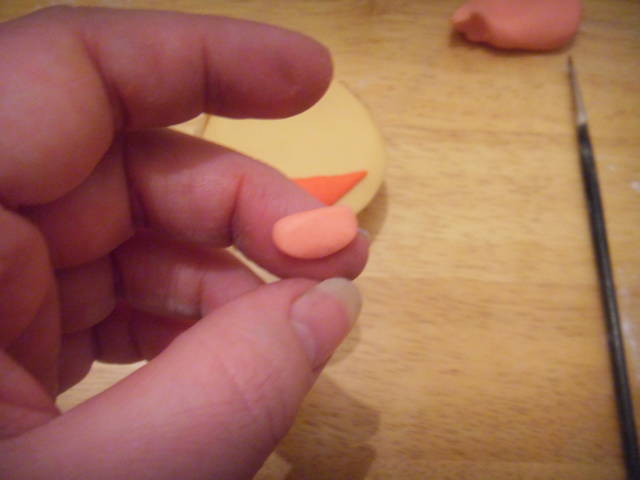
Squash a ball of pink sugar paste into an oval.
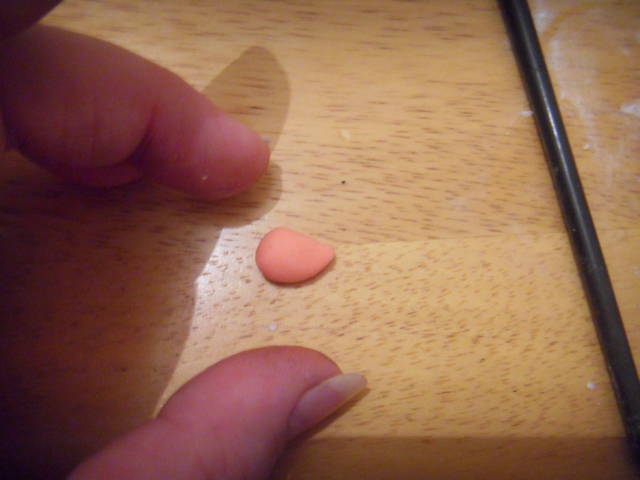
Stick on in the centre top of the mouth to make a tongue. Mark it centre top with your straight edged tool. Roll 2 small balls of white sugar paste, for the eyes.
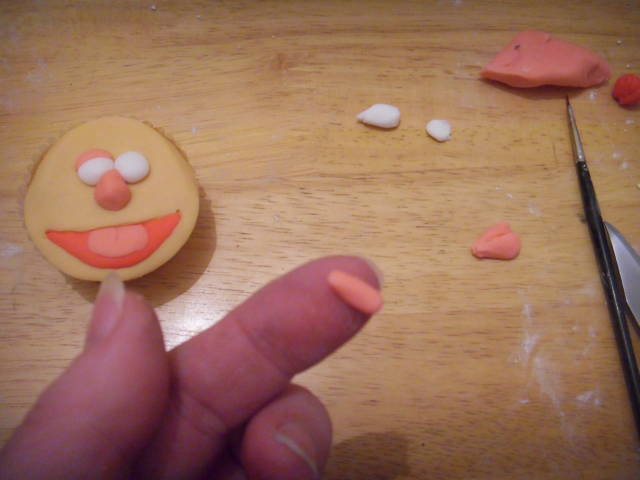
Roll a small pear shape of pink sugar paste for a nose.
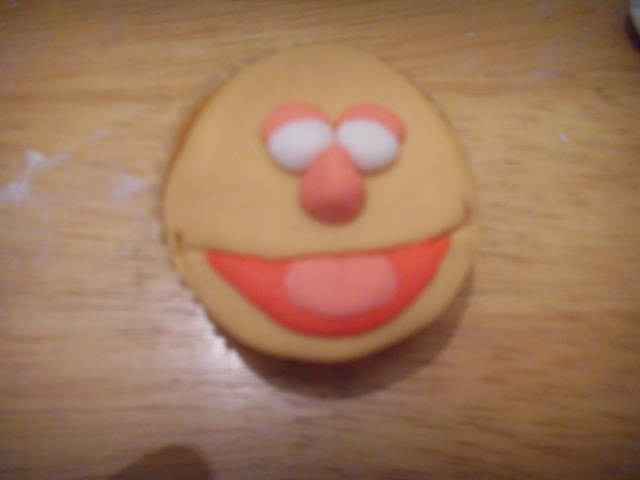
Stick on the nose. Stick the eyes on just above.
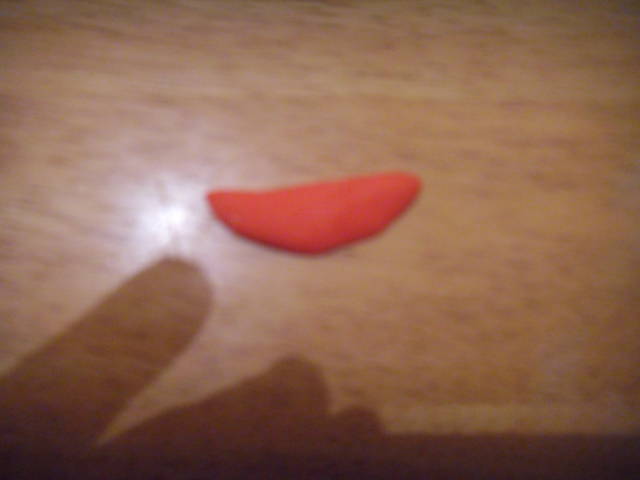
Roll 2 small, fat pink sausages, stick them on over the top of the eyes (at a slight angle) for eyelids.
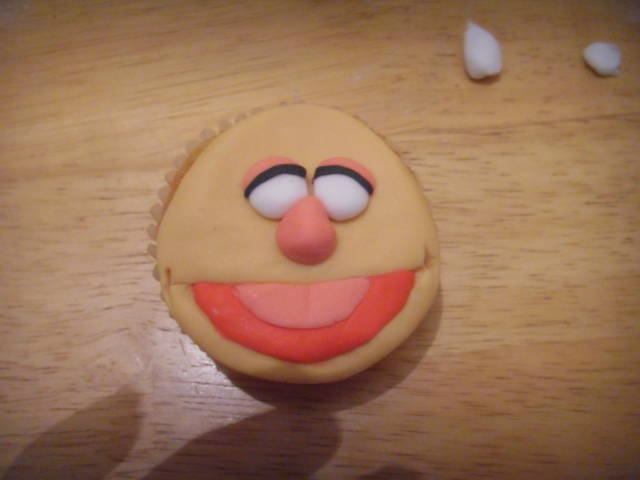
Roll a thin sausage of black paste, cut into 2 pieces and stick where the eye meets the eyelid. Trim off any excess.
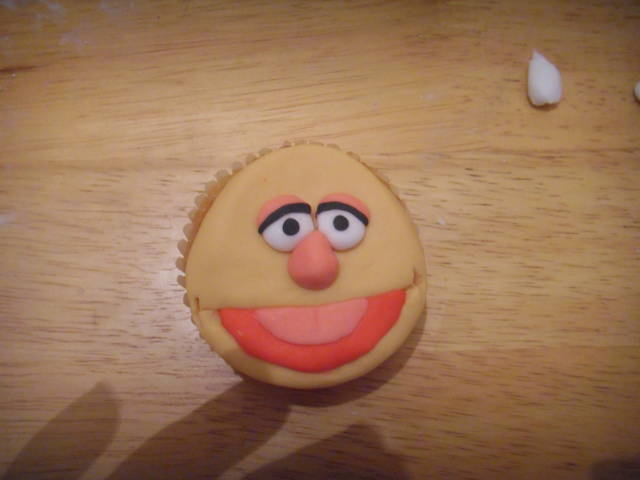
Roll 2 very small black sugar paste balls, flatten on to the eyeball to make pupils.
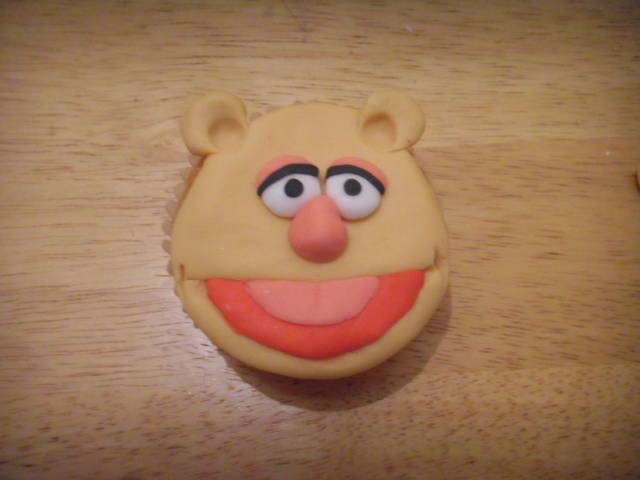
Roll 2 balls of orange sugar paste, Stick them on to the edge of the cake a bit further apart than the eyes. Mark the middle with your ball shaped modelling tool.
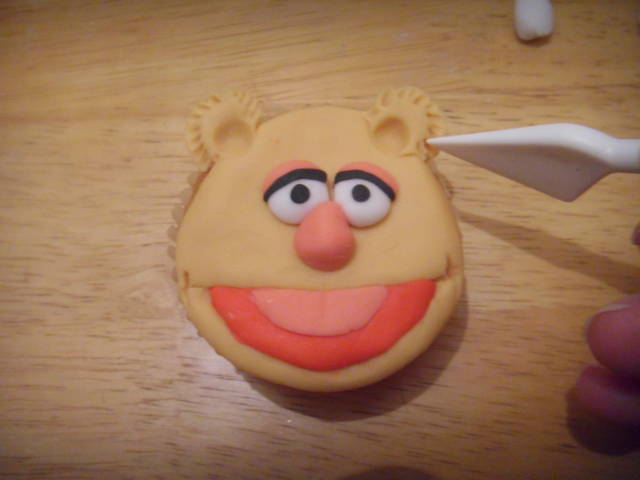
Mark around the edge of the ears with your straight edged tool to make fur pattern.
Gonzo
Cover your cupcake in blue. Roll out a small amount of pink sugar paste. Cut a small pink ‘D’.
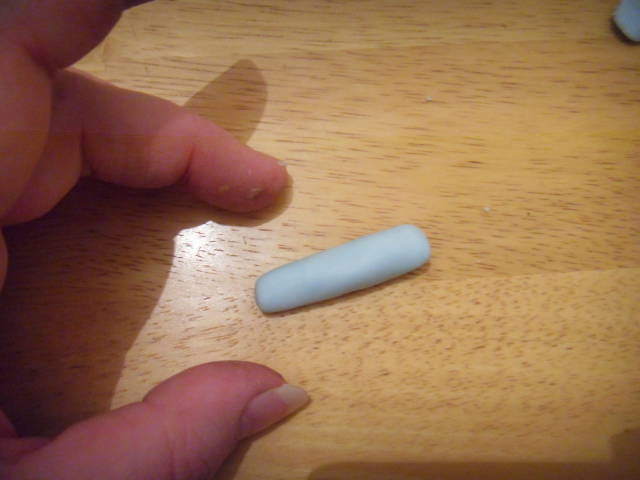
Roll a pink ‘sausage’ of sugar paste.
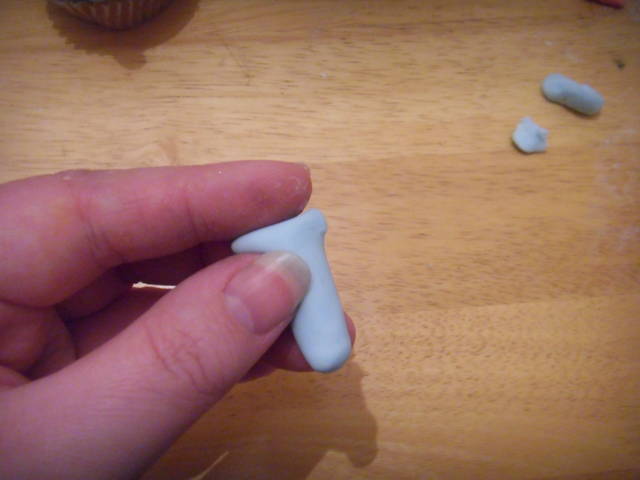
Roll a thick, blue ‘sausage’ of sugar paste.
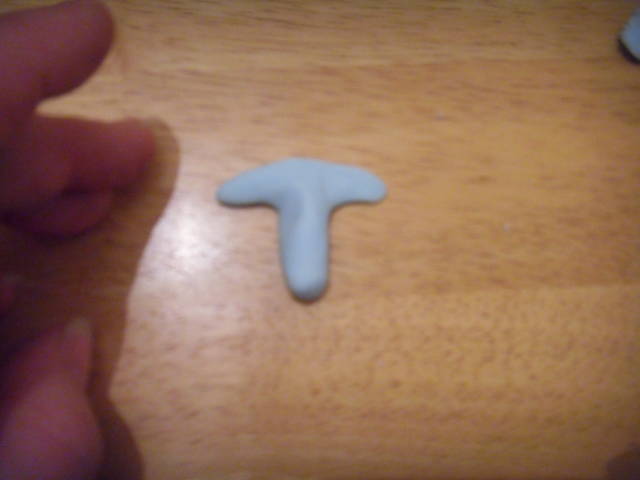
Squash it at one end.
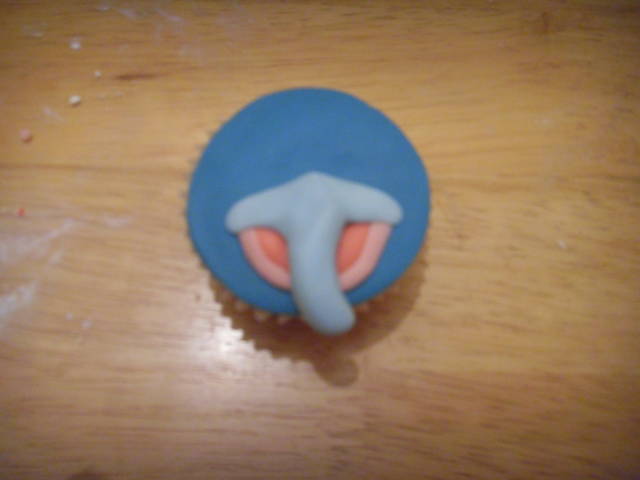
Flatten the end so that the whole piece is ‘T’ shaped but the main section is still round.
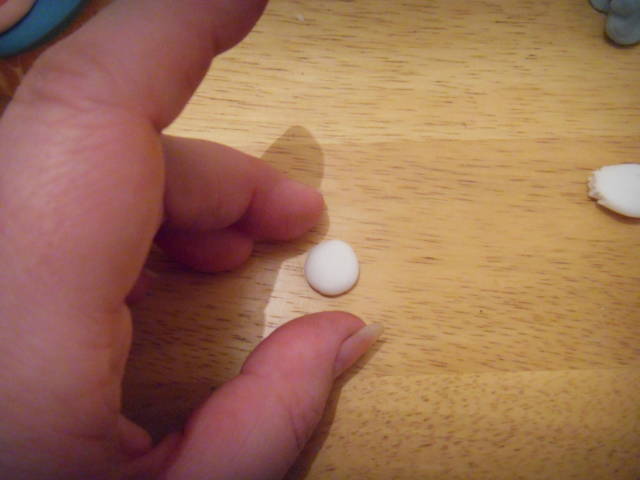
Stick the ‘D’ shaped mouth piece on, the longer piece around the bottom of it, and the blue ‘nose’ piece on top. Curve the nose slightly.
Roll 2 small white balls for eyes.
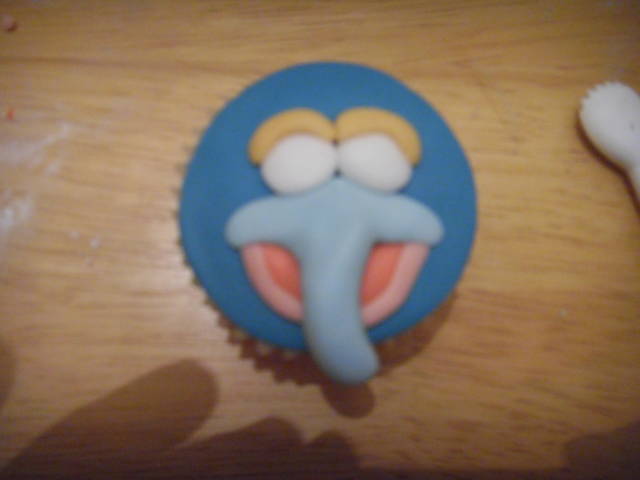
Roll out a yellow ‘sausage’ of sugar paste for eyelids.
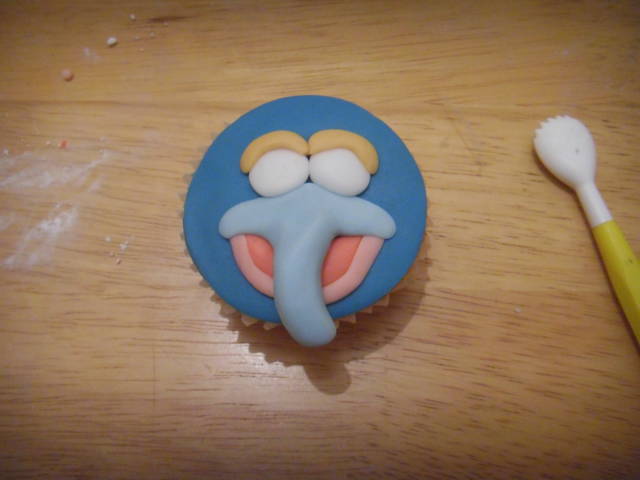
Cut the ‘sausage’ in half, Stick each half over an eye and trim off the excess.
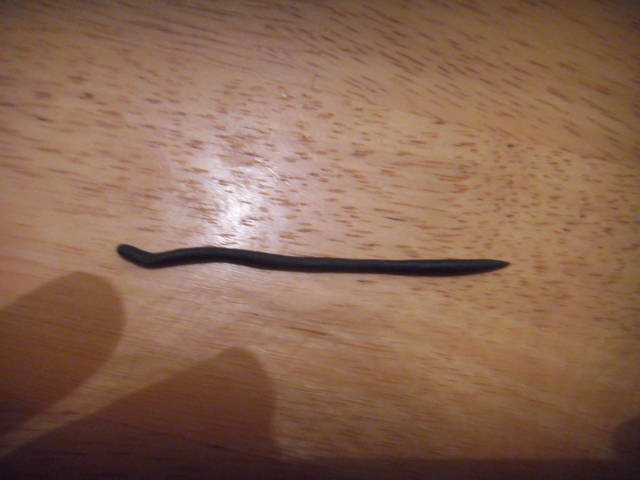
Roll a thin ‘sausage’ of black sugar paste.
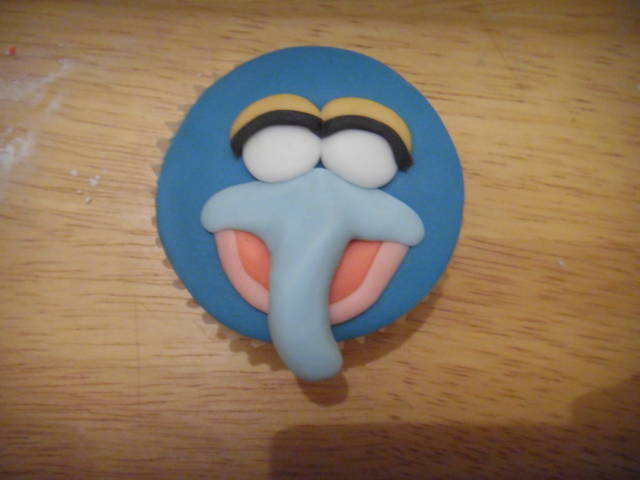
Stick this over the eyes where the eyelid and eye meet. Trim off any excess. Roll 2 very small balls of black sugar paste and stick them on as eyeballs.
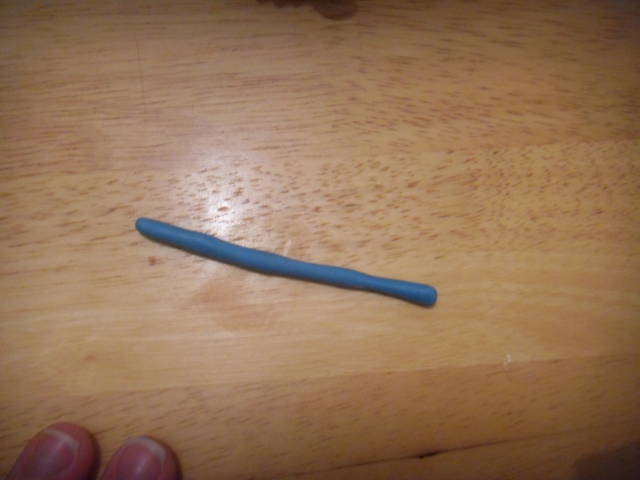
Roll out a ‘sausage’ of blue sugar paste. Cut it into 3. Lay the sections alongside each other.
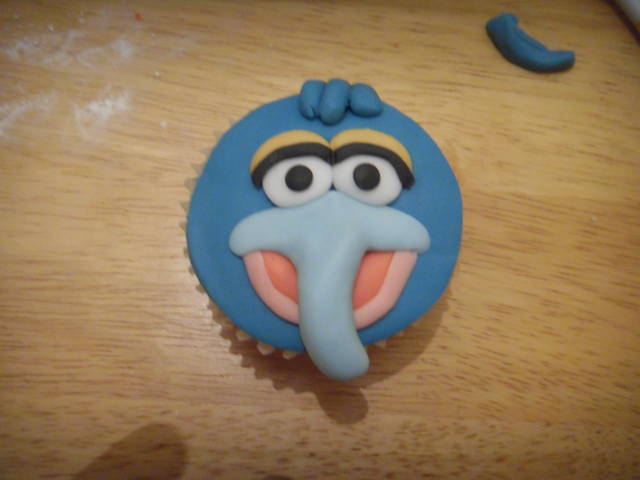
Stick the blue sausages on as hair.
Miss Piggy
Cover the cake in ‘Skin’ colour (Paprika or pink/brown mix). Cut a small ‘D’ shape in red sugar paste. Stick this on as a mouth.
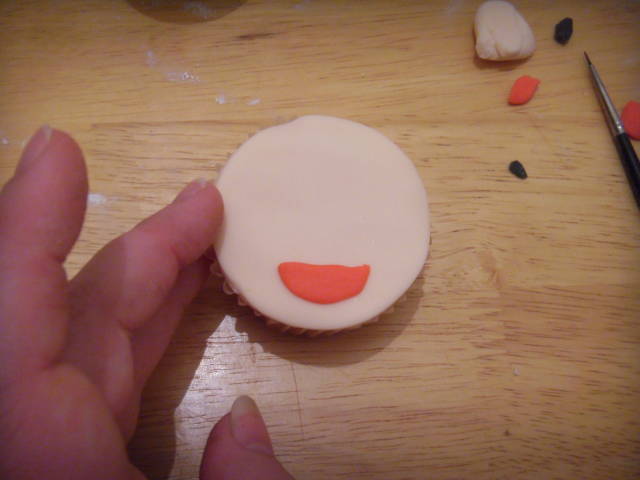
Squash a small pink ball of paste. Stick this on to the top centre of the mouth as a tongue. Mark a vertical line with your straight edged tool.
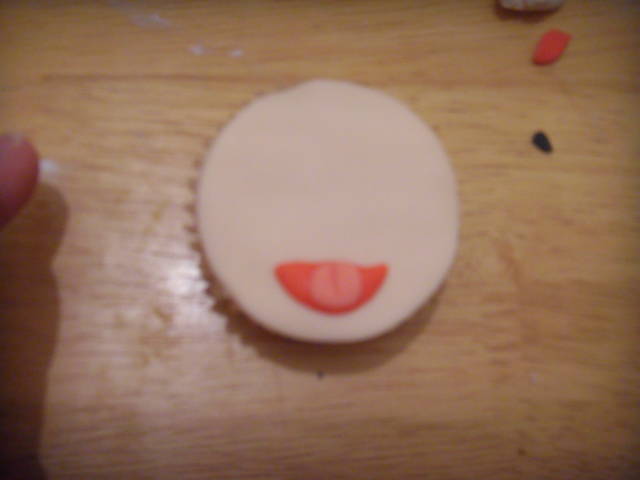
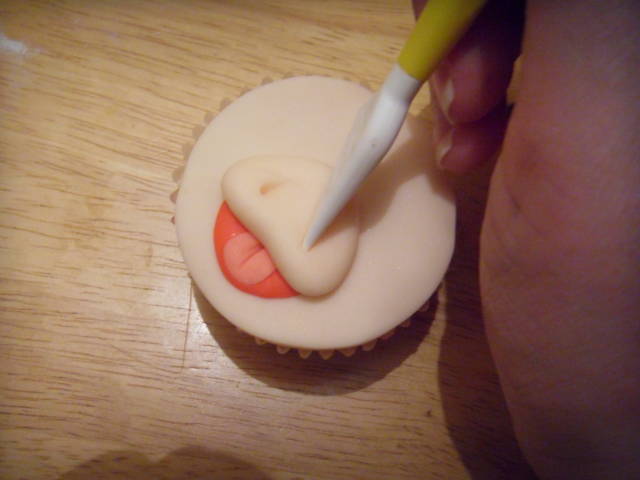
Roll a large ball of skin coloured paste, squash it into an oval/peanut shape.
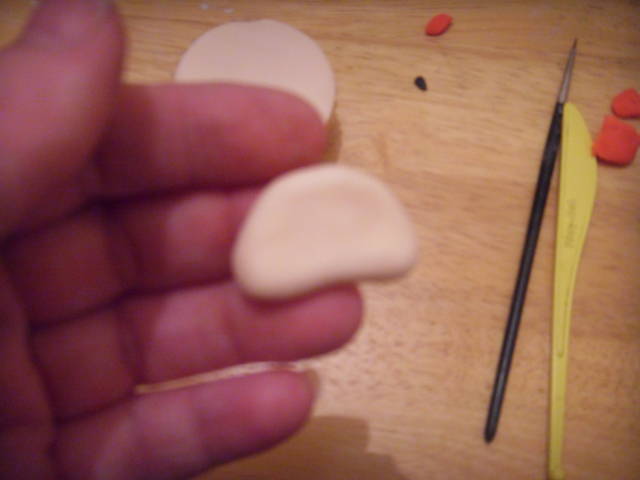
Stick this above the mouth. Mark vertical nostrils with your straight edged tool.
Roll a ‘sausage’ of skin coloured paste.
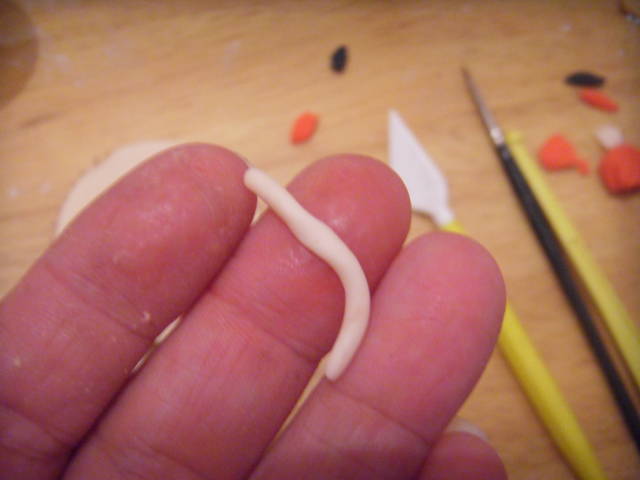
Stick this along the bottom of the mouth as a bottom lip.
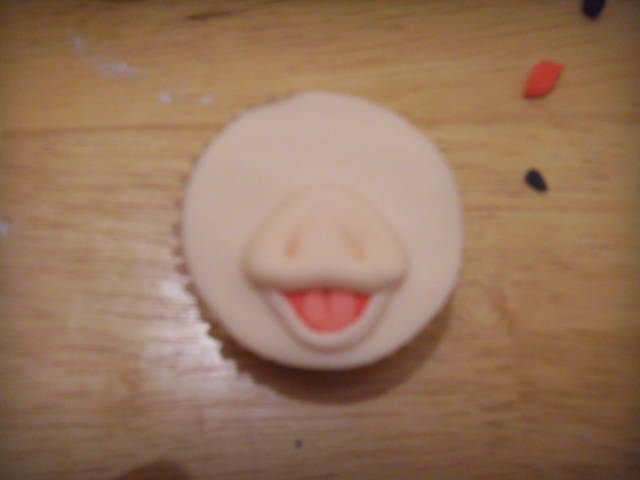
Roll 2 balls of white paste into slightly oval shapes, flatten on to the cake above the nose.
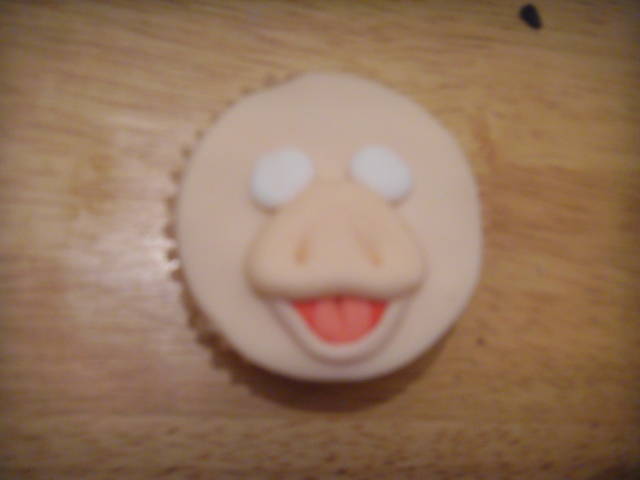
Roll out 2 small thick ‘sausages’ of pink.
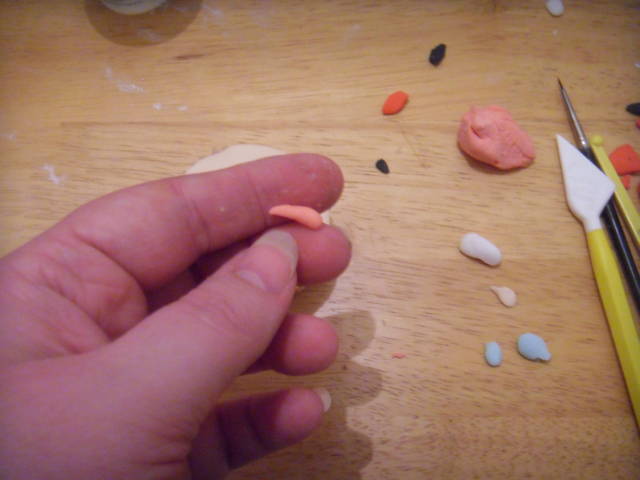
Stick these on as eyelids. Roll out 2 very small black and 2 small blue balls of sugar paste. Flatten them all. Stick the blue on as eyes with black for pupils.
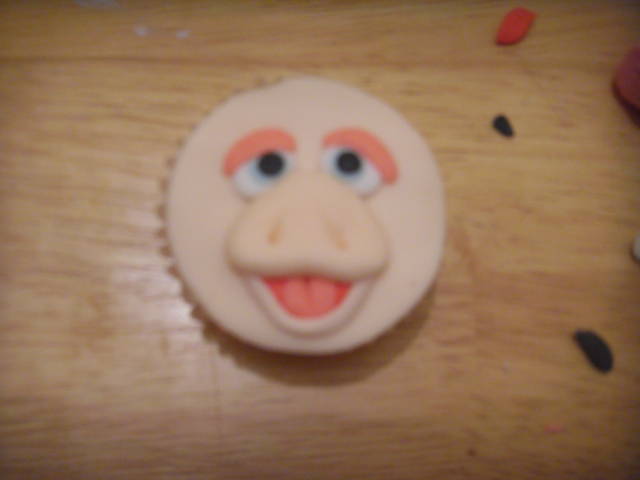
Roll out a thin ‘sausage’ of black sugar paste. Cut in 2 and stick half over each eye where it meets the eyelid. Trim off the excess.
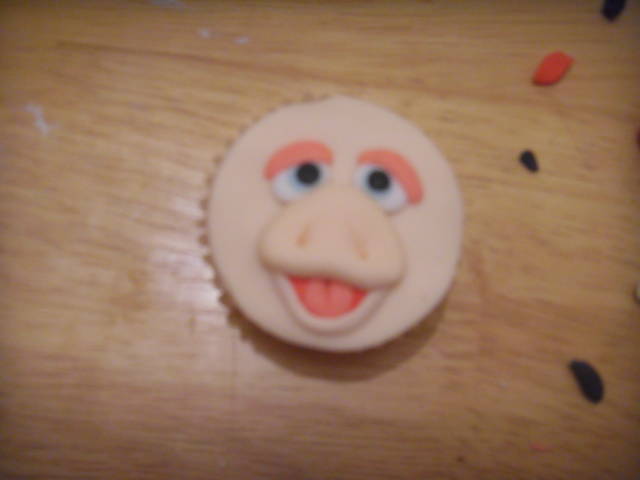
Roll a long (ish) thick (ish) ‘sausage’ (aprox’ the length of the circumference of the cake, a few mm wide).
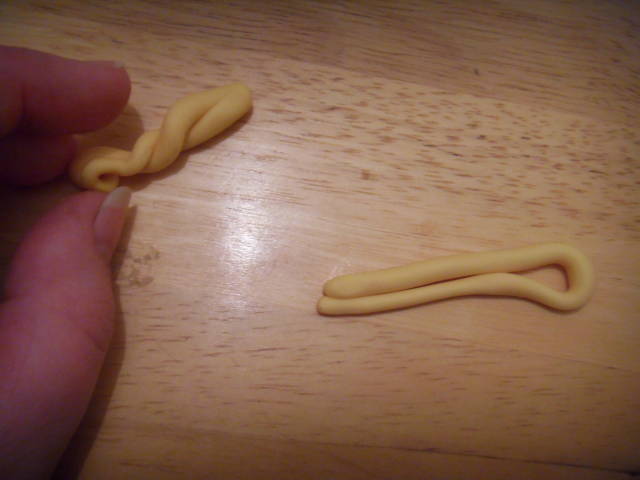
Fold in half and gently twist to make curls (don’t twist if you want the modern, feathered hair Miss Piggy). Make 4 of these strands in varying lengths.
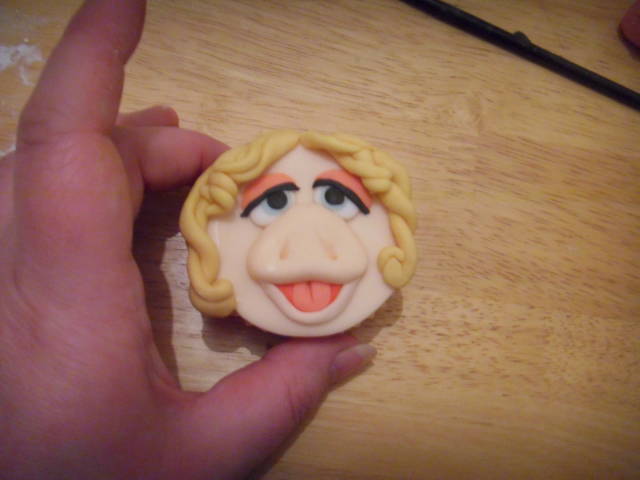
Stick the hair around the face.
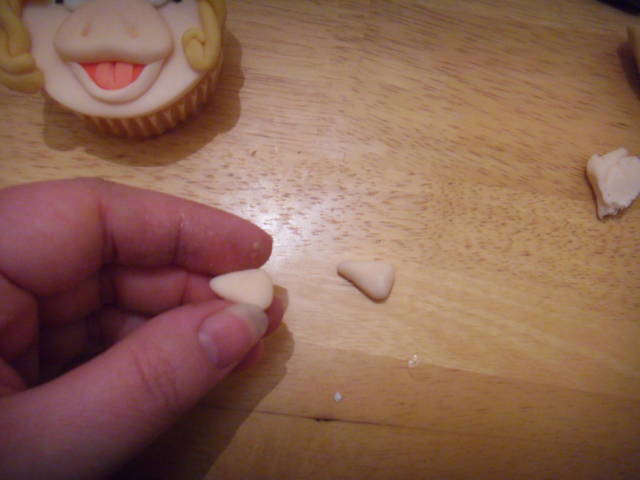
Squash 2 balls of skin coloured paste into triangles.
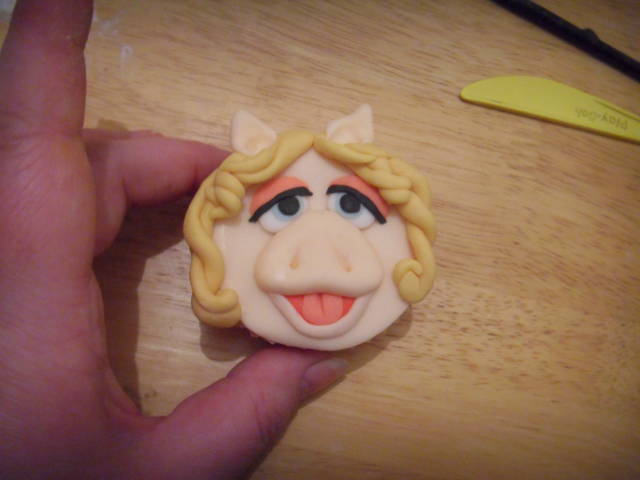
Stick on the side of the head, over the hair, just above the eyes. Mark the centre bottom of each with your ball tool.
For more Muppets and other tutorials please visit my ""blog" http://cakespriteprojects.wordpress.com/" If you like my work please follow me on facebook
Jenny Cake-sprite follow my blog at: http://cakespriteprojects.wordpress.com/ for my latest tips and tutorials
7 Comments
Thank you for sharing, they are too cool!!!
Selma S. ~ Little Apple Cakes
Excellent! Love gonzo, thanks for the tute xx
sugar and art - perfect combination! sugarmagic22@gmail.com
Thank you! They are all so adorable!!
Toni, Pennsylvania, https://www.facebook.com/WhiteCraftyCakes
Great tutorial.
Teri, Ontario, Canada http://www.TeriLovesCake.ca
Fabulous tutorial, thank you!
Kath's Cakes https://www.facebook.com/pages/Kaths-Cakes/369485736483786
Thanks for all the kind words :D
Jenny Cake-sprite follow my blog at: http://cakespriteprojects.wordpress.com/ for my latest tips and tutorials
They look fab!
