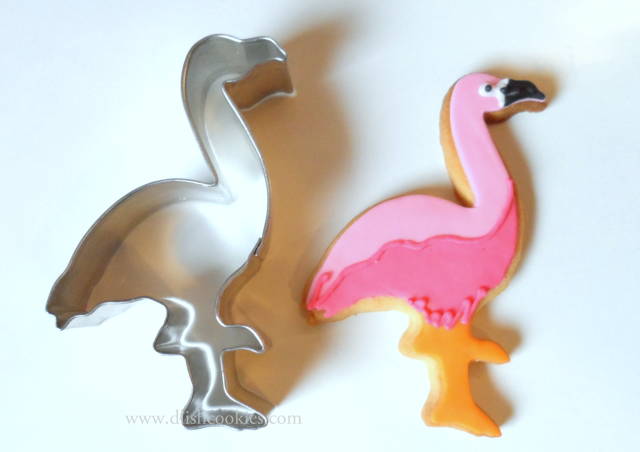
Flamingo cookie tutorial
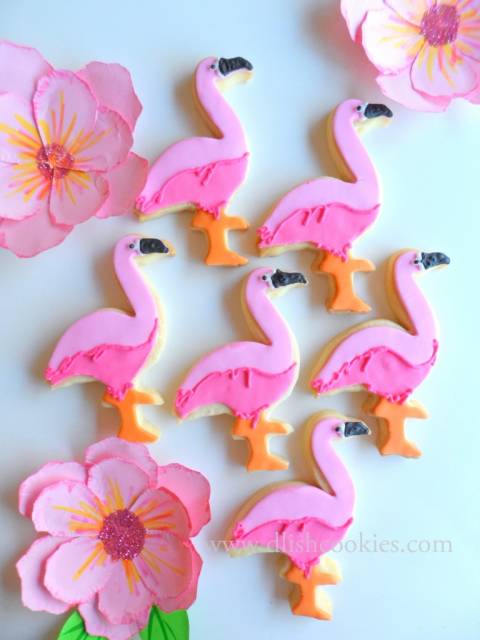
These little Flamingo’s are so cute and very hot in the party scene right now.
They are easy to make and you only need a few tools at hand to get decorating.
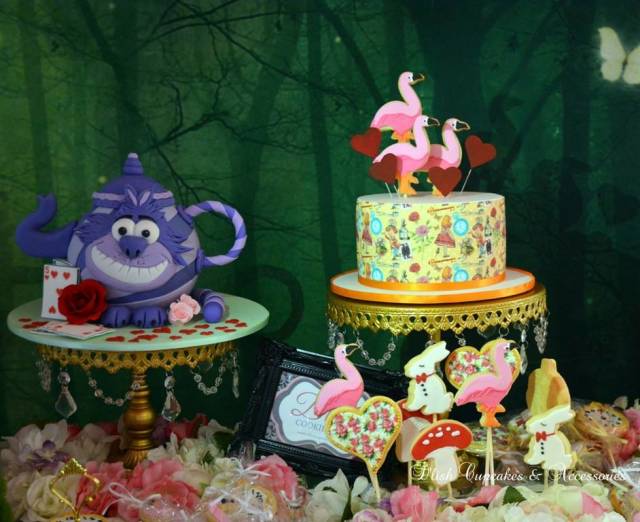
These cookies were made for www.littlewishparties.com for their Alice in Wonderland display at Confetti Fair in February.
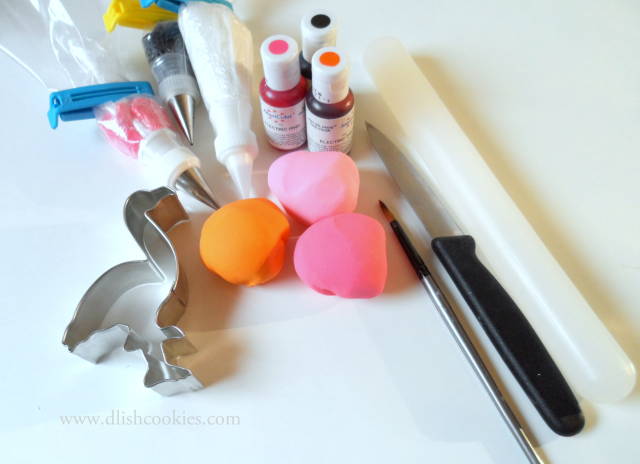
The first step is getting your materials together.
You will need :
- Flamingo cookie cutter ( available at www.dlishcookies.com)
- Flamingo shaped sugar cookies
- Electric orange, electric pink and black food colours ( I use Americolour)
- Electric orange, electric pink, and pink fondant ( I use Satin Ice)
white, electric pink and black royal icing in individual piping bags with a number #1 nozzle - Sharp point knife
- Paint brush
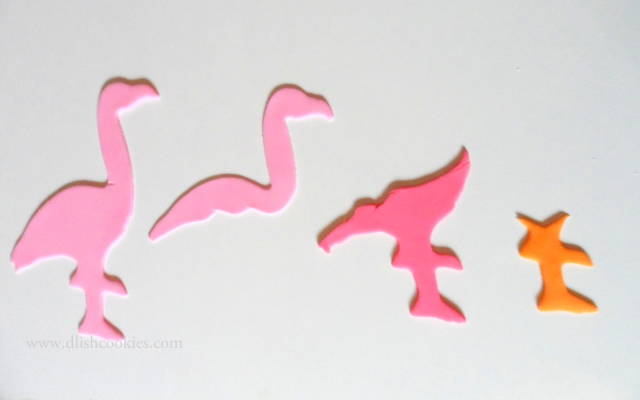
Roll out your fondant to 2mm thick ( electric orange, electric pink and pink).
Using the flamingo cookie cutter, cut out one flamingo in each colour of fondant.
Using the sharp knife cut the electric pink and pink fondant flamingo’s starting at the base of the neck running along the body in a wavy motion, see picture for detail.
Cut a V shape at the base of the body in the electric fondant flamingo shape removing the legs.
Using the knife cut in a V shape at the top of the leg in the electric orange fondant, see picture for detail.
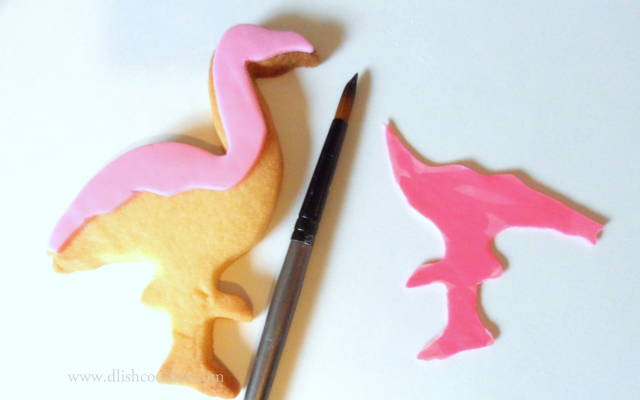
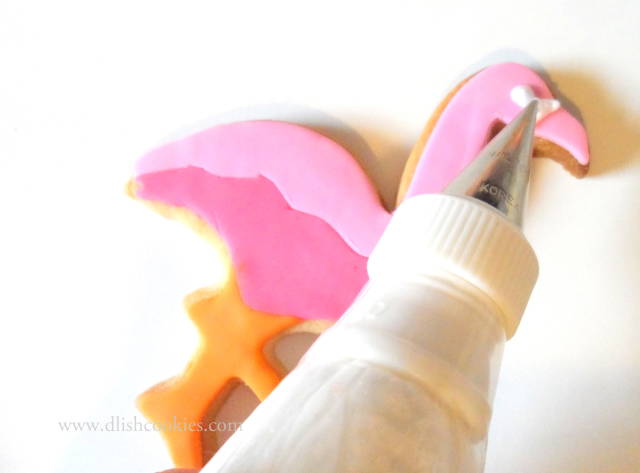
Using your lightly wet paintbrush, moisten the back of each piece of fondant ( top of body, bottom of body and legs) and place on cookie in the appropriate places ( see picture as reference).
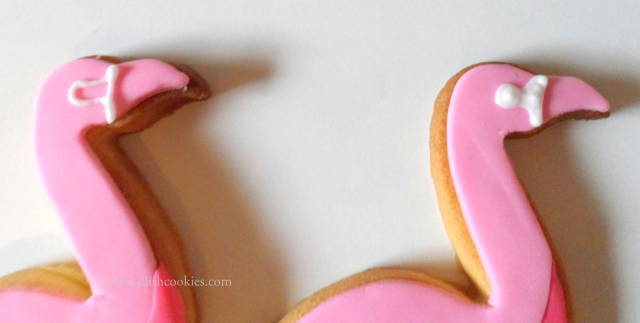
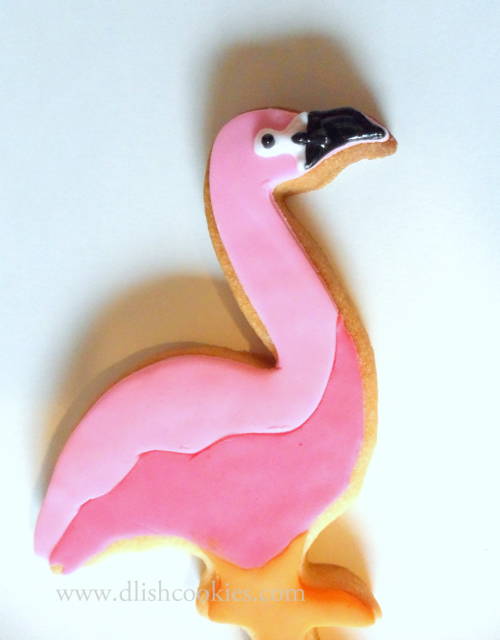
Using the white royal icing pipe around the eye sock and the beginning of the beak. Fill the section with white royal icing.
Using the black royal icing fill in the beak and a dot for the eye.
Using the electric pink royal icing pipe the feather detail on the middle of body and the base of the body/top of legs.
enjoy your fabulous flamingos!
Nat :)
7 Comments

Theyre gorgeous, thanks for sharing ♡
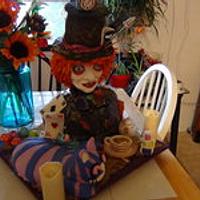
Love the cheshire cat teapot cake too xx
sugar and art - perfect combination! sugarmagic22@gmail.com

Thanks for sharing these are fabulous!
Kath's Cakes https://www.facebook.com/pages/Kaths-Cakes/369485736483786

very cute, thank you for sharing!
Selma S. ~ Little Apple Cakes

So cute! Thank you for sharing this tutorial!!
Toni, Pennsylvania, https://www.facebook.com/WhiteCraftyCakes
cute , thanks !
art deco cakes by gali
Thanks Christine for your lovely comments!
Feel free to share this tutorial with your friends ladies. Thank you for your lovely comments hope you found the tutorial a little bit useful!
Thanks
Nat

There are so cute! I love the matching flowers also. Thank you for sharing.