
Whipped Cream Peony
Whipped Cream Peony
To create this flower…
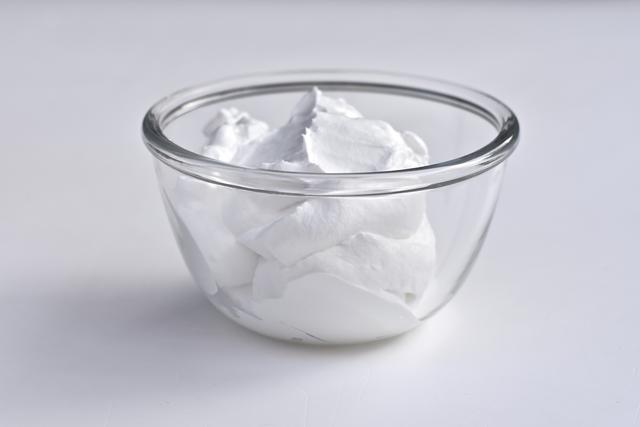
1.Rich’s whipped cream topping: 500 grams whipped to full volume.
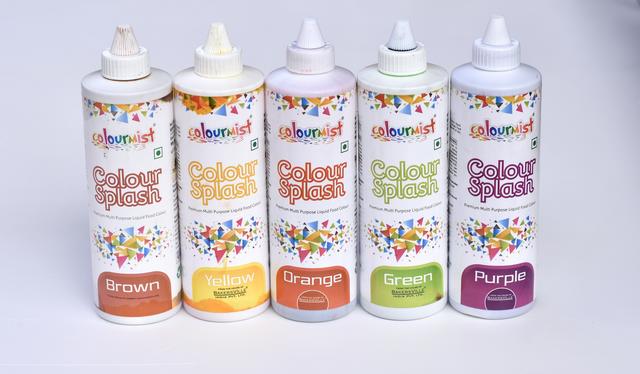
2.Bakersville Colourmist: Color Splash color range.
3.Colors and Piping Nozzles:
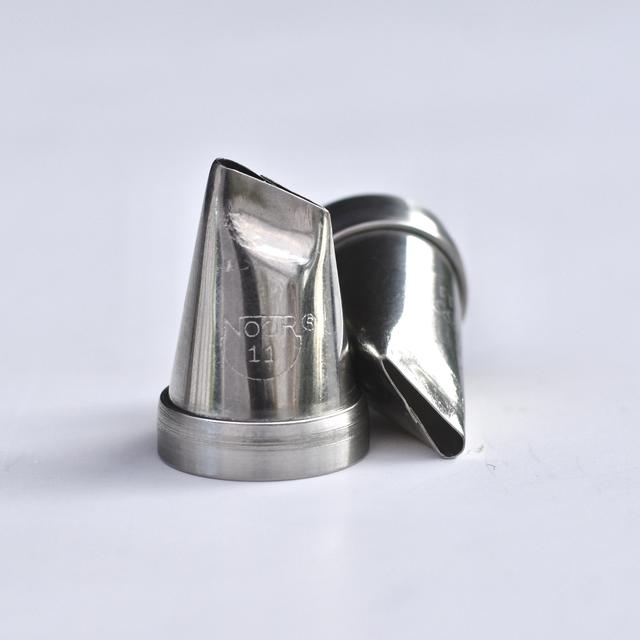
• Base: tint a small quantity of white whipped cream with a few drops of green and yellow to create a light green color. Fill a piping bag with this cream and fix a Noor 11 nozzle
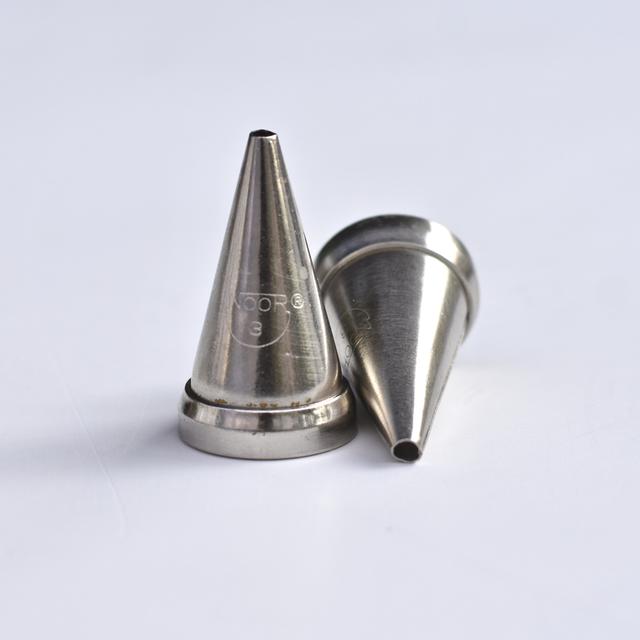
• Stamen: add a few more drops of yellow and green to create a darker shade of the base color. Fill a piping bag with this cream and fix a Noor 3 nozzle.
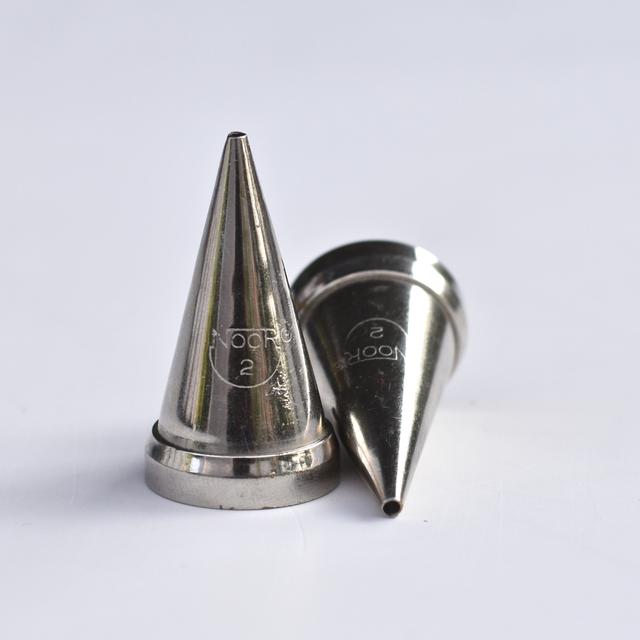
• Pollen: tint a small quantity of white cream yellow and orange to create a bright mango yellow. Fill a piping bag with this cream and fix a Noor 2 nozzle
• Inner petals: tint a small quantity of white cream with a few drops of purple color to create a light purple cream. Fill a piping bag with this cream and fix a Noor 11 nozzle
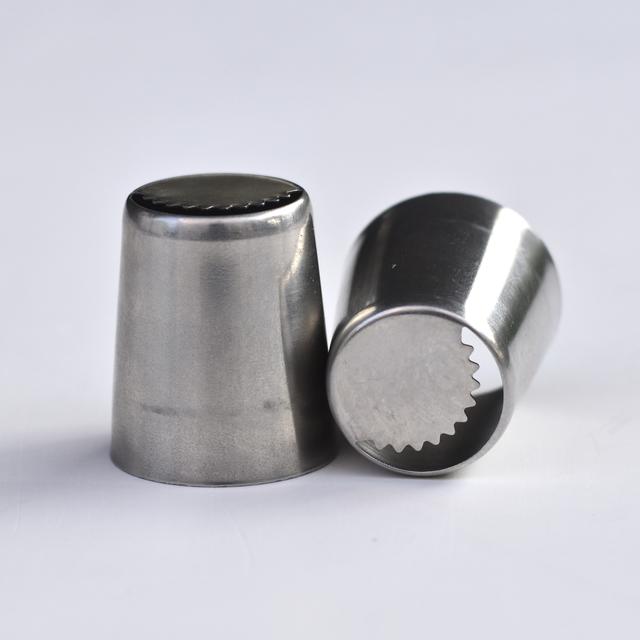
• Outer petals: add a few more drops of purple to create a darker shade of the inner petal color. Fill a piping bag with this cream and fix a Crescent Russian tulip tube nozzle.
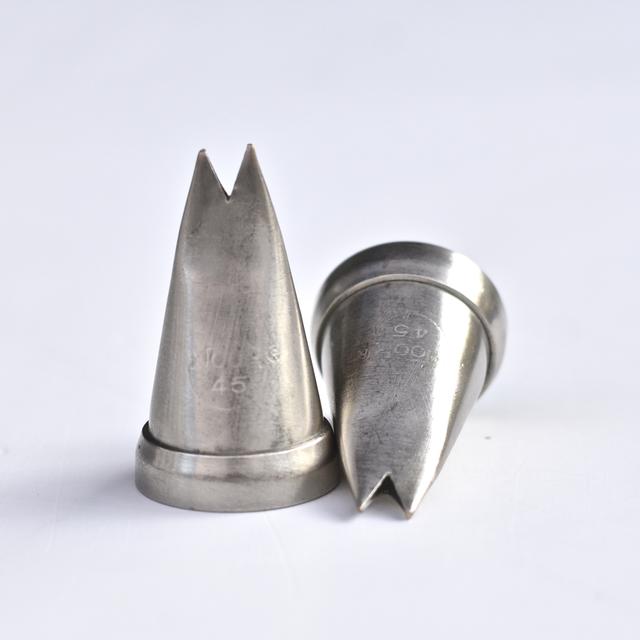
• Leaves: Darken the 2 shades of green that have been created for the base and stamen and fill a dual piping bag with these creams and fix a Noor 45 leaf nozzle to get a shaded leaf on piping.
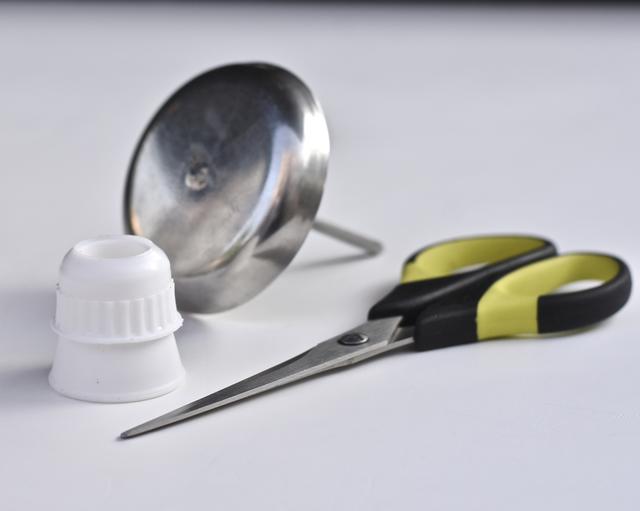
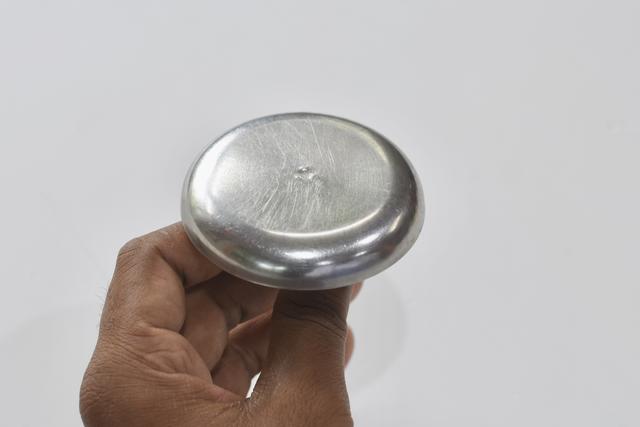
4.Flower nail
5.Piping bag
6.Scissors
7.Changeable nozzles coupler
Whipped Cream Peony
Method:
1. Hold the flower nail firmly between your thumb and the rest of the 4 fingers.
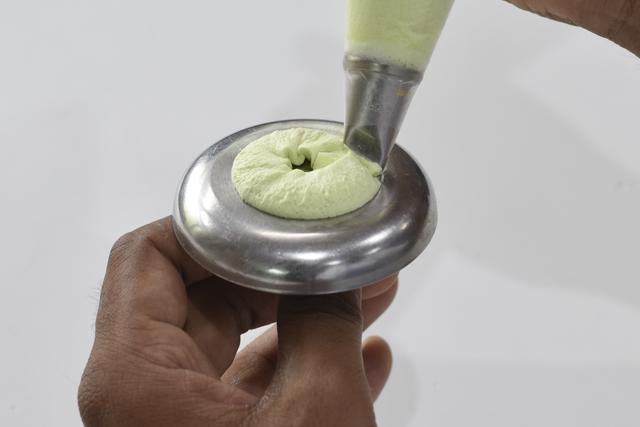
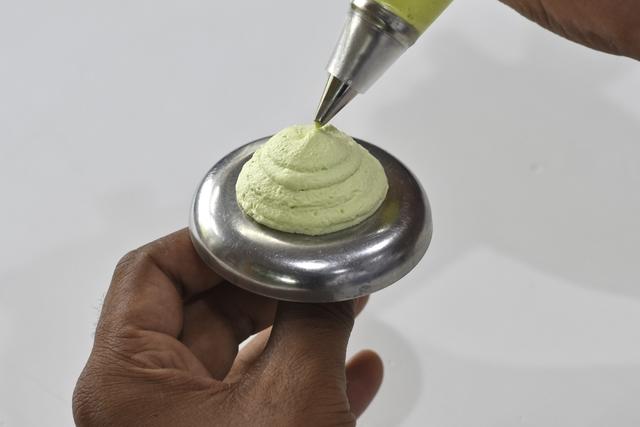
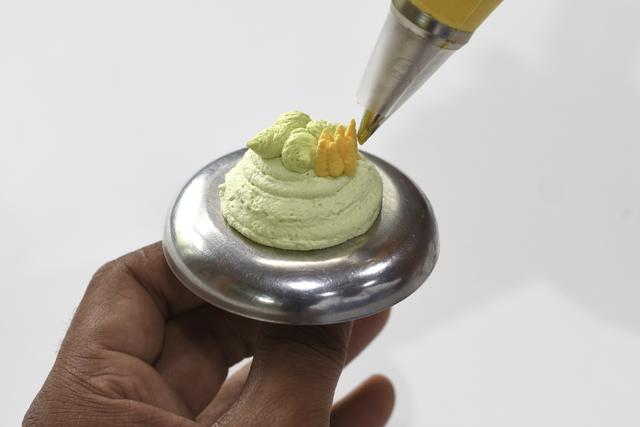
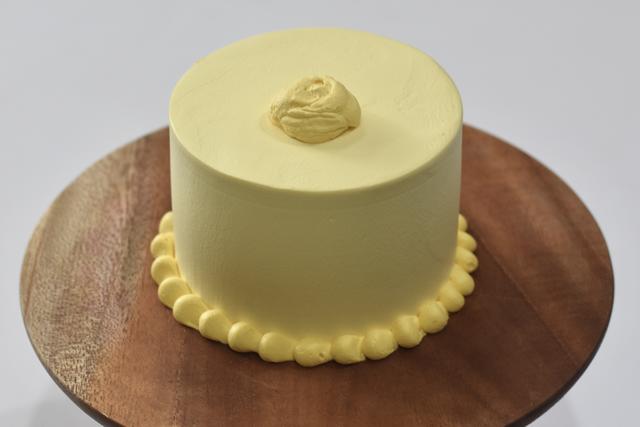
2. Pipe a thick round swirl of light green cream using the Noor 11 nozzle to create a base. Make sure the broad side of the nozzle touches the flower nail while piping.
3. Pipe at least 3 swirls one on top of the other to create a firm base to support the flower.
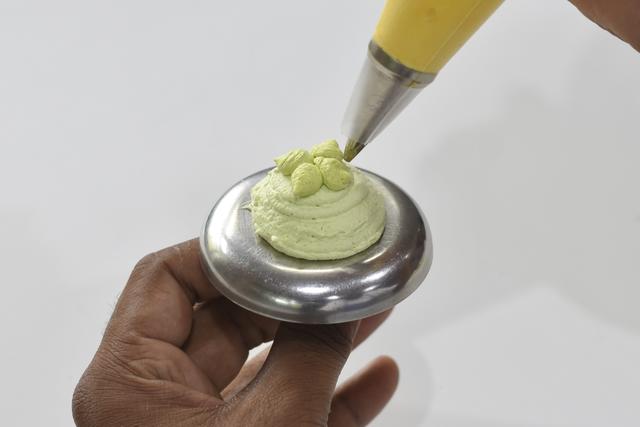
4. Pipe four beads of the darker green cream creating and cross like pattern using the Noor 3 nozzle to create the stamen of the flower.
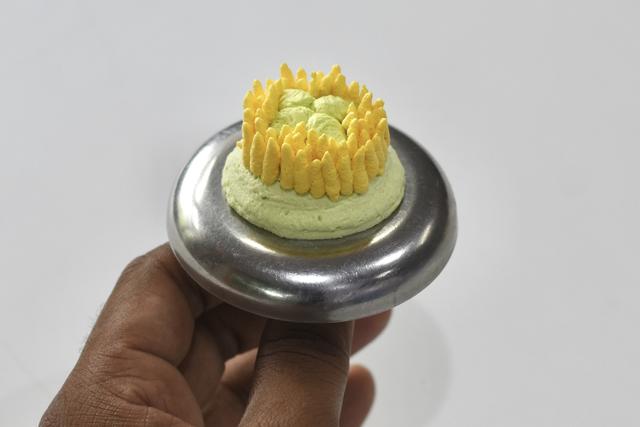
5. Pipe around the 4 green beads; grass like upwards drop lines with the bright mango cream using the Noor 2 nozzle to create the pollen.
6. Pipe at least 3 lines of the pollen around the stamen carefully.
*Note: make sure the stamen is clearly visible and not lost in the pollen.
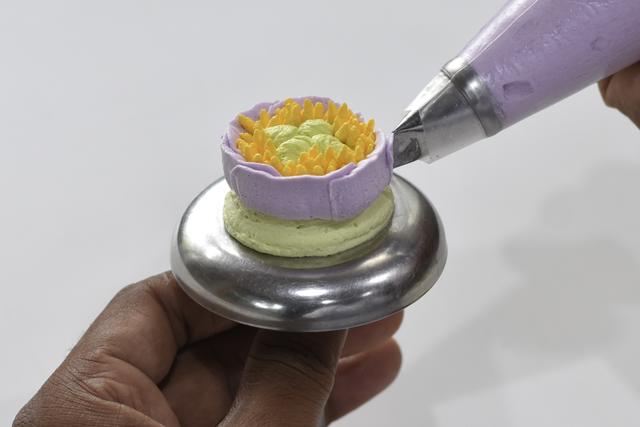
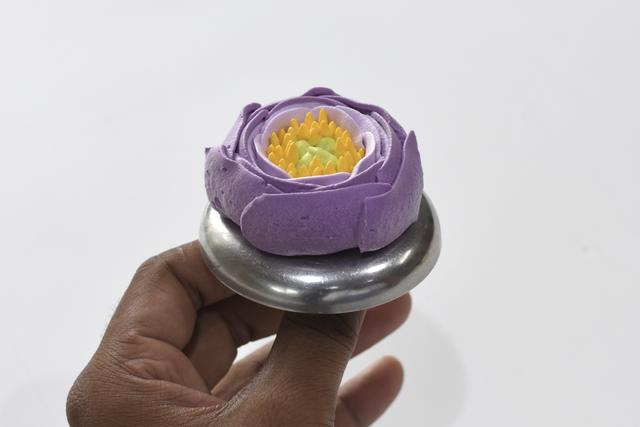
7. With the Noor 11 nozzle against the base at a 90-degree angle, pipe a medium length upright curved petal with the light purple cream. Repeat to pipe petals that overlap as shown. Pipe at least 2 rounds of petals in the same way.
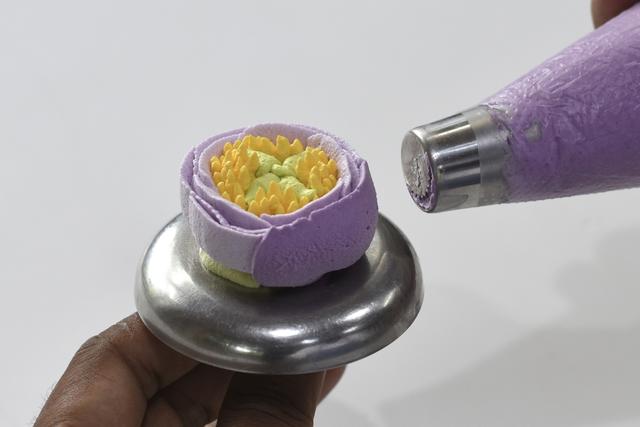
8. Using a Crescent Russian tulip tube nozzle with dark purple cream repeat the same process to pipe more petals around until you are happy with the flower size.
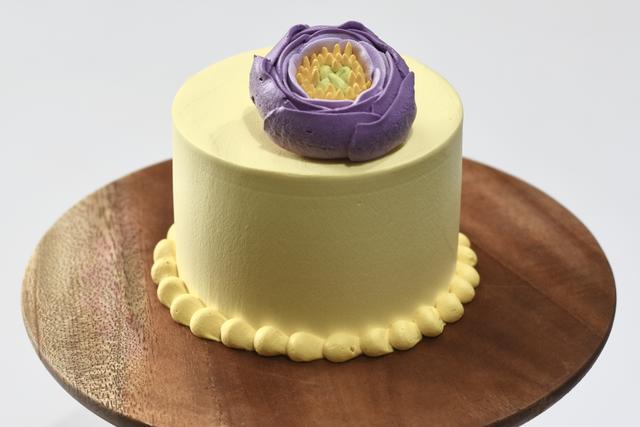
9. Before lifting the finished flower for placement, give a big drop of cream to set the flower at your desired angle.
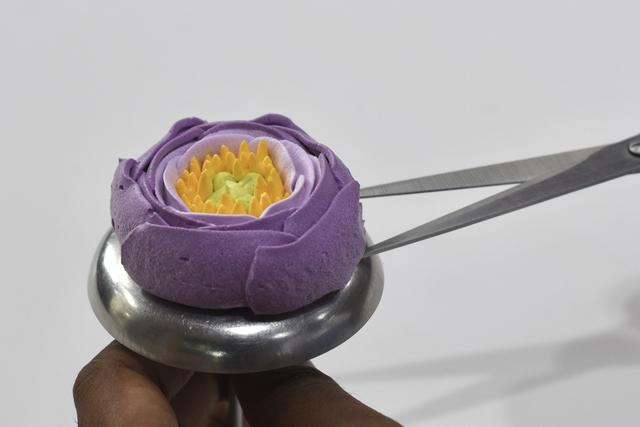
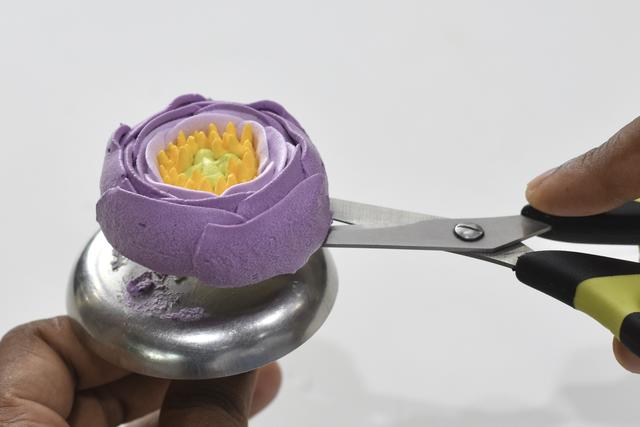
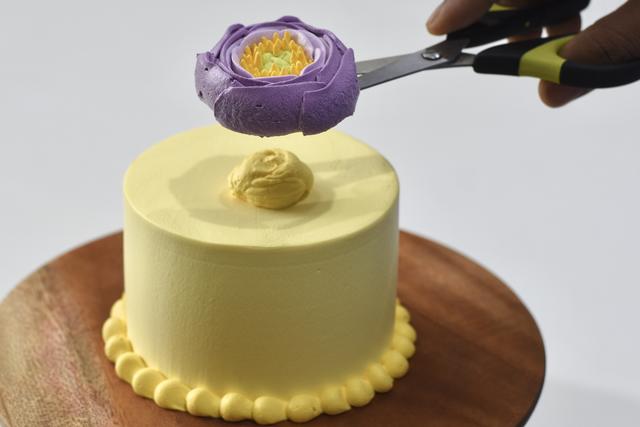
10. Carefully slide a slightly open scissor between the flower nail and the piped flower. Once the scissor if fully positioned underneath the flower open it a little to give more support to the flower base and lift it gently off the flower nail.
11. Place the flower at your desired angle on the edge or center of your cake.
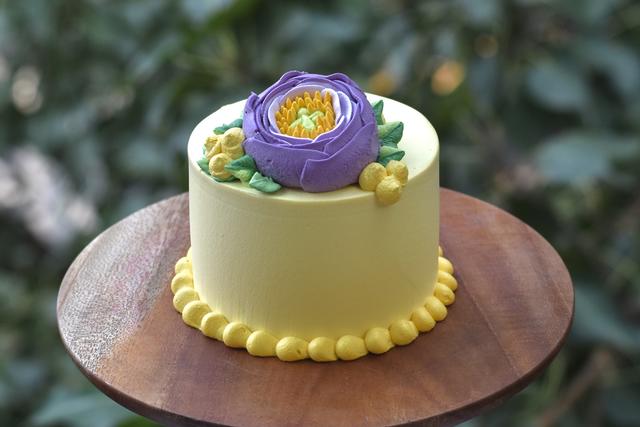
12. Using the dual piping bag filled with the 2 shades of green cream and Noor 45 leaf nozzle, pipe delicate small leave around it to complete the flower setting.
13. Final.

Ataraxia
1 Comment
Amazing. I would never have thought that whipped cream was stable and strong enough :)
The Garden Baker