Wafer Pine Branch Tutorial
Supplies:
Colored wafer paper
18 gauge floral wire, cut to approx 6"
Scissors (or fringe die)
Piping gel
Water
Brush
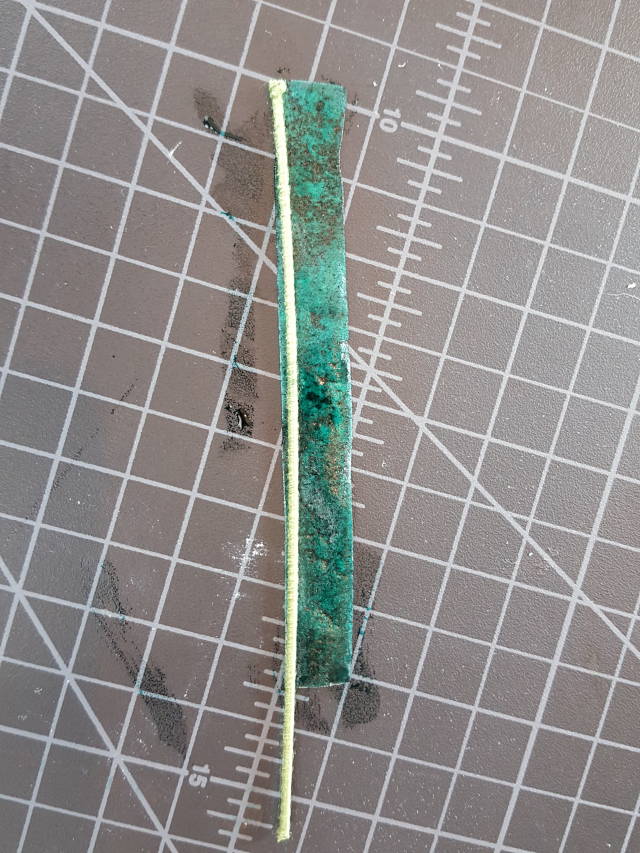
Step 1:
Cut 1/2″ × 5″ strip of wafer paper and moisten with water. Place wire on edge of wafer paper and wrap around wire completely.
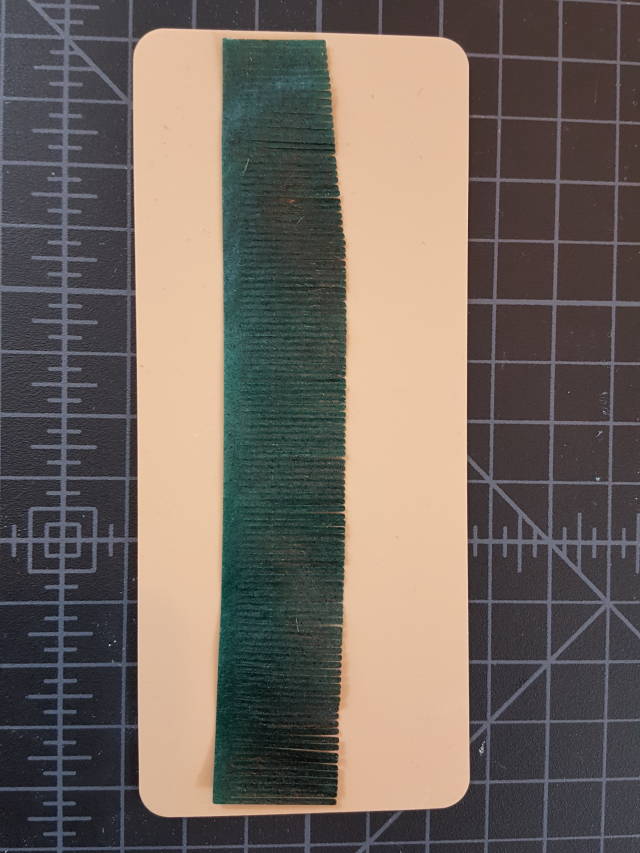
Step 2:
Cut a strip of wafer paper approx. 1″ × 6″ and use scissors (I used a die) to make fringes, being careful not to cut all the way to the edge.
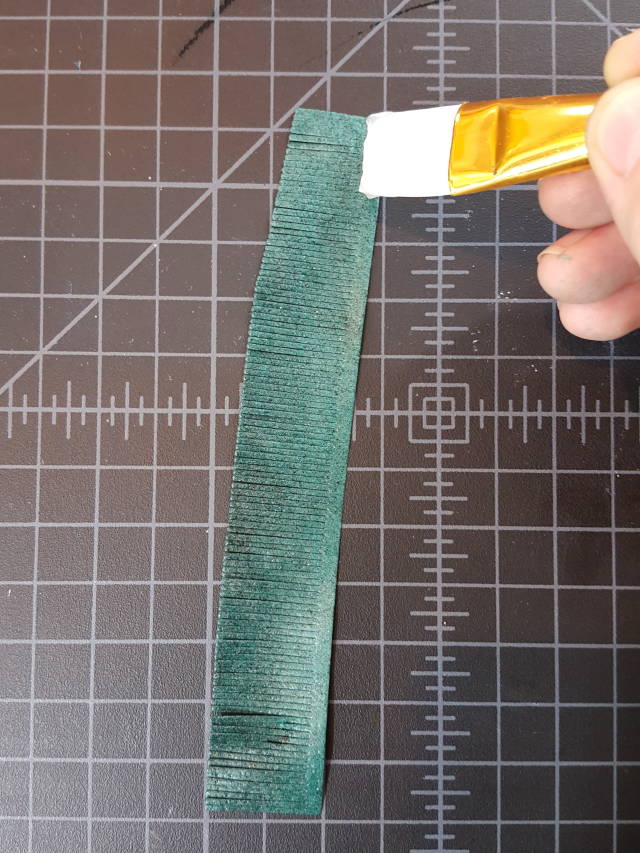
Step 3:
With your brush, apply a thin coat of piping gel to uncut edge of the fringe strip.
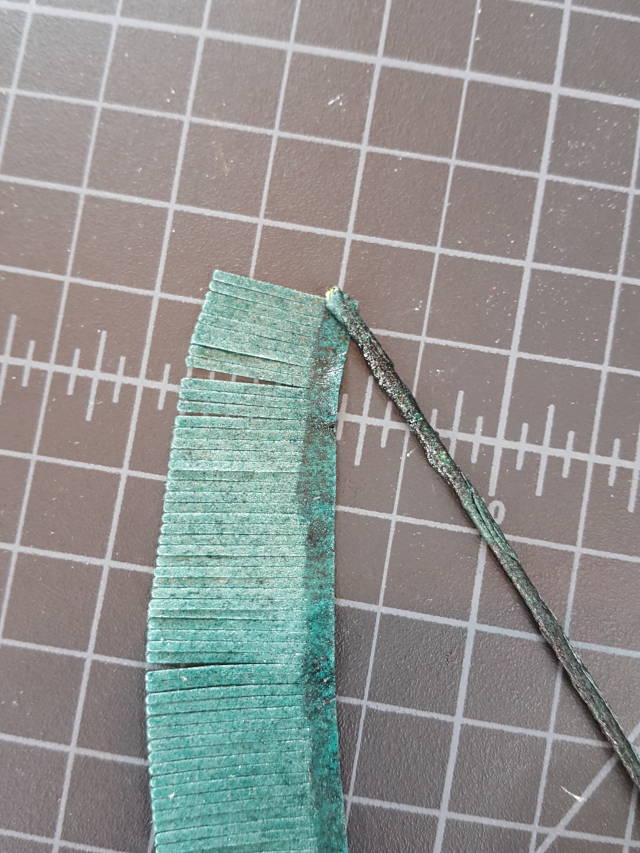
Step 4:
Take the wafer paper covered wire and put on the diagonal to the fringe strip. Slowly start to twist the wire so that the piping gel adheres the fringe strip to it.
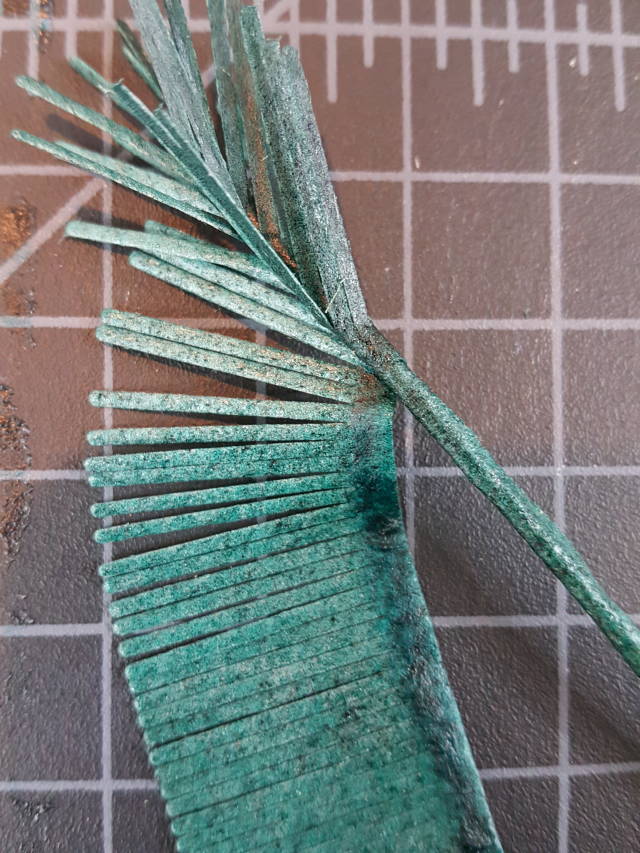
Continue to twist down the length of the stem. I found that the more diagonal I wrapped the wafer paper, the better the “pine needles” fanned out.
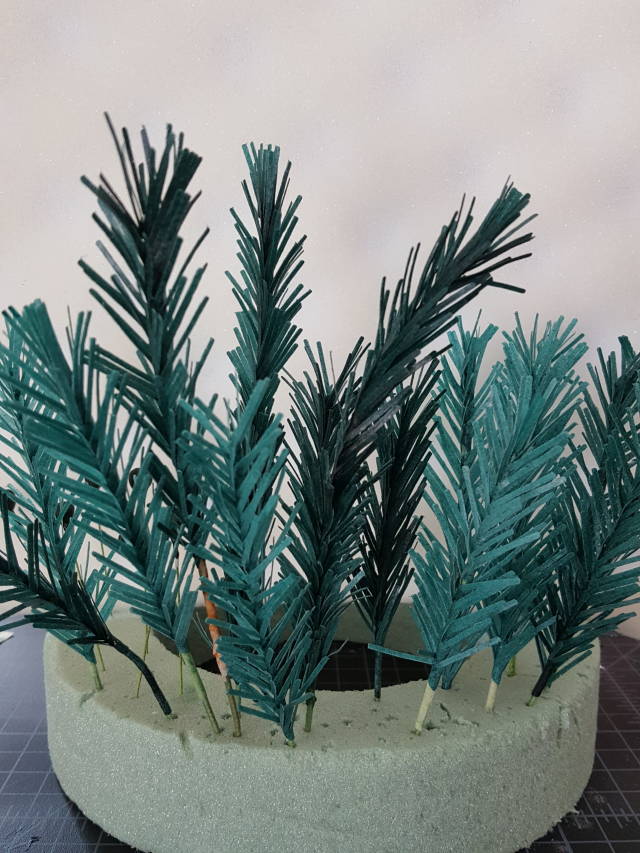
Step 5:
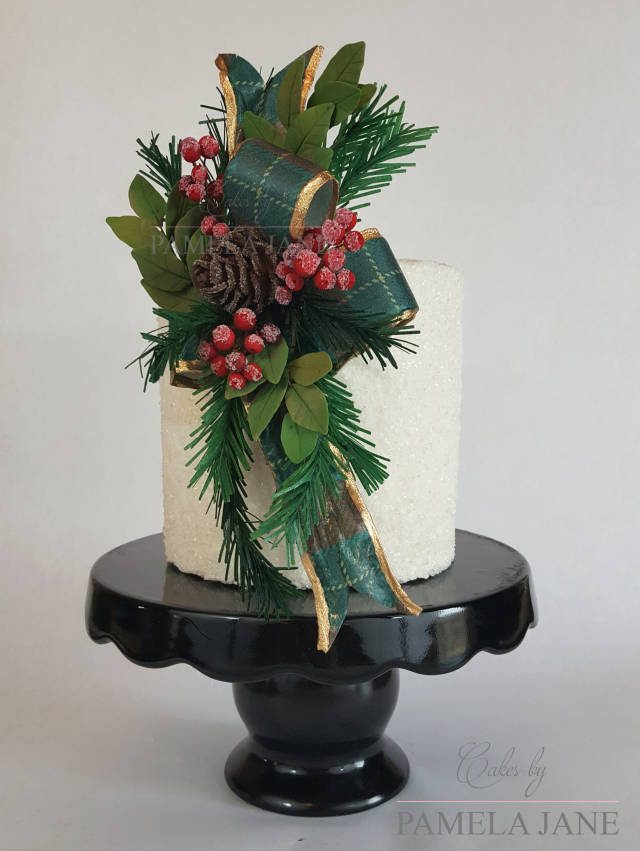
Let dry completely before arranging. And that’s it! Super quick and so effective! I had so much fun with these, I couldn’t stop making them! I hope you enjoy adding some festive foliage to your next winter themed project.
13 Comments
So clever xx
Thank you for sharing :-)
karen,Gwynedd
Thanks, so clever!
Pepper Posh
Great thank you
Wow!! Thank you very much for share!! I love this!!
Rosa Guerra
Thank you so much! What an awesome tutorial!
Toni, Pennsylvania, https://www.facebook.com/WhiteCraftyCakes
Thank you! I’m so happy you all like it.
Thanks a lot for sharing!
Marlene - CakeHeaven
Thanks for sharing..
Creativity is God's gift to us. Using our creativity is our gift back to God. Clarky's Cakes 😎
Thank you for sharing, that’s so clever!!
You must never limit your challenges, instead you must challenge your limits
Very clever thanks for sharing
Oh my word! So many amazing cakes in the same place at once!


