
Stress Free Cake Transportation
Raise your hand if you’ve ever had to transport a cake and thought that your heart just couldn’t take the strain. (raising hand)
Raise your hand if you’ve ever transported a cake and mourned the crack that showed up in the frosting. (raising hand)
This post is for you.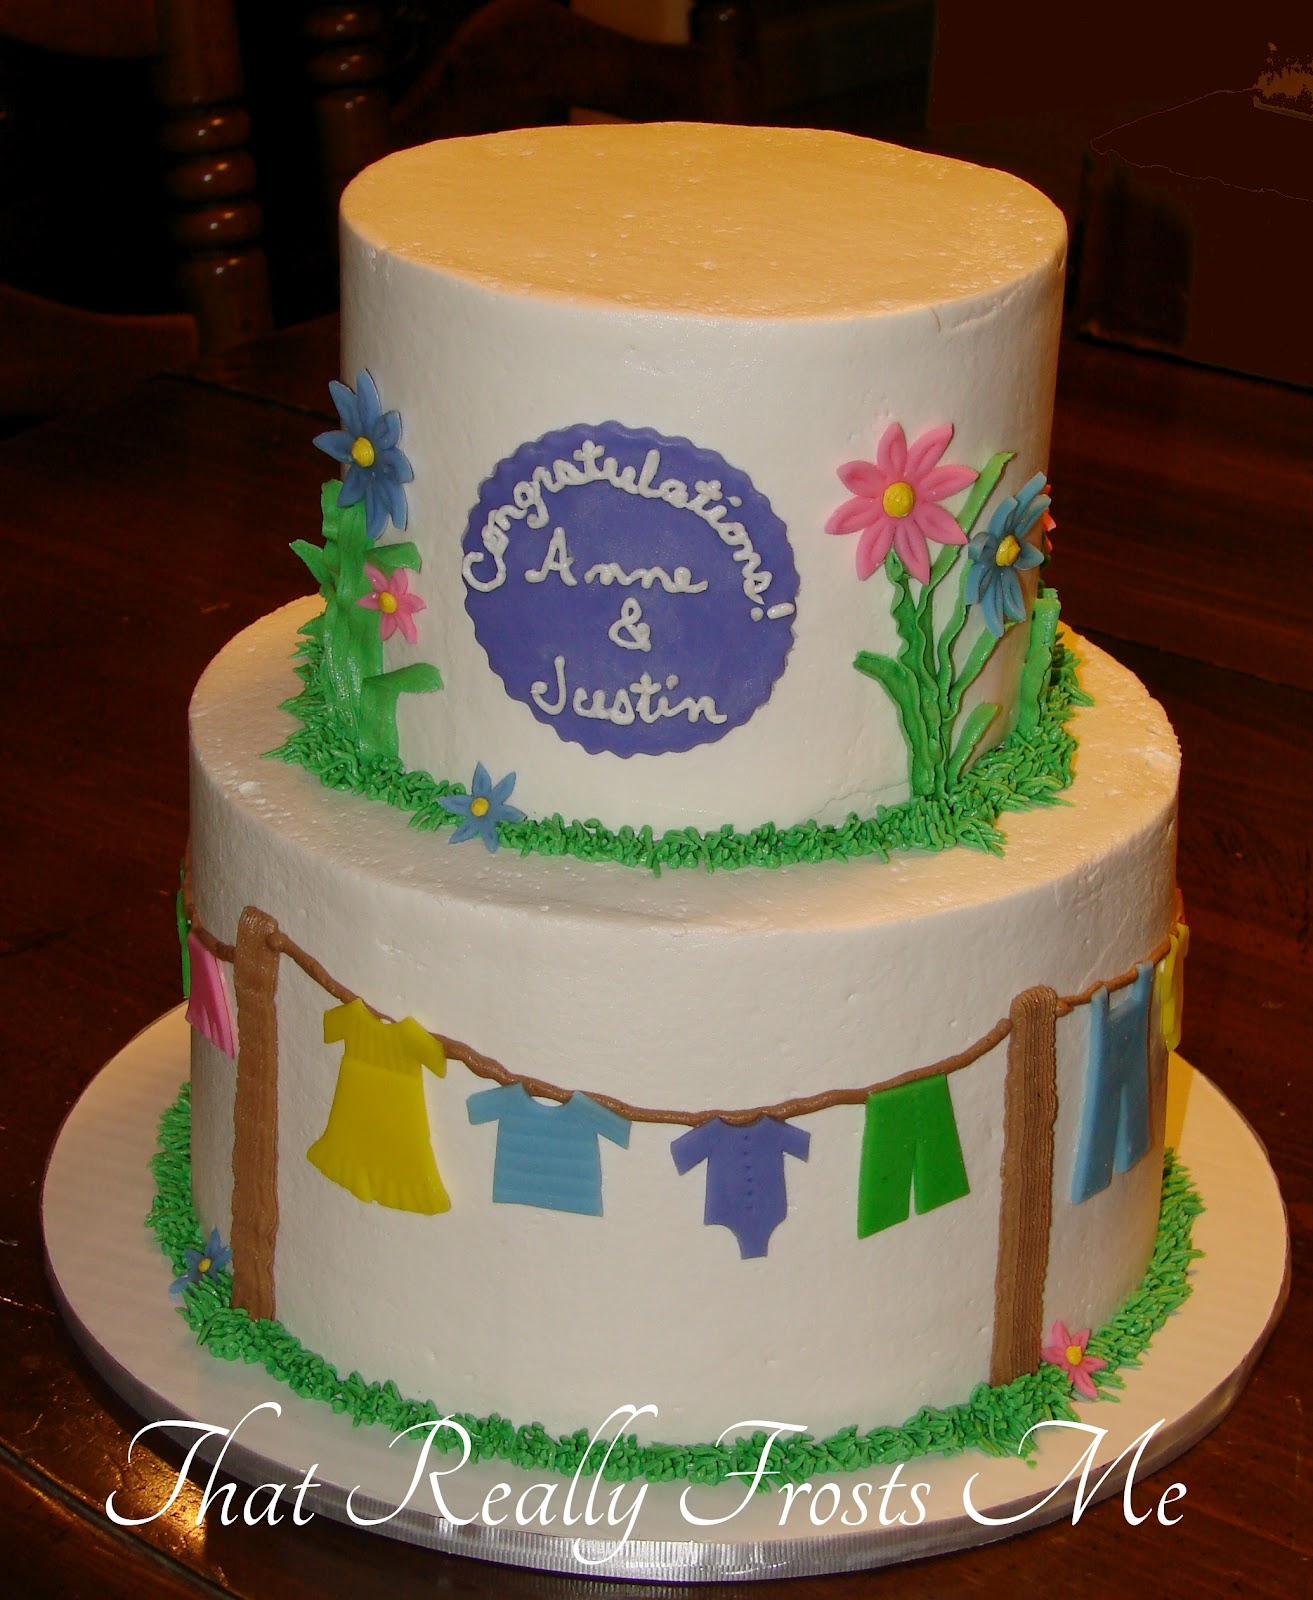

I recently made these two baby shower cakes for a friend. She had to take them on a 6 hour drive! That’s right, 6 hours! Obviously, she couldn’t balance them on her lap the whole drive, not to mention that she would be the driver. Time for some engineering.
Before I show you the transport contraption, let me just address a few quick items to consider. Since I knew that these cakes were in for a long drive, I planned their decoration appropriately. I didn’t put any heavy decorations hanging off the side of the cake, for example. I also dammed the filling and supported the tiers as usual to give it every support for all the vibration that comes with a 6 hour car drive.![]()
Now that we have that out of the way, here’s the part you have been waiting for. Start with a sturdy cardboard box that is relatively close to the dimensions of the cake. My boxes came from Staples and were 12″ × 12″ × 12″. This worked out great since my base cake board was a 12" circle. Tape the open bottom of the box together with strong packing tape. Turn the box so that the open “top” is now the side. We’re going to side load the cake later. On what is now the top(used to be the side) of the box, draw a big X connecting corner to corner. This locates the center on the box.
![]()
Using a compass or round lid, draw a circle that’s center is the center of the X. Using a sharp knife or box cutter, carefully cut out the circle. My circle was approximately 3 1/2 inches in diameter. Remove the circle and brush the cut edges with your hand to remove any loose pieces of cardboard. Put the cardboard circle back into the box and tape it into place on the outside of the box with packing tape. The tape is a little hard to see in the photo so I made the photo extra large to help.
See that hole in the center of the circle? That’s from the dowel, and we need to talk about that. Remember the dowel that I put in my cakes for stabilization? If you don’t know what I’m talking about, read the post on stacking cakes. This time the dowel will be part of the transportation device. Get a dowel that is taller than the transportation box by about 3". That made my dowel about 15" since my box was 12" high. Sharpen one end of the dowel. Pierce the box in the center of your cut circle and push the dowel into the box. Wiggle the dowel around to make the whole large enough to allow the dowel to push through smoothly. Remove the dowel from the box and you’re ready to load the cake.![]()
Carefully slide the cake into the open side of the box. Mine was a perfect fit so I slid it until the cake board was touching the opposite side. If your box is a little larger than your cake board, I would suggest putting some anti-slip shelf liner under the cake. You don’t want the cake to slide around inside the box. ![]()
Push the dowel, sharpened end down, into the hole that you made previously. Keeping the dowel straight up and down, drive it gently down through the cake until it touches the bottom cake board.![]()
Now the cake is firmly anchored inside the box and cannot shift side to side. Tape the open end closed and your ready for a long drive.
The process to extract the cake from the box goes like this: Carefully peal the packing tape off of the circle that you cut out of the top of the box. Grab the dowel and gently twist it as you pull up. The cardboard circle should ride the dowel up. The large opening allows you to remove the dowel with out scraping any crumbs that cling to the dowel back onto the cake. Now that the dowel is removed, open the side of the box and take the cake out the same way it went in. The dowel will leave a small hole in the top of the cake. Cover the hole with a flower or topper, or anything that goes with your design.
These particular cakes traveled in the trunk of a car. Other items were packed around the boxes to prevent them from sliding all over the trunk. I think it goes without saying that you would want to place the boxes on a fairly level surface and keep them out of the heat. But I said it anyway.
This method worked so well, I might make a box like this for shorter drives like across town. I hope this method will ease your stress the next time you have to transport a cake.
Frostine, http://thatreallyfrostsme.com
22 Comments

Thanks for posting ;)
-- Michal, http://cakesdecor.com | My Facebook: http://www.facebook.com/michal.bulla
What a great idea. I will be using this a lot because I normally transport cakes by myself. Thanks so much.

thanks for sharing
StarCupcakes

Transporting the final product is more nerve wracking than making decorations that won’t stick to the cake (LOL)… I cringe and my poor husband suffers even more when he’s doing the driving – it never fails that we hit a bump on the road or someone suddendly stops in front of us…
Right now I’m using a heavy, wooden box placed on top of a non-skid mat – if the cake is too small for the box, I put foam around it – so far it has worked pretty well, but I’ll try this one for the taller cakes.
Thanks for sharing.
https://www.facebook.com/#!/pages/FunFetti-Cakes/271035662917797
DJ - Fun Fiesta Cakes

Excellent!! Thanks so much for sharing this great tip!
Kathy, Ohio, http://www.CakesOnTheLane.com

thanks..I should have read this before my grandson’s birthday.I have to transport the cake for 2 hours.the side of the cake touched the box because it slipped :( I have to cover that cake with toys.Thank you so much :))
Thanks for the idea

Thanks for sharing
Thanks for sharing this! It’s really valuable information!
great tip!