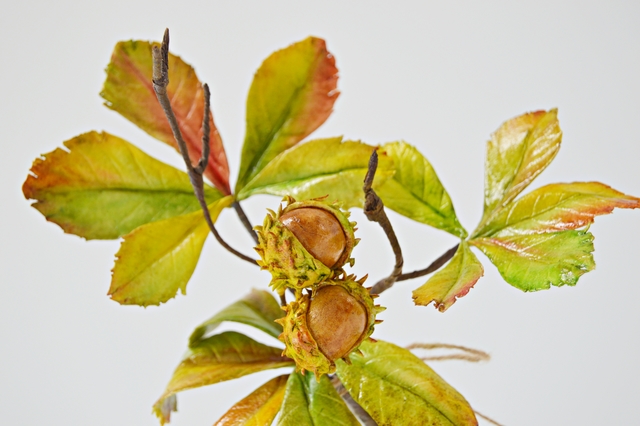
cesnut3.JPG9.95 MB Autumn is here and I wanted to celebrate it with all of you, sharing this easy Chesnut PDF tutorial with all of you . If you have questions regarding this tutorial, feel free to ask- I will kindly answer to all of your doubts :)
Hope you will enjoy it and can´t wait to see your results
Hugs
Catalina
Materials - Gumpaste - 18 white gauge wire - 16 white gauge wire - 28 white gauge wire - brown floral tape - Grass green petal dust, yellow petal dust, red , petal dust, Brown petal dust - Cellpin tool - Wire scissors - Cornstarch - Petal veiner - Paint brush - Scissors - Glaze spray
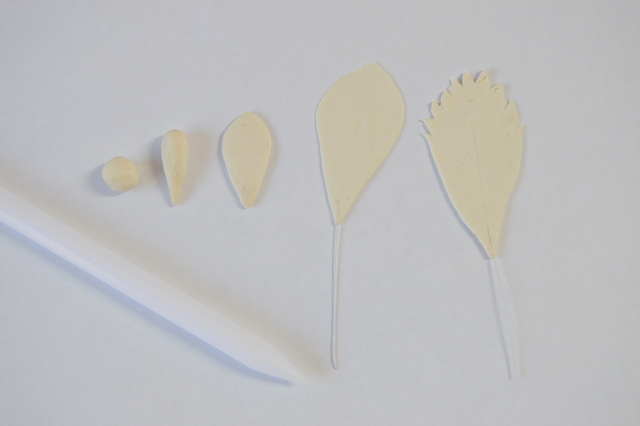
Modeling the leaves
Make a small ball (little finger nail si ends sharped. Smash the sossage with the fingers. Insert a piece of 28 wire size). With your hands give this little ball a sossage shape, with both ends thin. Extend using the cellpin tool. Make the leaf longer and wider, until it became almost transparent. Withe the cellpin tool´s thin point make small cuts on the top edge of the leaf (as you can see in the following picture)
5balls ,5wires for 5 leafs.JPG7.98 MB
modelling leafs.JPG8.81 MB
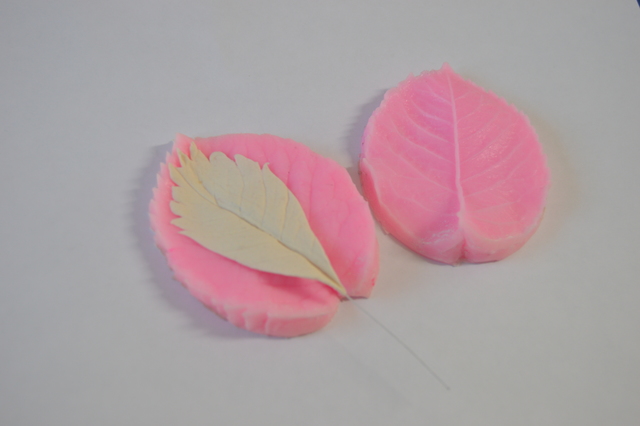
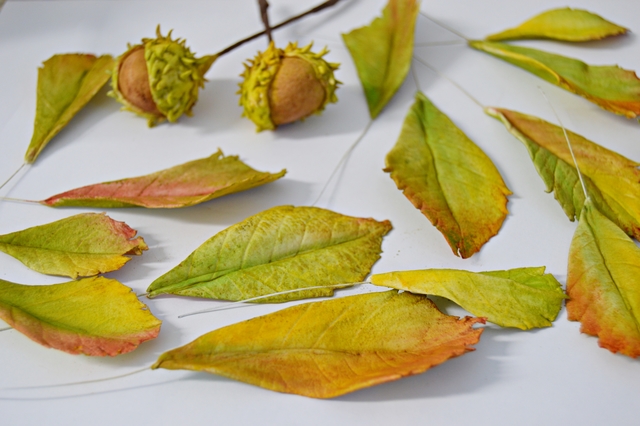
Use a veiner to make your leaf look natural. Put on the foam to dry. Repeat 5 times for each bunch of leaves, then repet all 5 leaves for making several bunches . DSC_0017.JPG6.45 MB
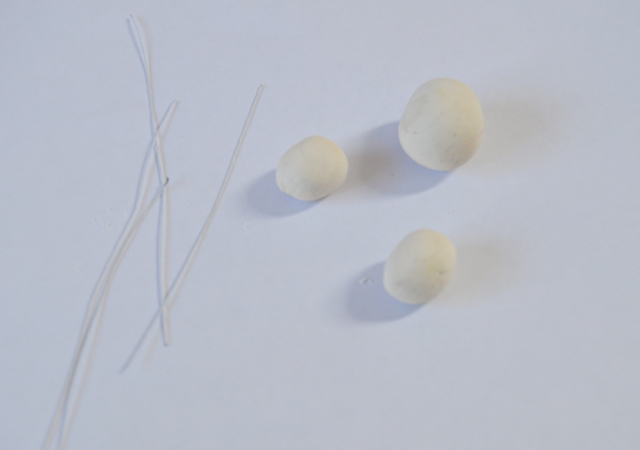
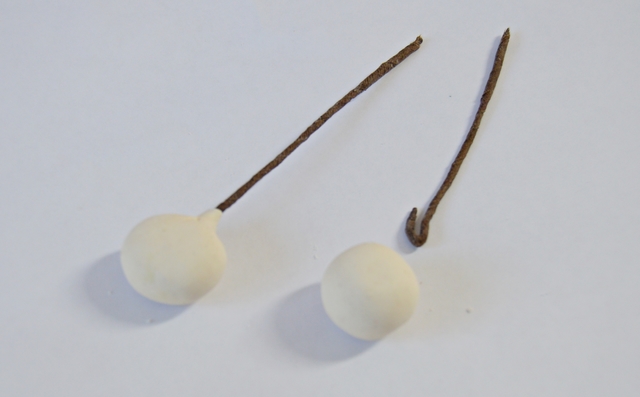
Prepare two balls wallnut size and 4 balls half size as firsts two, and 2 pieces of 26 gauge wire. Tape the wires and give hook shape. Insert a piece a wire with the hook inside a nut shape ball. big ball for chesnut two balls for peels.JPG6.73 MB Prepare 2 pieces of thicker wire , 18 gauge and cut 2 pieces of about 8 cm. Make a hook on one end of each and insert the hook into the ball. Secure the paste arround the wire. inserting stems into fruits.JPG6.3 MB Make the outer part of chesnut. For that smash the 4 half nut size balls and you will obtein 4 discs. Stick two on each ball, covering two sides of the ball, but let the middle not covered. Repeat for obtaining two fruits.
modelando castañas- cáscaras.JPG8.19 MB
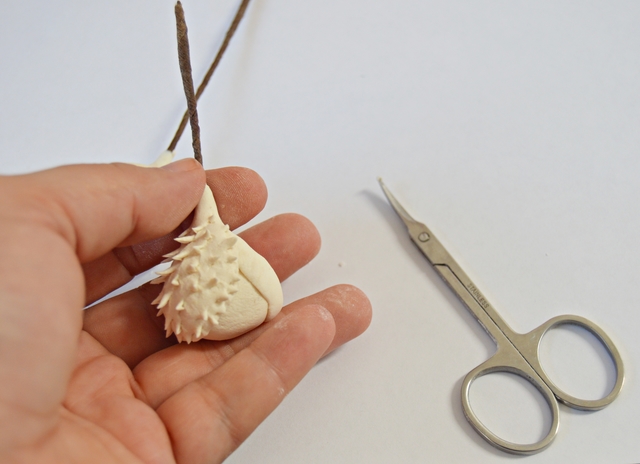
With a thin scissor pinch and make little cuts on each half (as you see in the next picture) cut chesnut pinch on fruit.JPG8.33 MB
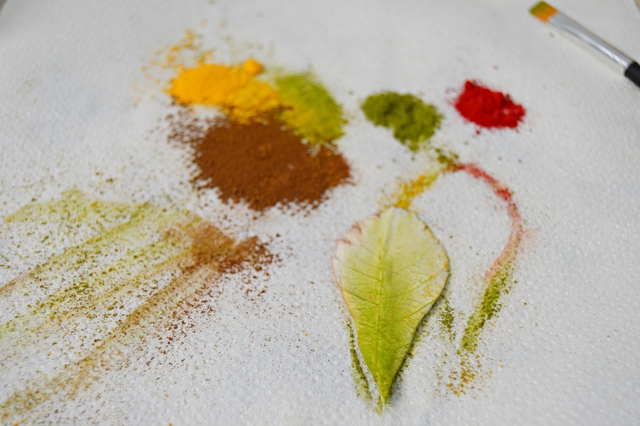
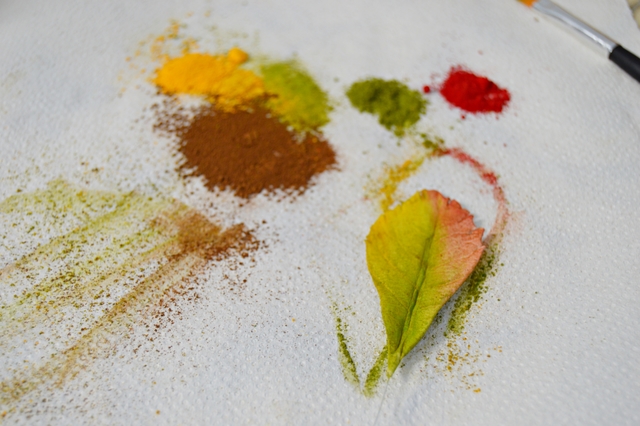
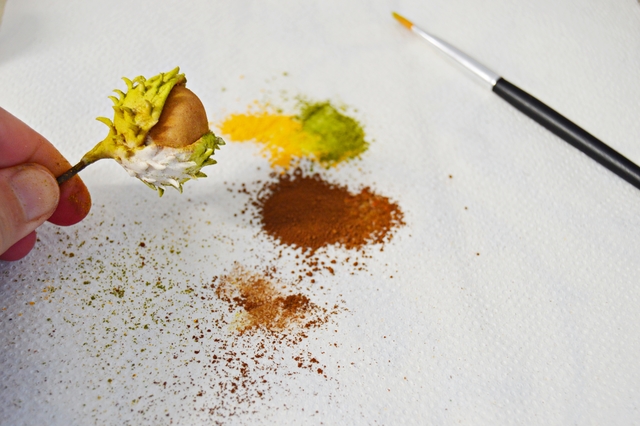
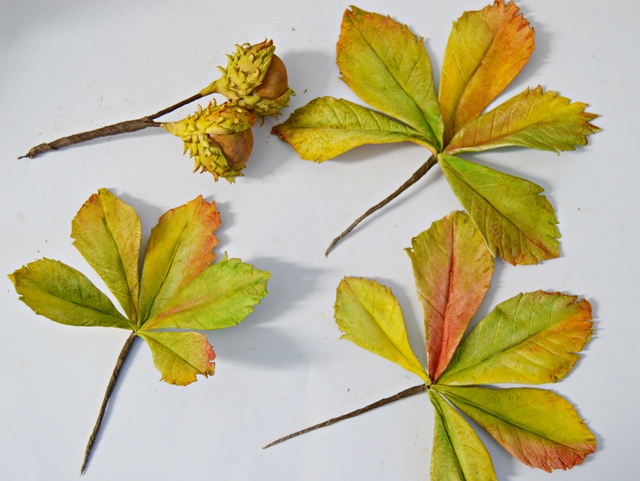
Let the chesnut dry . When the leafs are dry prepare a white paper with a bit of each color and a paintbrush. Start painting green on the leaf´s center and yellow, red and Brown from the edges to inner part of the leafs. painting leafs1.JPG10.4 MB painting leafs2.JPG10.4 MB Paint the inner part of the fruits with brown. Start colouring the outer part with green, yellow, red and brown( as in the picture)
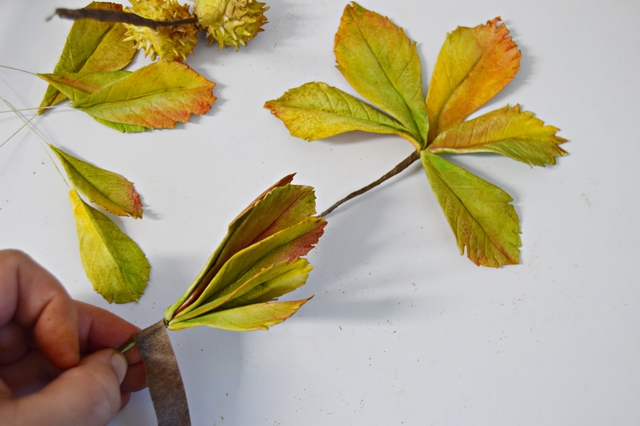
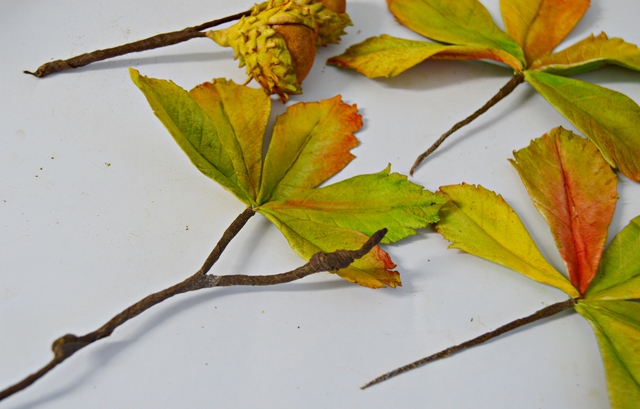
pintar las castañas.JPG10.7 MB Steam the leaves and fruits. painted fruits and leafs.JPG11.2 MB Assemble the leaves in bunches of 5. put together leafs.JPG10.4 MB
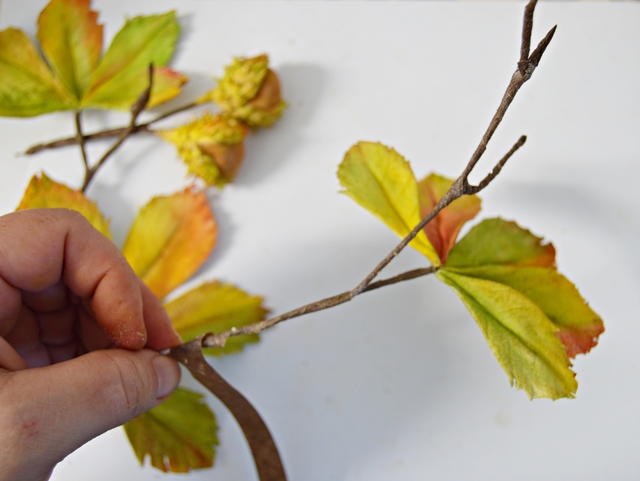
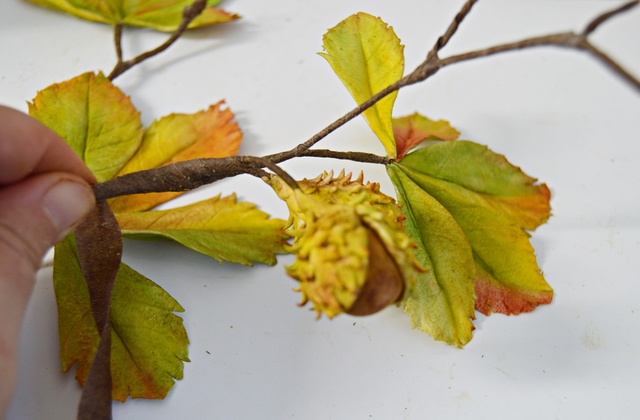
With brown floristry tape start covering a piece of 18 gauge wire to make a little branche. leafs and fruits.JPG9.6 MB With brown floristry tape start covering a piece of 16 gauge wire to make a little branche. making branches.JPG8.98 MB Continue to cover the wire with brown tape . Cover another 16 gauge wire with brown tape, as we did before. Attach the fruits, together and tape tight. Attach a leaves bunch then descend a bit. making little branches.JPG10.1 MB
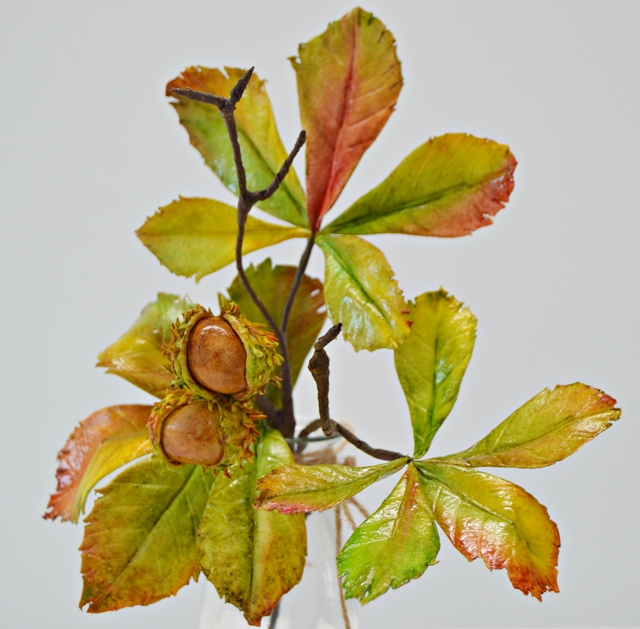
Attach the two branches together. Descend a bit covering the branche then attach the last leaves bunch. Descend to cover the branche. Spray the inner part of the fruit with a bit of glaze. Spray the upper part of all the leafs with glaze. Let dry well. Once is dryed, arrange the branche. attach chesnut to branche.JPG9.05 MB chesnut4.JPG6.48 MB
Done! Now it can be used for decorating your fall cakes :)