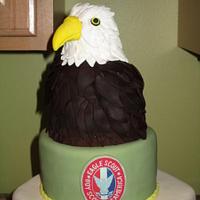
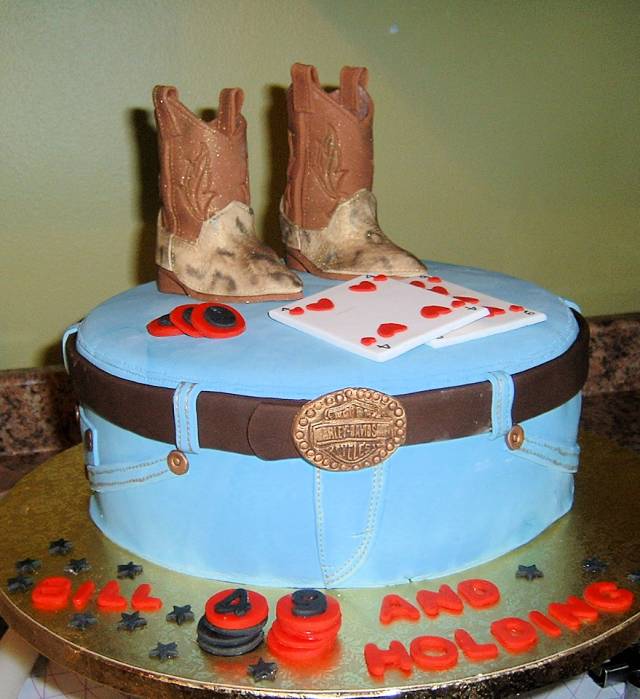
Cowboy or Biker Boot Tutorial
Look through the photos before & after here. I was having trouble loading them.
Cowboy boots come in so many designs. You can apply designs with cutters or impression tools or you can cut 2 different colors, one thinner & cut out designs & place it over the other color & then cut out the patters. Or you can cut out designs & then use the same cutter & cut out other colors & put them in the cut out part of the calf or the top front. Add dragees too! I used the Cuttlebug animal folders for the lizard skin. I made a snakeskin by rolling cheap shelf liner over the fondant (don’t do that on anything touching a cake).
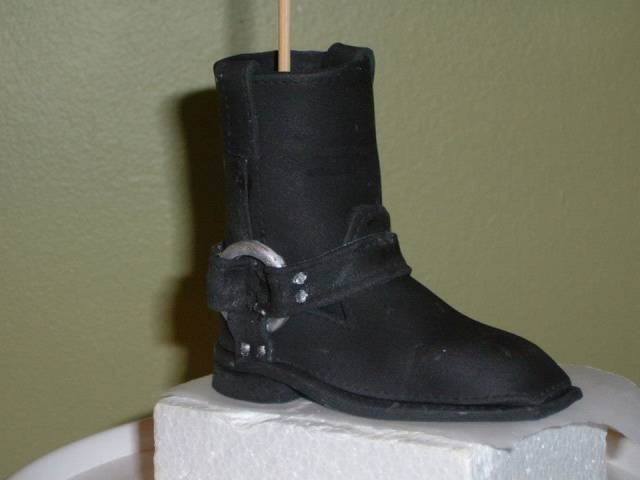
FOR THE BIKER BOOT, find a button with a rounded edge & make a mold from Amazing Mold Putty (at Michael’s for about $11 with a 50% coupon)
Use white gumpaste, make a button, the cut out the center with an icing tip. Smooth the cut edges & then apply a silver dust mixed with vodka. Make 2 for each boot before starting the boot so it dries.
SUPPLIES
- Pre-colored fondant or gumpaste. 1 lb.
- Tylose, if using fondant
- Black fondant mixed with Tylose for the heel & sole.
- Drinking straw cut to 2" (2 if making a pair of boots)
- dusting puff
- shortening
- small rolling pin with spacers
- Styrofoam or foam at least 5" square & at least 1" high
- Mat to roll on
- Exacta knife
- small pizza type cutter (bring both if you can)
- Paint brush for gum glue
- Gum glue
- Gumpaste storage board (if you have one) or plastic wrap
- pointed spatula
- Stitching tool (dressmaker kind probably is best or similar)
- Impression tools or small cutters for designs on toes, back of boots.
- plastic wrap
- tube or short pillar (I used the Wilton with the “lines” up them-they were the right size)
- Skewers
- Parchment paper or wax paper
BEFORE STARTING TO CUT FONDANT OR G/P, put a piece of wax paper or parchment paper on top of styrofoam, have 2 pieces of cut drinking straws ready. Wrap some plastic wrap around the pillar.
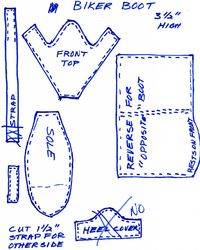
MAKING THE BOOT 2 things to remember that I seem to forget – STITCH, STITCH, STITCH & cut the strips out first so you are ready to roll when you cut out the other parts!!!
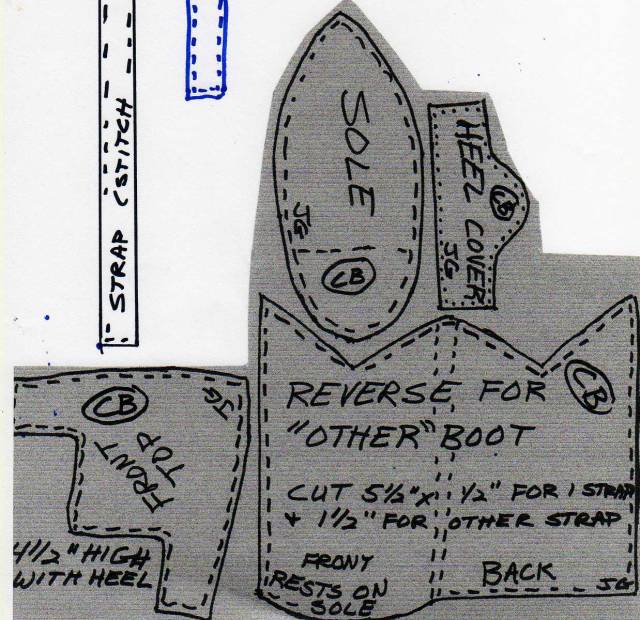
1) Heel – knead then roll ball of gumpaste or fondant mixed with Tylos. Flatten to the height of the heel wanted. Note that the pattern works well with a 1/2" heel. Any higher & you will have to adjust the ends that meet especially the front part which will have to be cut. Use an egg shaped or oval cutter that matches the size of the heel of the sole pattern. Cut down at angle for cowboy boot if you can for the cowboy heel. Then cut straight across where the heel will face towards the tow. Shape & smooth with fingers. Put the cut straw next to the flat cut edge of the heel that would go to the front.
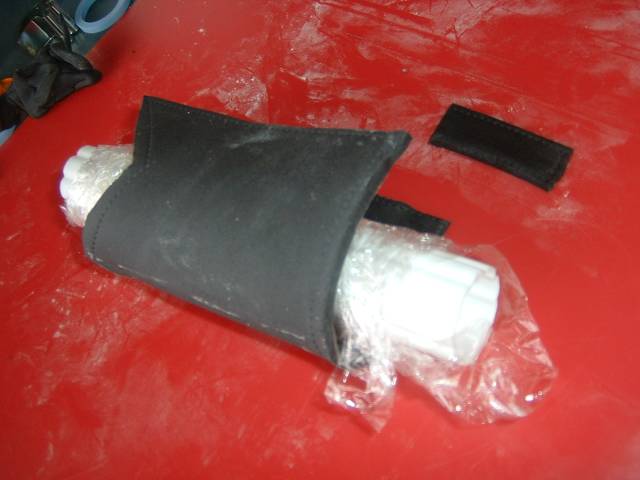
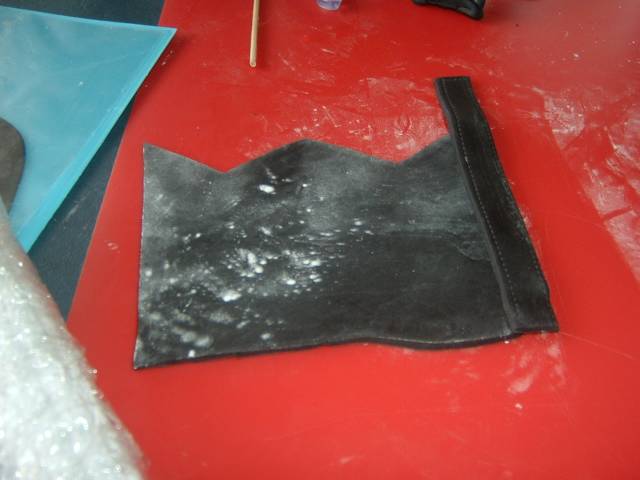
2) Roll out fondant or GP about 9-10" long and 5" wide & 1/4" thick. Roll the EDGE not more than 1/4" thick. These will be the boot straps.
Cut a strip 1/2" wide by 8" long then cut 2" off of that and STITCH each piece near the edges. Cover with plastic wrap & put aside. You will actually need the 2" plus about 5" long for the cowboy boot & 2" plus 4 1/2" for the biker boot. STITCH STITCH STITCH
3) Cut the sole from the thicker part ( a little more than 1/4") with a small pizza type cutter and STITCH around the edge. Glue the sole to the heel. Don’t forget about putting a cut straw underneath the flat part of the heel for support & lift. STITCH STITCH STITCH
Put a skewer STRAIGHT through the sole & heel (in the MIDDLE of the heel) into the styrofoam (maybe an inch into the styrofoam). You will see later how the skewer helps support the boot construction plus you can put in clean skewers later when you put it on a cake.
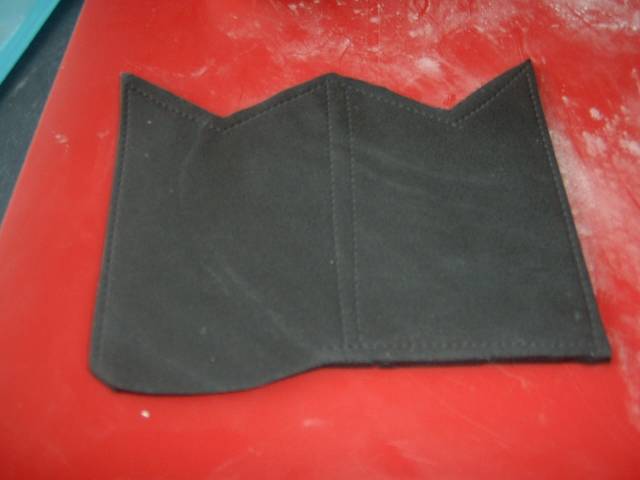
4) Roll out fondant again not more than 1/4" thick & about 9″ × 6″Cut out the calf part of the boot, the heel cover (none used for the biker boot) and the front top of the boot from the pattern with a small pizza type cutter. STITCH near the edges.
AND do a double STITCH by the middle “peak” in the cowboy pattern on the calf or tall part of the boot (where the calf would be) so that it will match the other side when assembled. You should also double stitch on the biker boot in the center. Cover all pieces with plastic so they don’t dry. You should put imprints, design stitching at this point. DID YOU REMEMBER TO STITCH STITCH STITCH? If you do a pair of boots, reverse the calf part for the 2nd boot so that straps will be opposite – when they are finished. If you look at my pairs of boots in the pictures, I did not reverse the pattern so that the longer pieces of straps will be on opposites on the boots.
5) Now, turn the calf part over. Avoid placing on cornstarch/powder sugar so the boot won’t get it on the good side.
Take the 5 " strip and apply gum glue to the side WITHOUT stitching.
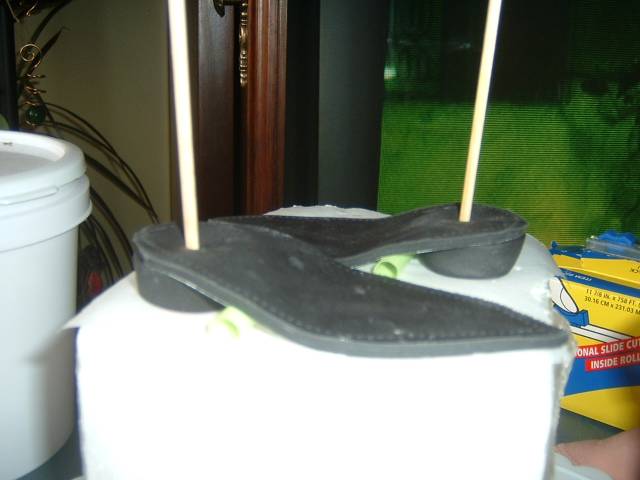
You should not see the stitching on the calf part but you must see the stitching on the strip. With the stitching facing you, you will line up the bottom of the strip with the bottom of the boot AND PLACE IT HALF off the side edge. It will hang over the edge of the side of the boot .
Take the pillar wrapped in plastic wrap, lay it on the boot & wrap the boot around and secure the two sides together (placing the other side of the calf onto the other side of the strip). Then fold over the extended piece to make your boot strap. The short end will be on the outside of the boot. Hold everything together briefly until they stick.
6) Apply gum glue around the heel part of the sole but inside the stitching
Place the pillar with the fondant still wrapped around it over the skewer & onto the sole with the longer edge facing toward the front of the boot. Don’t put the back of the boot at the edge of the sole because you will be adding another piece of fondant on the back for the cowboy boot but not the biker boot. Add gum glue under that front curved edge to secure. Make sure the calf is straight. Hold a few minutes to secure. Remember Biker Boot can go to the edge since there is no heel cover.
7. Take the 2" strip & apply to the opposite side to make the other strap. Make sure they are even and straight. Don’t squeeze the part off the boot since it is a boot strap.
8. Next, roll a ball of fondant, then make if tear shaped for the cowboy boot, squared for the biker boot, then shape to the form you want for the toe of the boot. Shape it more softening the edges down & inside of the stitching. This is support for the front top.
9. Next, take the cut front top of boot . Hold it onto the sole (over that ball of gumpaste/Fondant) & against the calf part to get an idea of placement & shape. If you think that it looks right, add gum glue to the ball & attach to sole. Apply gum glue to the sole inside of the stitching & apply to the top portion & sides of the top of the boot so it will attach to the calf part.
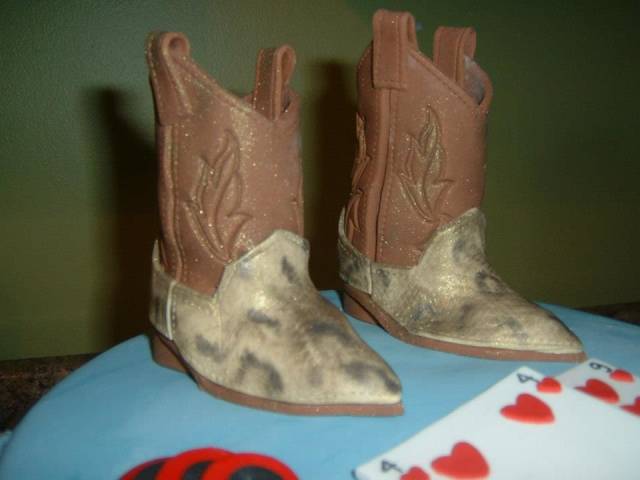
10. FOR COWBOY BOOT, put the heel cover on the back matching up the sides from the front part and you’re done!! Yee haw!! You would never guess I grew up in a big urban city, huh? :)
11. FOR THE BIKER BOOT ANKLE STRAPS…
Cut out a 10 × 1/2" strip of fondant/GP not thicker than 1/4" AND STITCH! From the strip, cut about an inch, apply gum glue to the cut part. Then holding the ring against the boot where you want it, put the strip edge laying over the ring (not all the way around) and put it against the boot. Do the other side, then add the strips on the front & back. Take a #5 icing tip & make little marks to paint silver for those little metal thingies!!
Jasmine 5/4/13
´¨)
.·´ ¸.·¨) ¸.·*¨)

6 Comments

Thanks so much.. Great tutorial
You must never limit your challenges, instead you must challenge your limits
Thank you!

thanks for sharing!
-- Michal, http://cakesdecor.com | My Facebook: http://www.facebook.com/michal.bulla
Thank you so much love it! <333333 :)))))))))) and thank you for sharing <3333
Dubey Cakes

Great, thanks for sharing
My pleasure!