Dream Catcher Tutorial/Pictorial
Hey everyone!! This is my first blog post… So I apologize if I did it wrong;).. Lol!! I took some pics while making my dream catchers hoping it may help someone:). My first attempt at a tutorial!! Hope you enjoy it😀!!
SUPPLIES
Gumpaste
Royal icing
Wafer paper
Scissors
Sharp blade
Wires(optional for the feathers)
Edible glue
Paintbrushes
Edible dusts
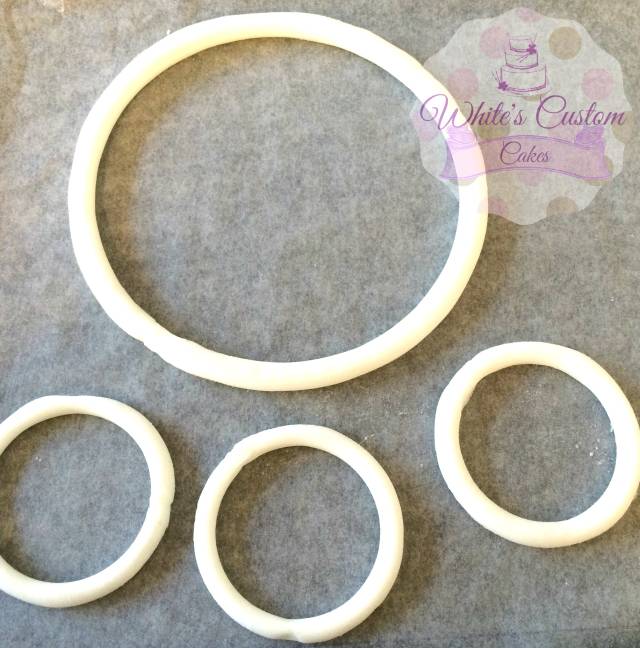
1) I rolled out gumpaste and formed them around random lids to keep their shape and let set overnight.
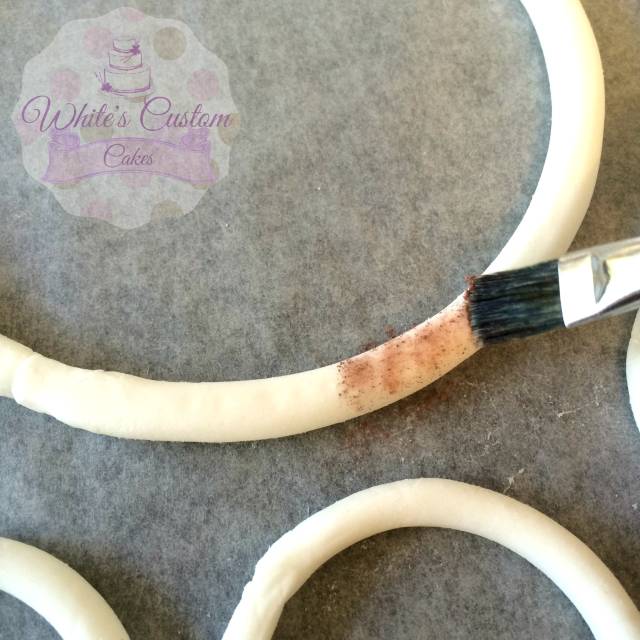
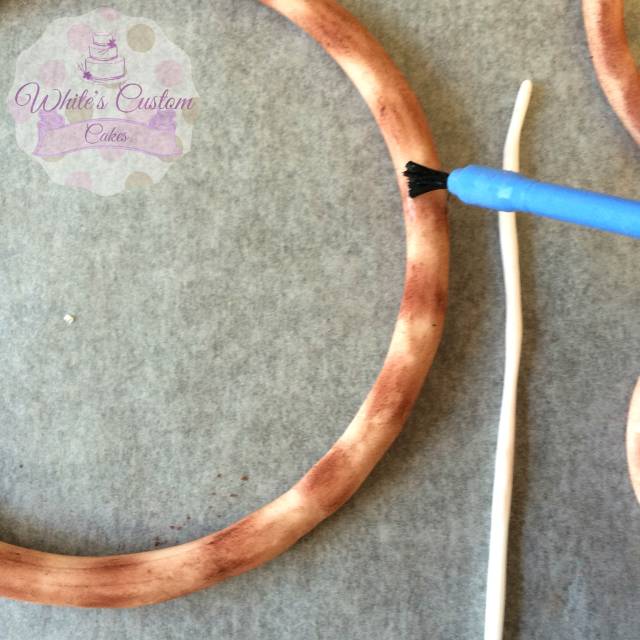
2) The next day, I dusted with light brown to completely cover the rings. Then a darker shade to add depth.

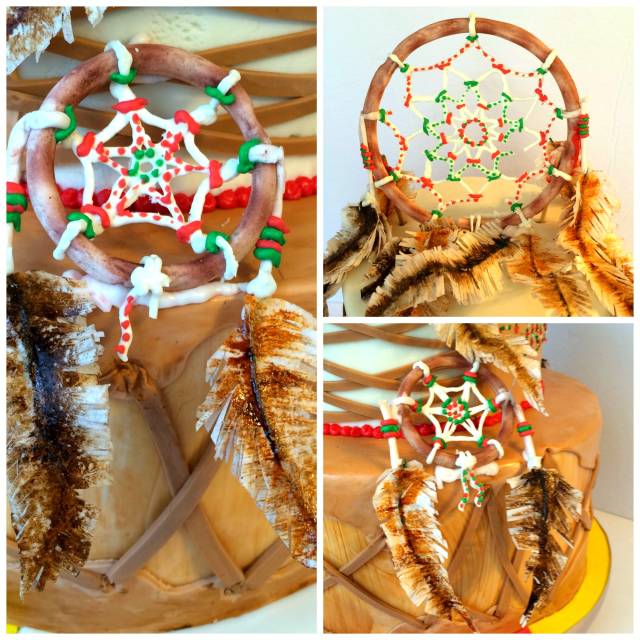
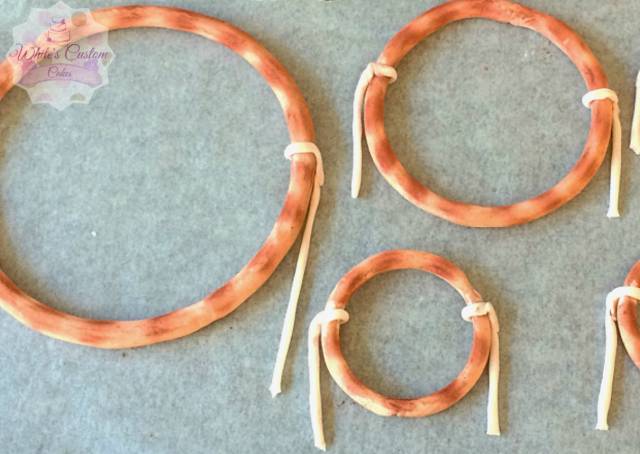
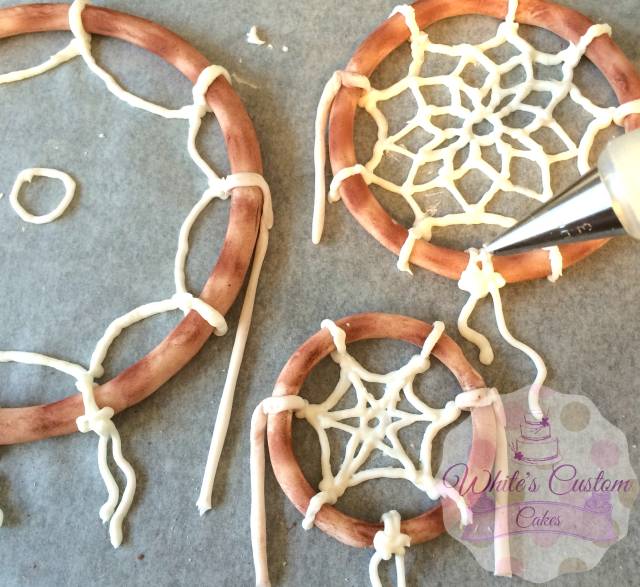
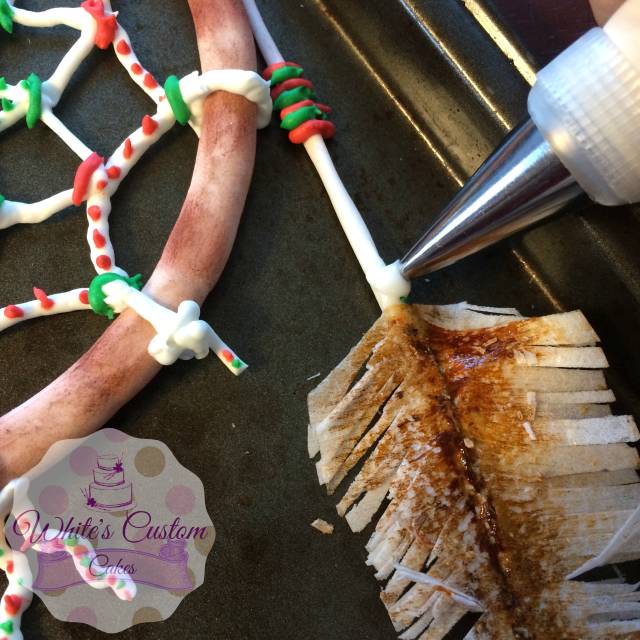
3) I then rolled out tiny gumpaste tubes, and attached to the sides of the rings with edible glue, and let set a few hours… While they were setting, I piped royal icing patterns into the centres and around the front of the rings.
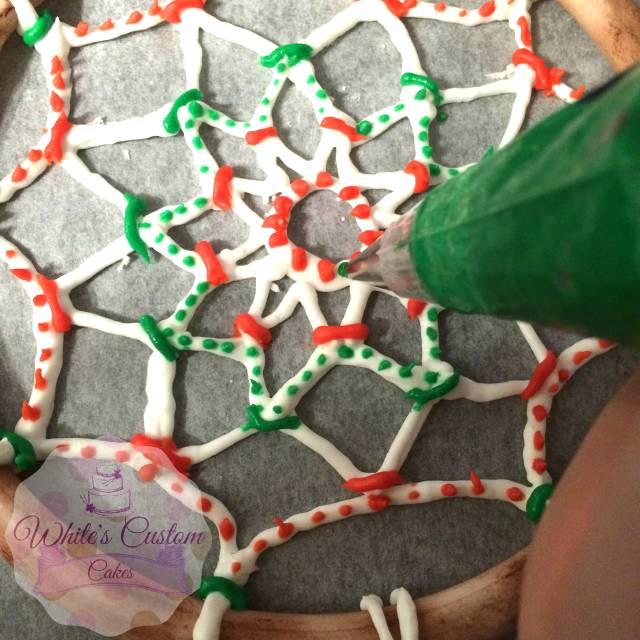
Let them harden a bit, then pipe royal icing beads onto wherever you like:)!
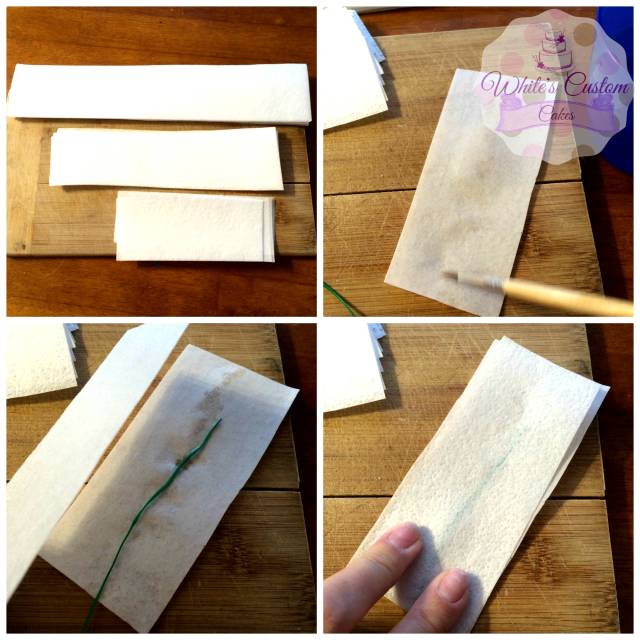
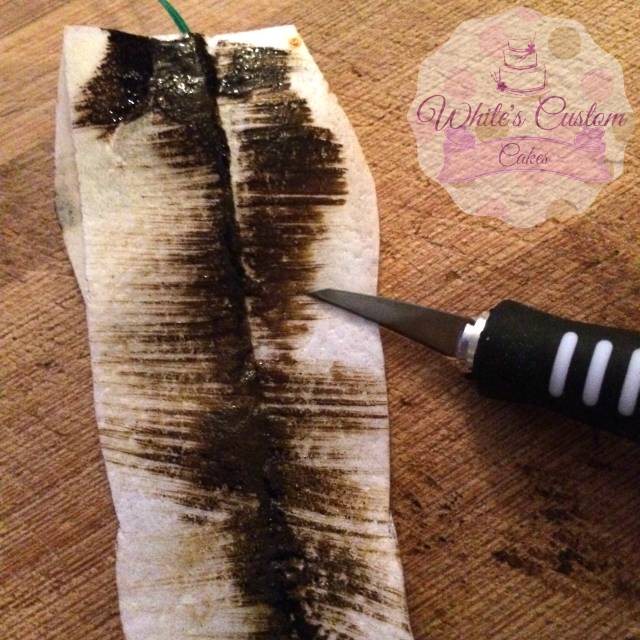
4) Feathers!!! I cut a few different size rectangles out of wafer paper. Used water to adhere my wires and the top wafer sheet to the bottom… Careful to only wet where the wire is going!… You want to fluff your feathers later.. Not stick them together;).
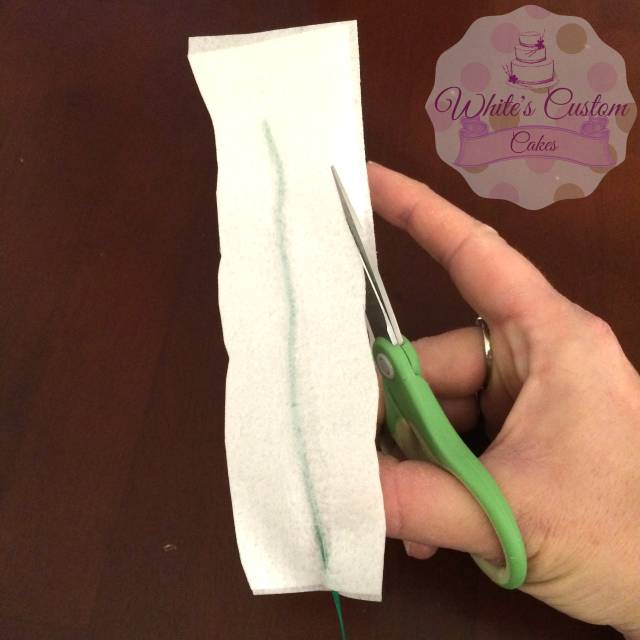
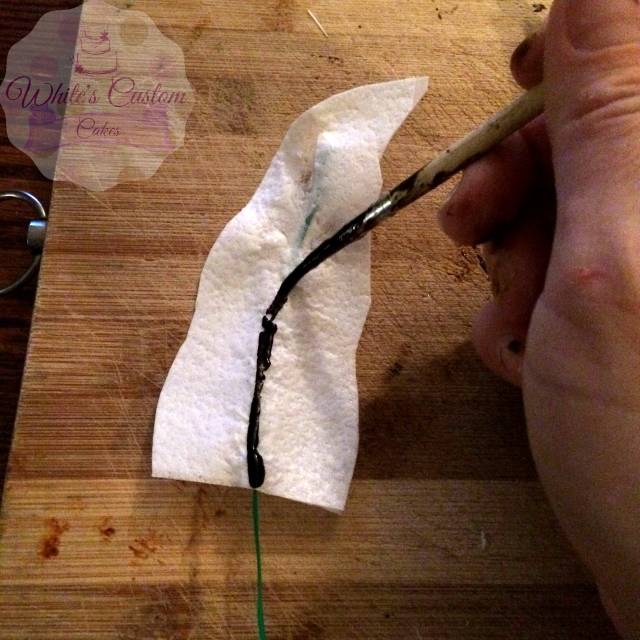
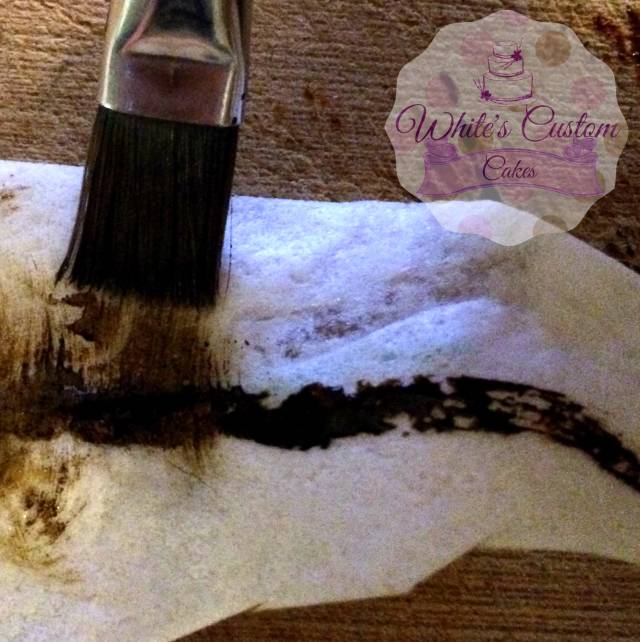
I then used scissors to shape my feathers. Painted ivory and brown food coloring up the centres, and used a paintbrush to brush outwards from the centres to colour them. Then I used a sharpe blade to cut strips in my wafer’s sides.
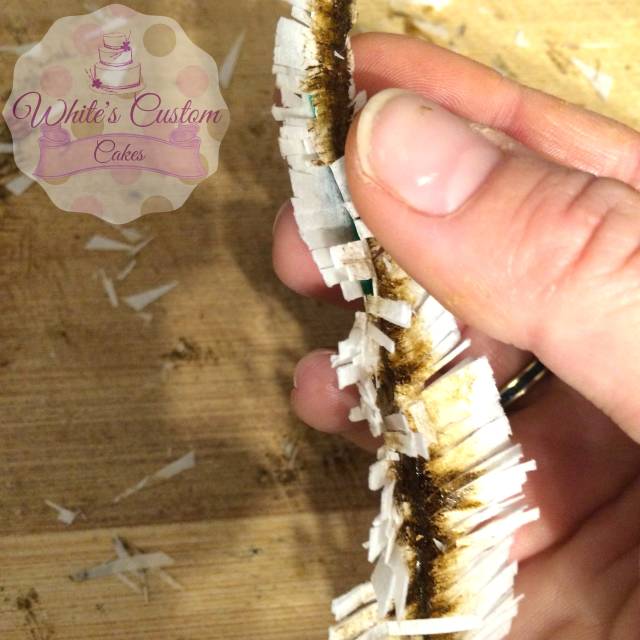
Once finished with that, I ruffled the sides to separate the wafers.
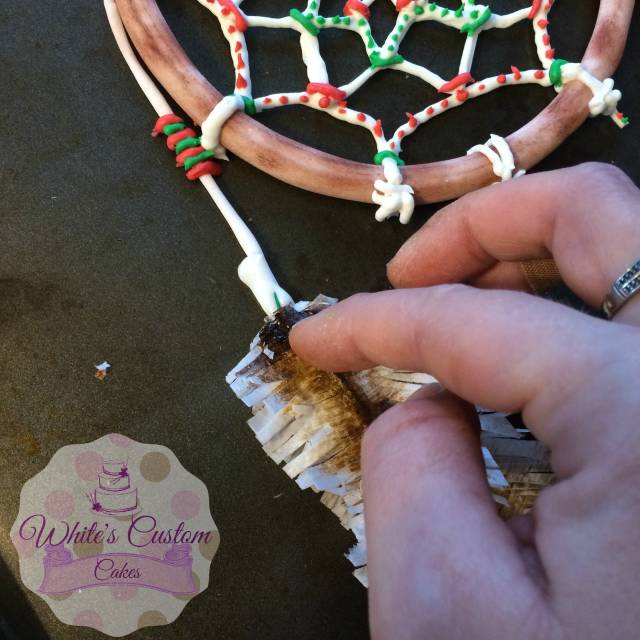
5) I glued my feathers to my dream catchers with royal icing, and let them set for a few more hours(preferably overnight). Then.. Done!!! Hope you can use this… I enjoyed making them!!😘
Sabrina White
6 Comments

Thank you for sharing, Sabrina! So beautiful!
Sugar Sugar by SSmiley

Beautiful dream catcher and a brilliant tutorial!! Thank you so much!! :-) x
https://www.facebook.com/elliwarrencakedesign https://www.facebook.com/elliricci elliricci@hotmail.com https://www.instagram.com/elliwarrencakedesign/
Thank you!!:). And you’re very welcome☺️
Sabrina White

Great job and great tutorial, Sabrina, thank you for sharing 🤗
Clara

Beautiful!
Pepper Posh