
Kanzashi Flowers #1: my first four flowers
IF YOU ARE GOING TO COPY MY PICTORIAL TO CREATE KANZASHI FLOWERS LIKE THESE, PLEASE GIVE CREDIT TO MY PAGE. EACH PHOTO IS COPYRIGHTED WITH MY NAME ON IT. THANK YOU.
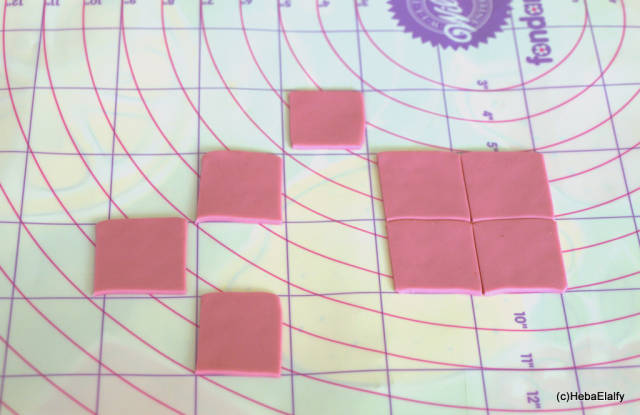
Cut out some squares all of the same size.
Fold diagonally to make a triangle.
Fold in half again without pressing it down.
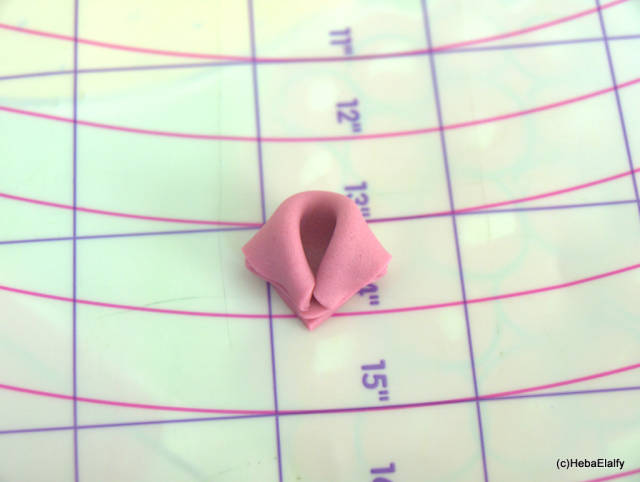
Bring the corners over like shown.

Flower is almost done.
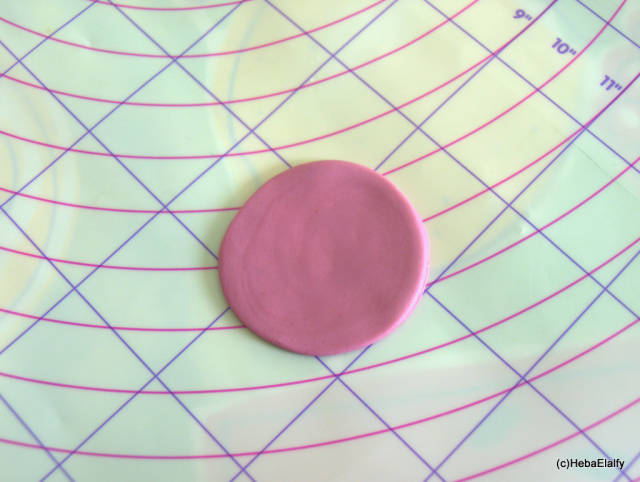
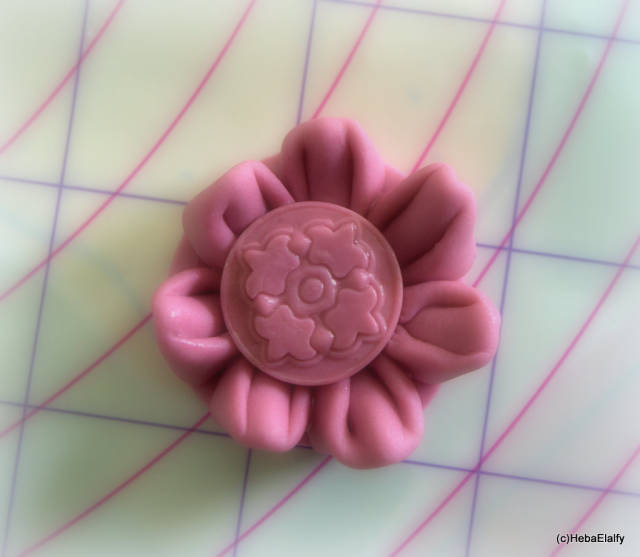
Cut out a base the same size as your final flower.
Stick your flower onto the base and make a ‘button’ for the top. VOILA!
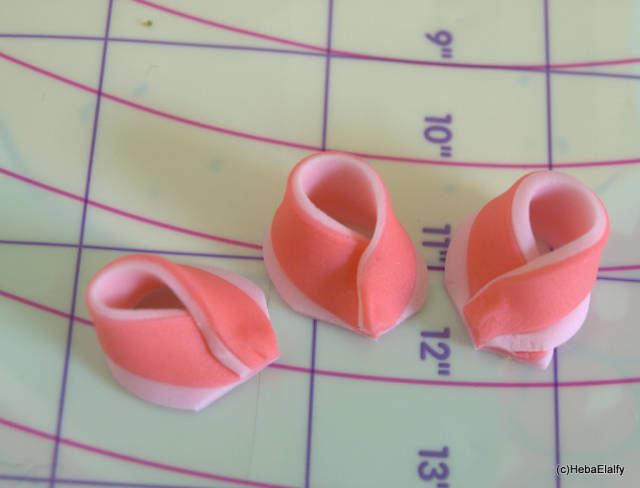
Cut out two different colored strips of fondant, some longer than others, as shown.

Stick the thinner strips onto the wider strips and fold over, then trim off the excess in a V shape, as shown.
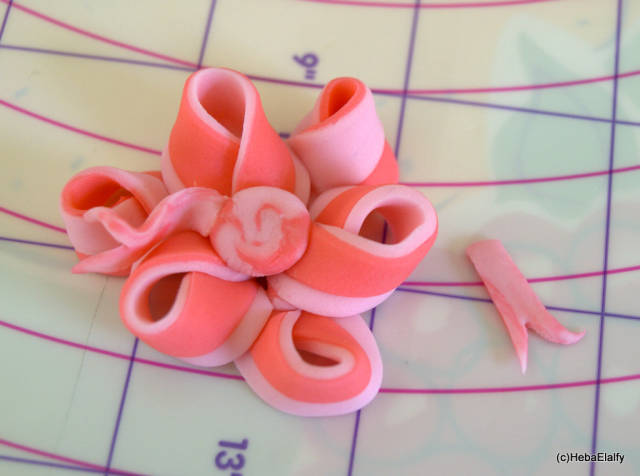
Gather them into a floral design of your choice, and then a couple of trimmings.
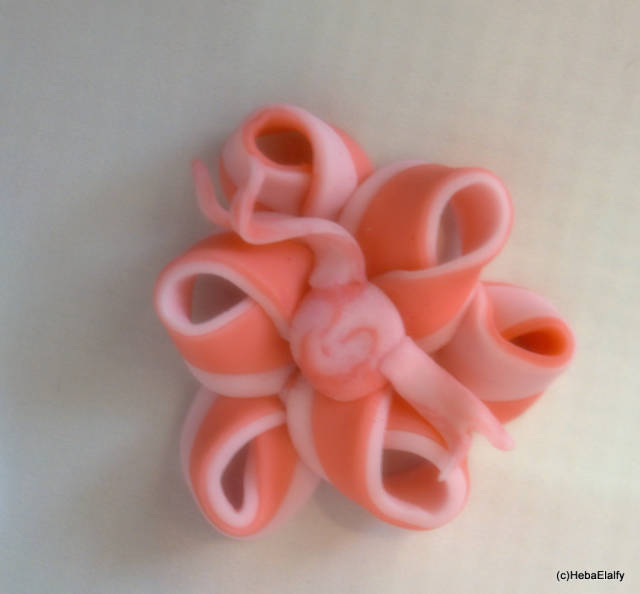
The final flower. VOILA!
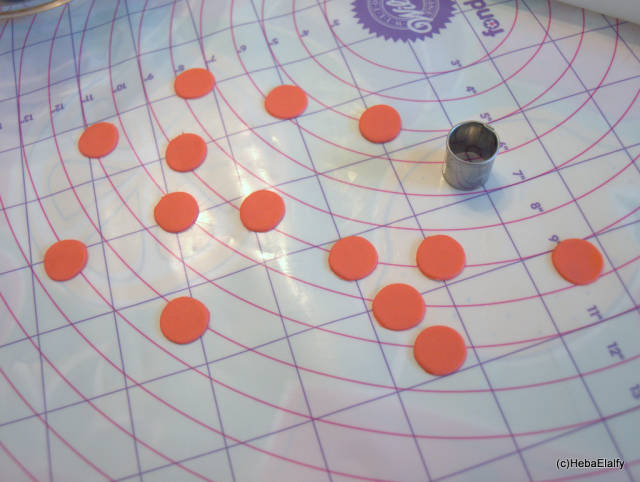
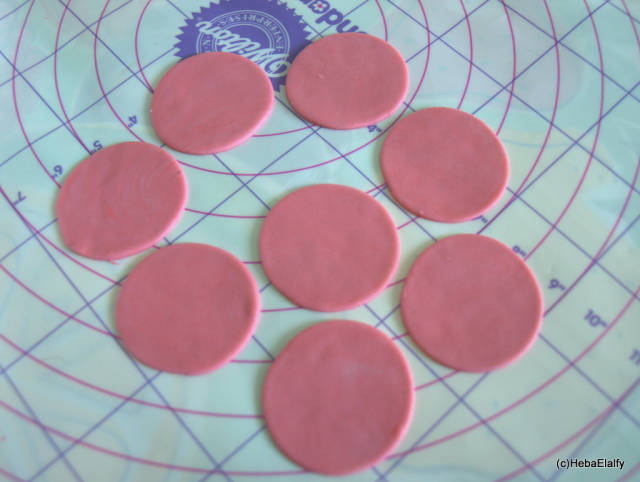
Cut out lots of small fondant discs.
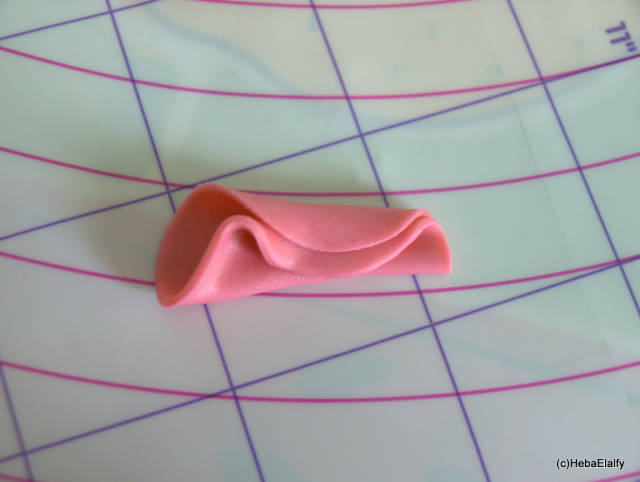
Gently fold over the edge pressing the bottom down.
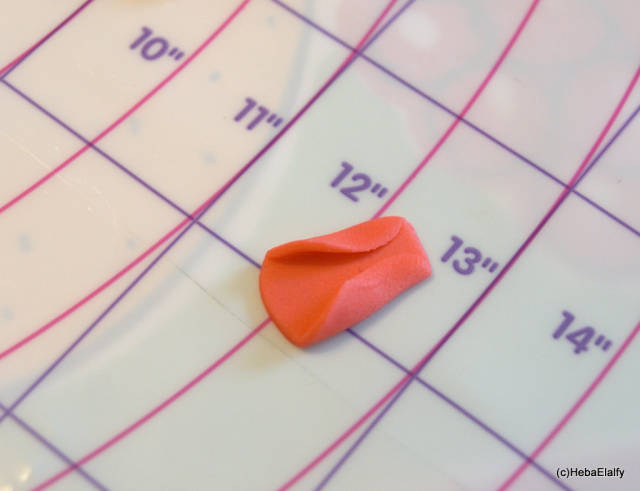
Squeeze the edges gently to make a center crease, as shown.
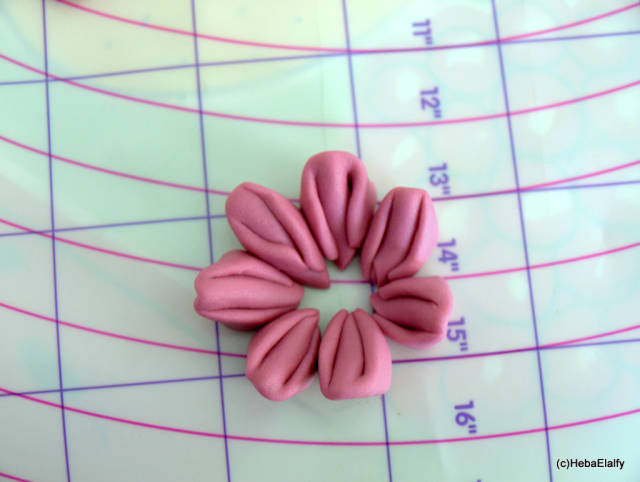
Gather them round as shown.
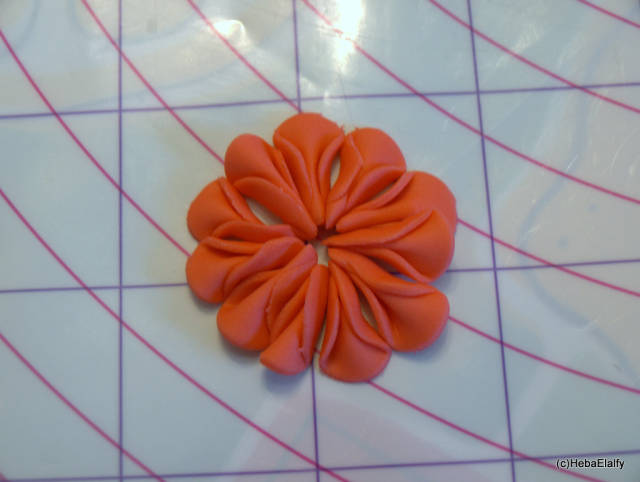
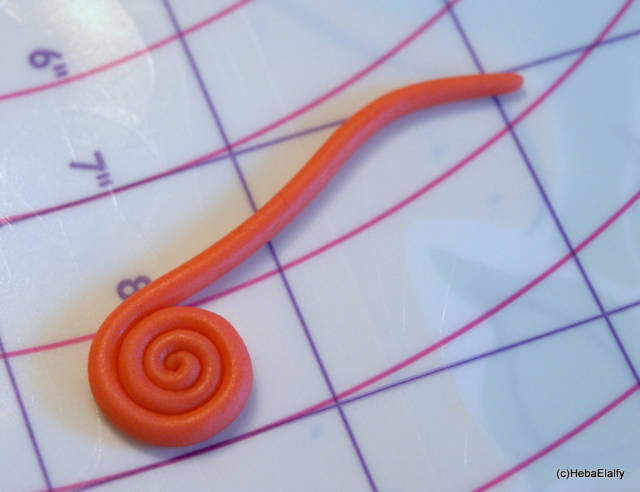
Roll out a small piece of fondant for the center.
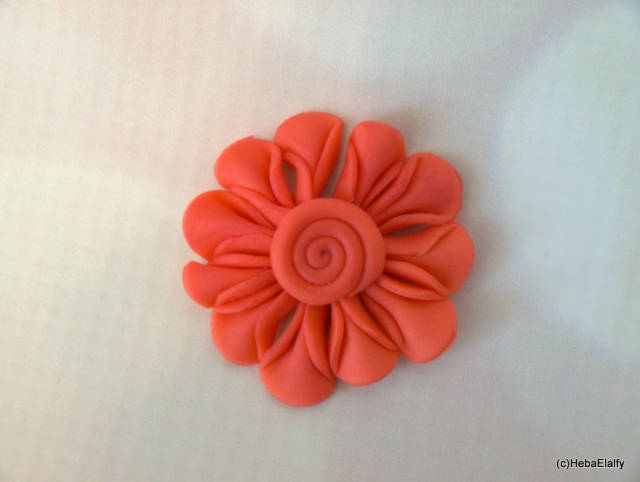
Finished flower. VOILA!
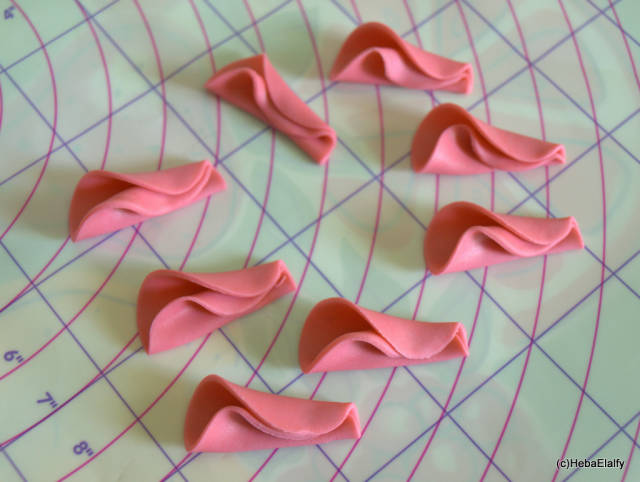
Cut out some fondant discs, not too small.
Fold one side OVER the other side, as shown, but DON’T flatten them.
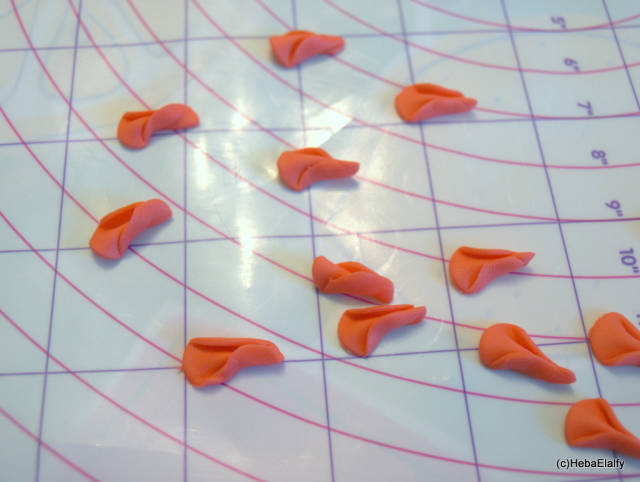
Eight petals ready for assembly.
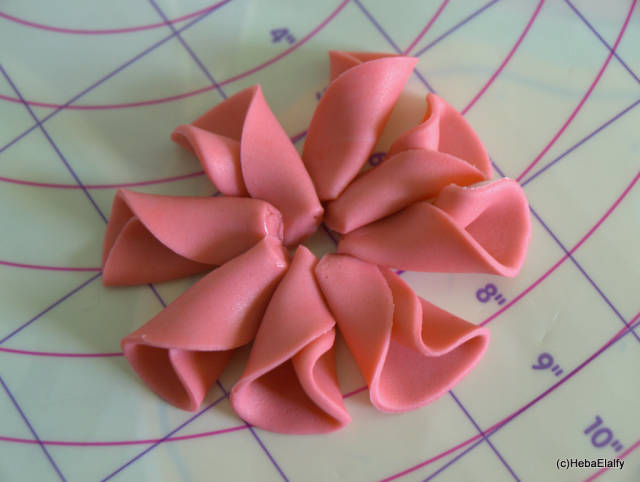
Trim off any excess and line them up.
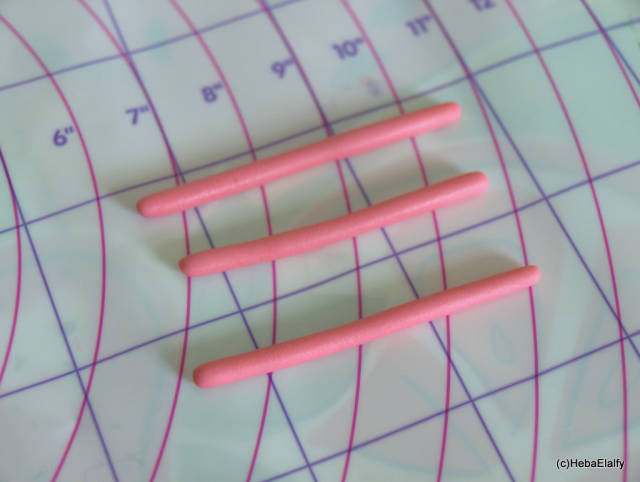
Roll out three pieces of fondant for the center of the flower.
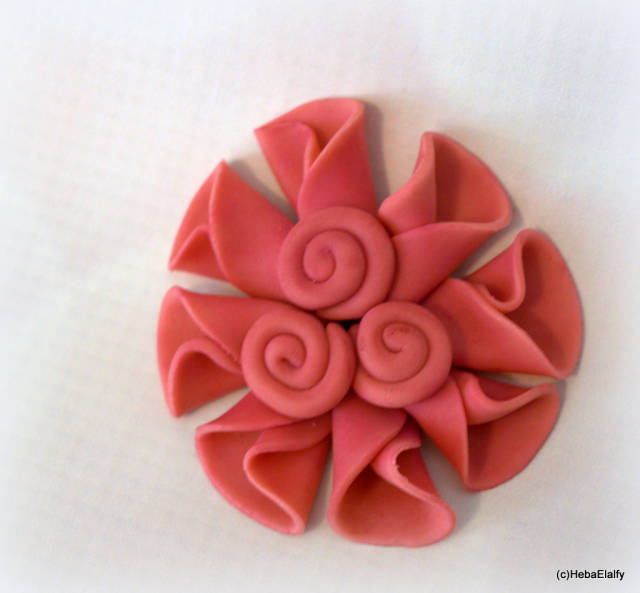
Final flower. VOILA!
Heba Elalfy ***more photos at https://www.facebook.com/sweetdreamstoyou
2 Comments
Thanks Heba They’re beautiful xx
Kath's Cakes https://www.facebook.com/pages/Kaths-Cakes/369485736483786
thanks Kath :) x0
Heba Elalfy ***more photos at https://www.facebook.com/sweetdreamstoyou