Wafer Paper Anemone Flower
IF YOU ARE GOING TO COPY MY PICTORIAL TO CREATE A WAFER PAPER ANEMONE LIKE THIS, PLEASE GIVE CREDIT TO MY PAGE. EACH PHOTO IS COPYRIGHTED WITH MY NAME ON IT. THANK YOU.
I’ve created easy step by step instructions to help you create your own wafer paper anemone flower.
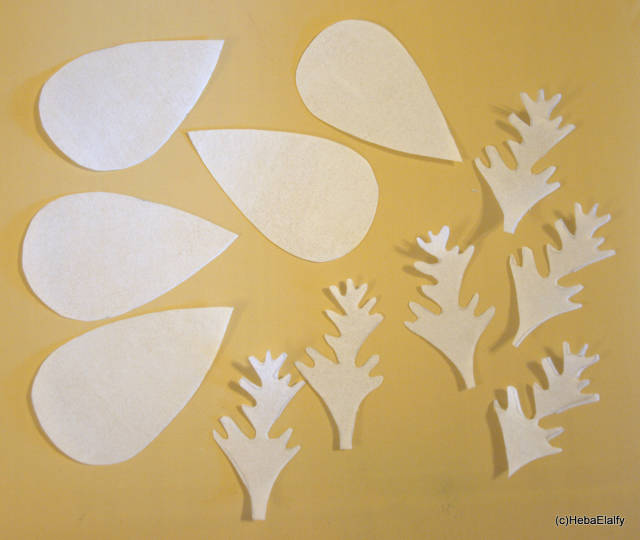
For my anemone, I chose to make 5 petals. You can make 6 or 8, however full you want your flower to look. The stamens are also wafer paper :)
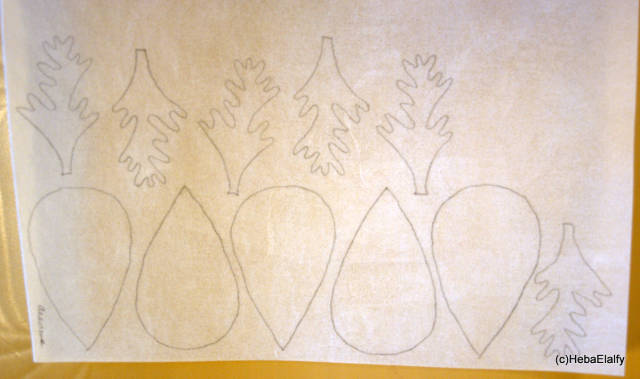
After cutting, the tops of the petals need to be curved.
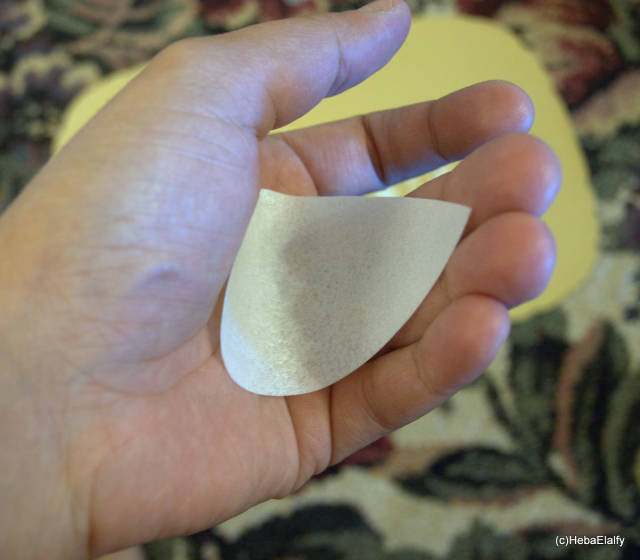
Wafer paper is fragile but it can be shaped easily with your body warmth. So I put the petals in the palm of my hand and placed an index finger ontop (I couldn’t take a photo of THAT because I’m using my right hand to snap these photos!) :D Hold it there for about 20 seconds.
Prepare the petals by cutting a slit at the bottom and use a tiny dab of water to secure the edges.
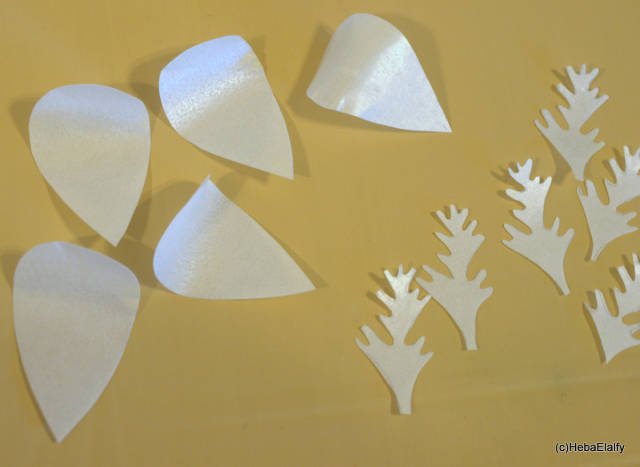
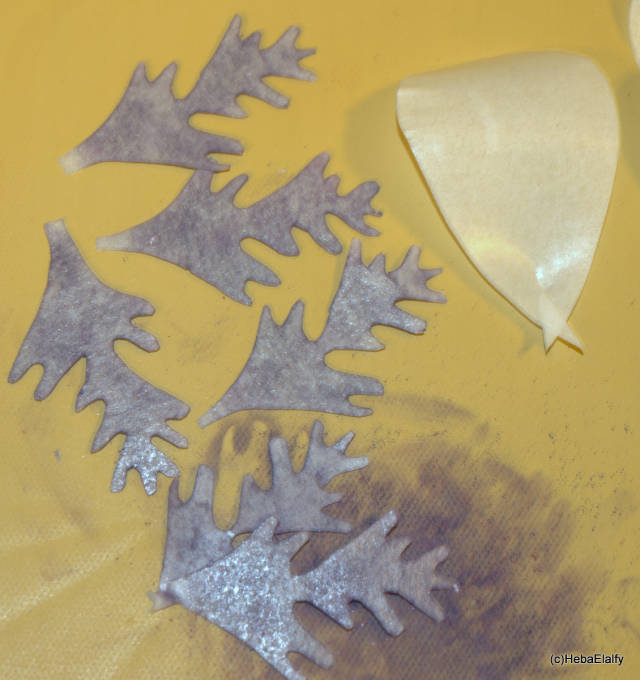
The petal will look like that. Now, I used a dark purple dust to color the wafer paper stamens.
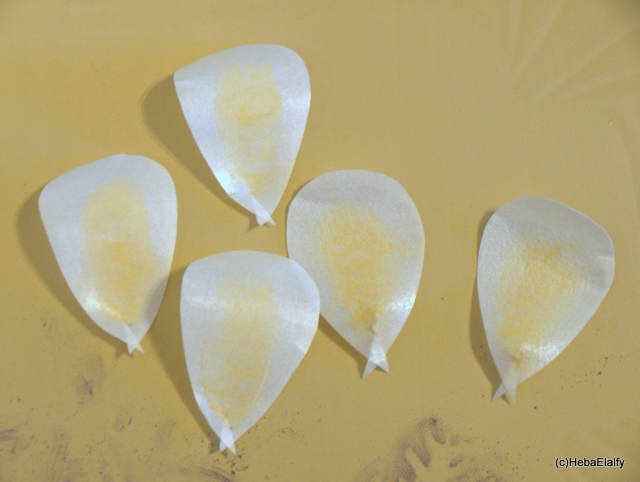
I had three petals facing one way and flipped the other two over. Then I used a deep yellow dust to color as shown.
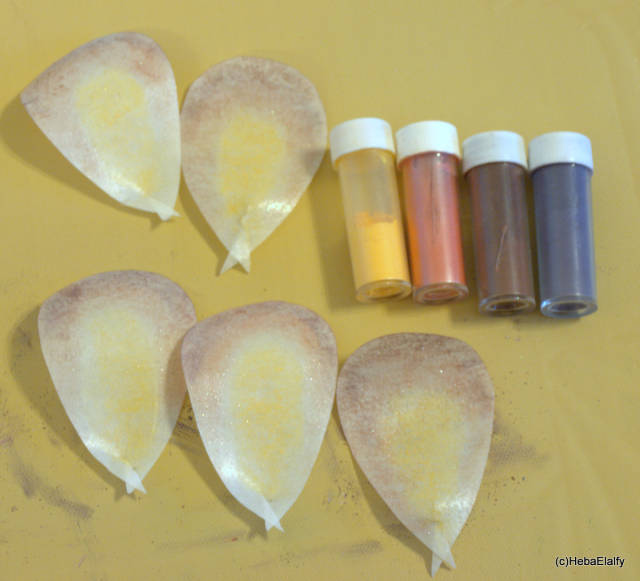
The colors shown were applied in the order shown starting from the inside of the petal to the outside edges; yellow, red, brown, dark purple. It will result in a shading of colors as shown.
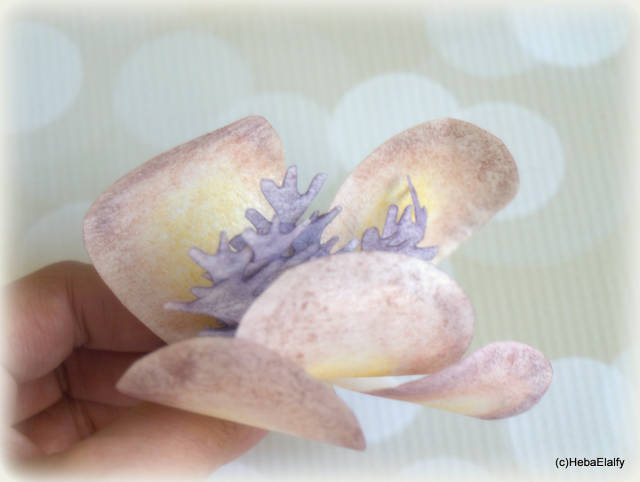
The final anemone flower assembled (using tiny dabs of water) :)
I HOPE YOU’VE FOUND MY PICTORIAL INSPIRATIONAL :)
Heba Elalfy ***more photos at https://www.facebook.com/sweetdreamstoyou
3 Comments
Lovely! Thank you for sharing!
Toni, Pennsylvania, https://www.facebook.com/WhiteCraftyCakes
Another fab tutorial x
Alana Lily Chocolates & Cakes
Thank you both :D
Heba Elalfy ***more photos at https://www.facebook.com/sweetdreamstoyou


