Borella Inspired Piping Tutorial
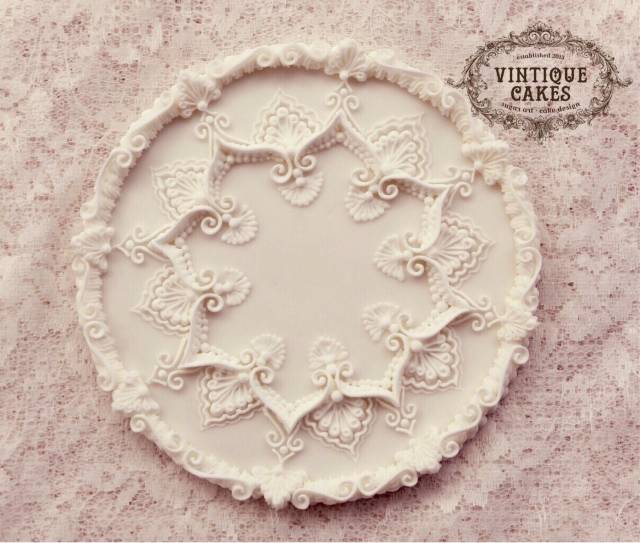
This is my piping tutorial for the Borella inspired romantic cake top design. I have broken it down to a step by step process to make what looks complicated, a little easier to follow and achieve. I hope you find it useful and enjoy learning the ways of delicate over-piping. This is for an 8” or 20cm round cake. You can make it for a larger cake and just adjust your template to the size needed. I wouldn’t go any smaller as you would lose too much detail to fit it all in. ROYAL ICING : 1 egg white from a 55gm medium size egg, 250gms of pure icing sugar, dash of wilton clear vanilla. Add your egg white and 100gm of icing sugar to the ultra-clean mixing bowl and mix at the LOWEST speed for 2 min. then add another 100 gm of sugar and a dash of clear vanilla and beat at LOWEST speed for 8 min. It should be thick and glossy enough to hold its shape, if you feel it’s a little thin still add some extra icing sugar until you get the glossy medium consistency your happy with. ( I don’t use meringue powder or powdered egg whites as they are not readily available where I live).
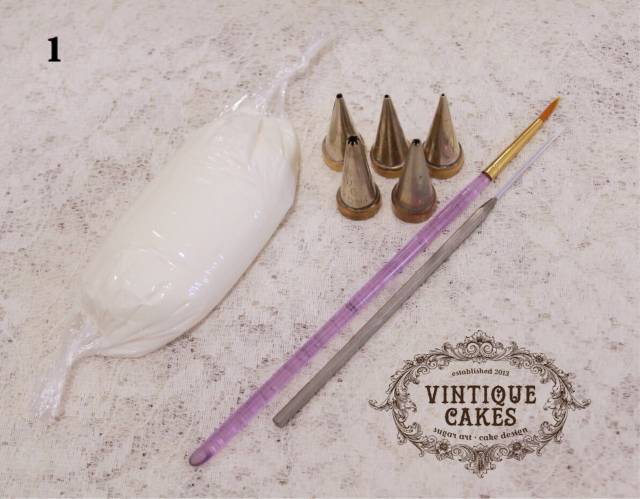
1) Supplies: Medium Consistency Royal icing, a Scribe, a damp small paint brush for taking off piping you’re not happy with & getting rid of those pesky little tails when you finish piping a dot. Tip sizes 1, 2 & 3 round & a small and medium star tip.
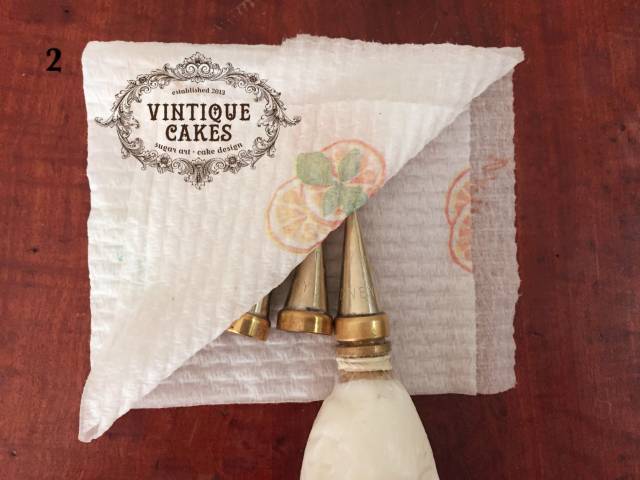
2) Tip* Keep your used tips covered under a damp cloth so they don’t dry out and clog up.
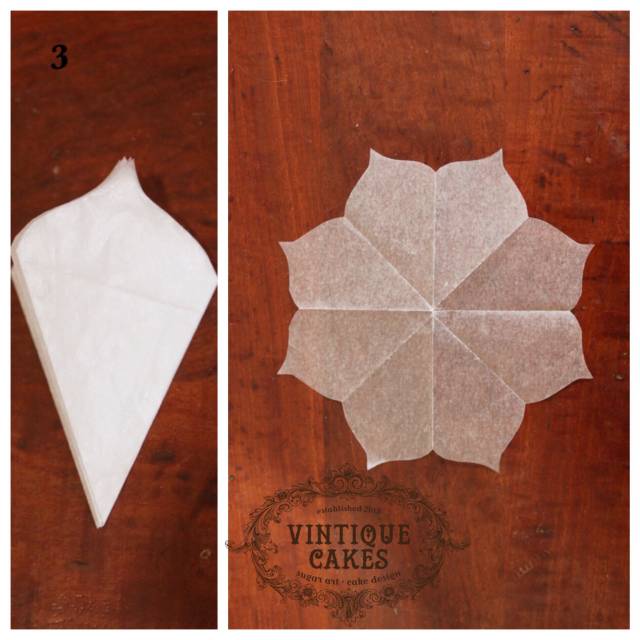
3) Template: Take a piece of paper and fold it in half 3 times. Mark two sides from a corner point at 5cm. Then in between the two marks measure 6.5cm up the middle, this will be the point of the petal shape. Draw a petal shape between the marks and trim (See Photo) then when you open it out you should get a flower shape with 8 points. Find the centre of your cake, position the template and outline lightly with a scribe. Using the points of your inner template as a guide, mark the outer edge of your cake into 8 equal sections to pipe your outer border later on.
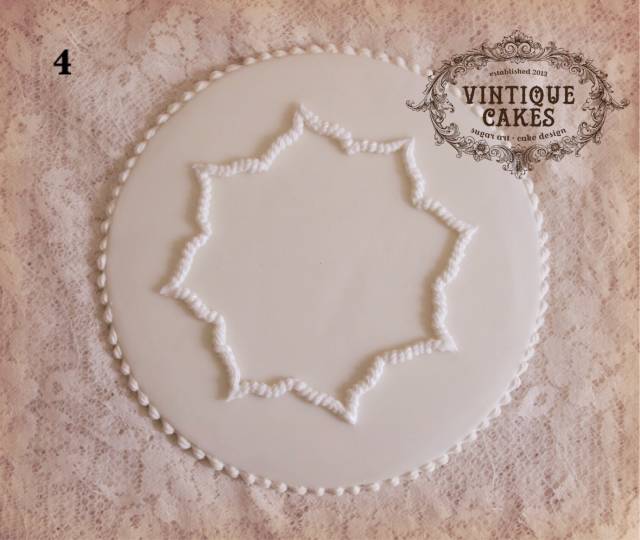
4) Starting on the inner border use a small star tip outlining the scribed pattern in a rope motion.
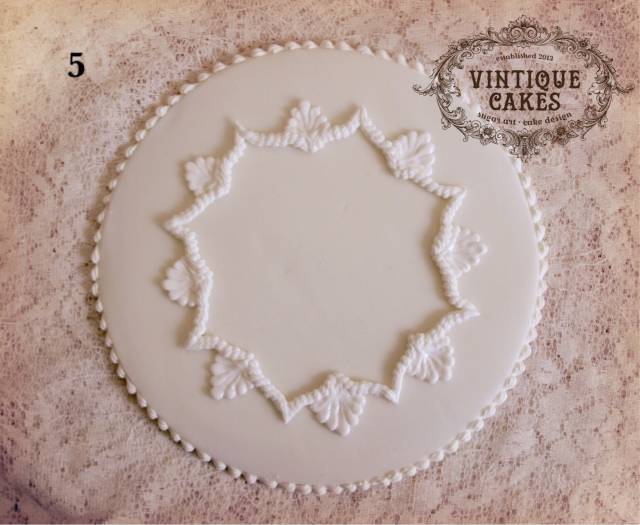
5) Pipe a 7 point plume at the inner points of the border with a No2 round tip.
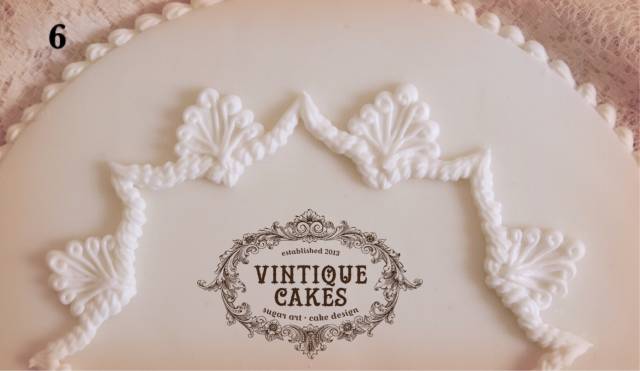
6) Overpipe the plumes with single ended scrolls using a No1 round tip, when all piped it will have a fan effect. Finish with a small dot at the base of the overpiped plume.
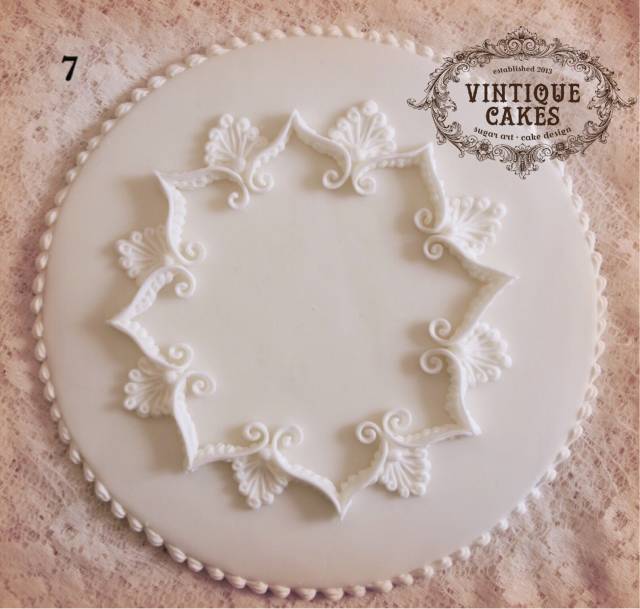
7) Line-work: Using a No3 round tip pipe from the tip of the peak of the rope border to just on the inside of the border finishing with a scroll. Do this either side on each of the 8 inner border points. Then overpipe them in a No2 and No1 round tip so you end up with 3 layers of gradual size line-work.
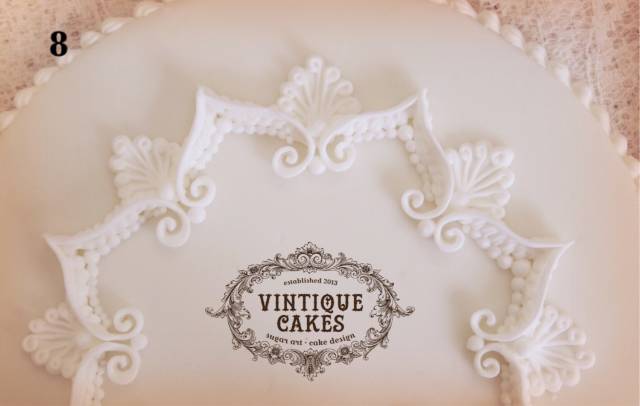
8) Using a No2 round tip, pipe a dot between the overpiped scrolls, then pipe gradual size dots on the inner edge of the rope border starting with a large size in the middle and gradually smaller to the outer edges.
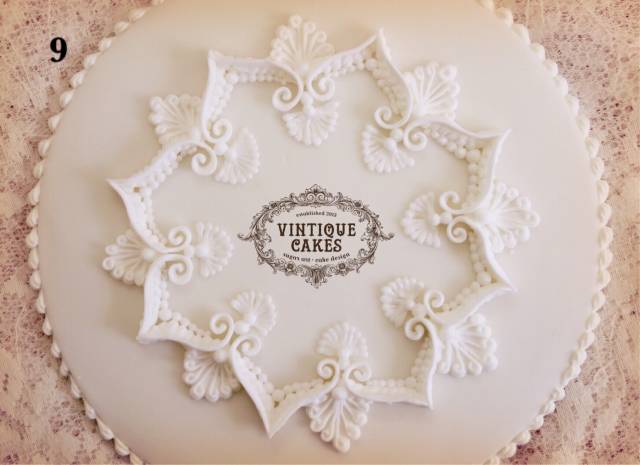
9) At the base of the large dot between the overpiped scrolls, using a No1 round tip pipe a fine 11 point plume and finish with a small dot at the base.
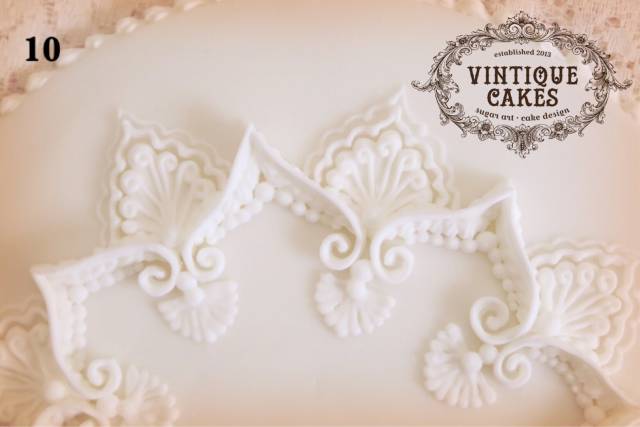
10) Using a No1 tip pipe a scallope edge border around the overpiped plumes. Then overpipe it again with the No 1 tip. Then pipe another scalloped border around it so you end up with two graduated scalloped borders.
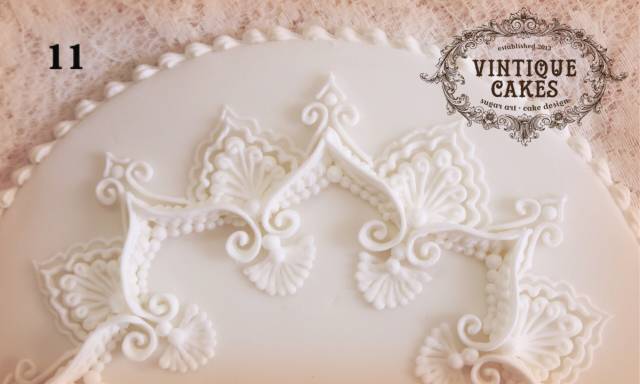
11) Add a single ended scroll at each side of the 8 inner border points using a No2 tip. Overpipe with a No1 tip. Pipe a large dot at the tip of each set of scrolls and finish with a double overpiped V shape over the large dot ( See pic)
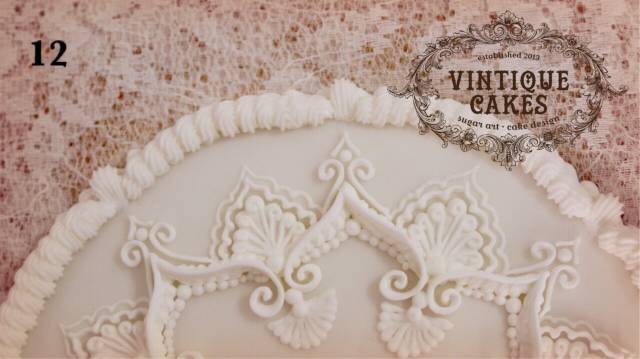
12) Outer Border: Pipe a single Bulb with a medium star tip at each of the 8 pre-marked sections. Then pipe a rope border with the same tip between each of the piped bulbs slightly tapering at either end.
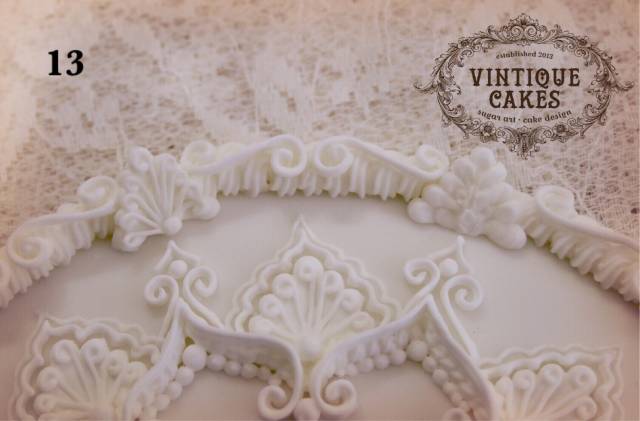
13) Pipe a 9 point plume over each of the 8 bulbs with a No3 Round tip and let them set up and dry for about 10 minutes. Then overpipe the plumes with a No1 tip with small scrolls in a fan shape and finish with a small dot at the base.
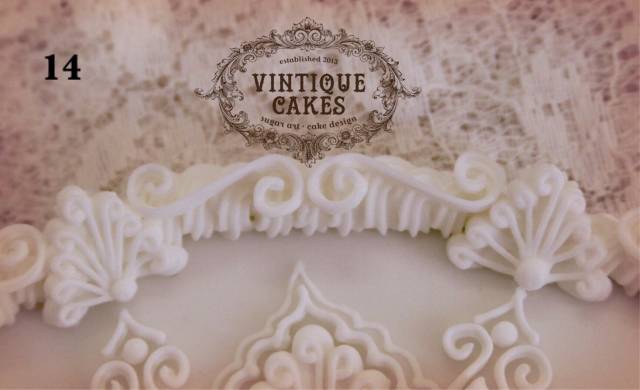
14) Lastly, pipe a set of double ended scrolls on top of each section of rope border starting with a No3 round tip, overpiped by a No2 and a No1 tip. There should be three graduated layers for the scrolls……… and your all done! Xx
"Sugar Hugs"
19 Comments
So beautiful!
Julez, https://www.facebook.com/pages/Allways-Cakes/450634018350115?ref=hl
Beautiful! Thanks for the tutorial :-)
Kelly's Kitchen
So beautiful x
Khamphet
Gorgeous…Wonderful Instructions..
Creativity is God's gift to us. Using our creativity is our gift back to God. Clarky's Cakes 😎
Thank you Anita. Very well explained with clear photos.
Summerjae
Prety
camille B
Fantastic, thank you!
Znique Creations at https://www.facebook.com/ZniqueCreations
Just gorgeous! Thanks for sharing!
Teri, Ontario, Canada http://www.TeriLovesCake.ca
So amazing Anita. Stunning xx
Sweet-E


