Cat Cake Tutorial
Here’s a quick tutorial for “A Cat Cake” she said… “A Cat Sitting Up” she said… “Oh, And With Jewelry” from my posting.
For full detailed tutorial visit "":http://www.mixbakeeat.com
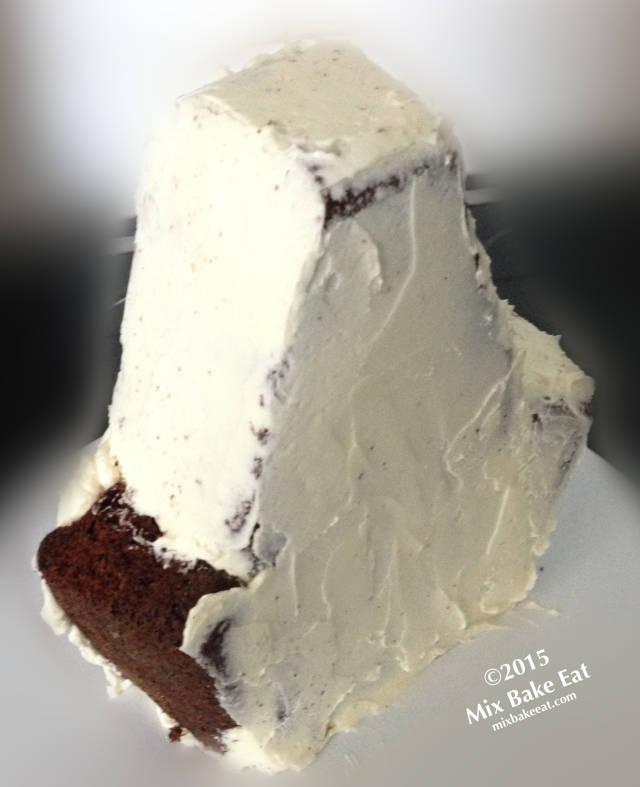
The body was baked in a 9″×5″ loaf pan and the head in a 1 cup glass oven proof measuring cup.
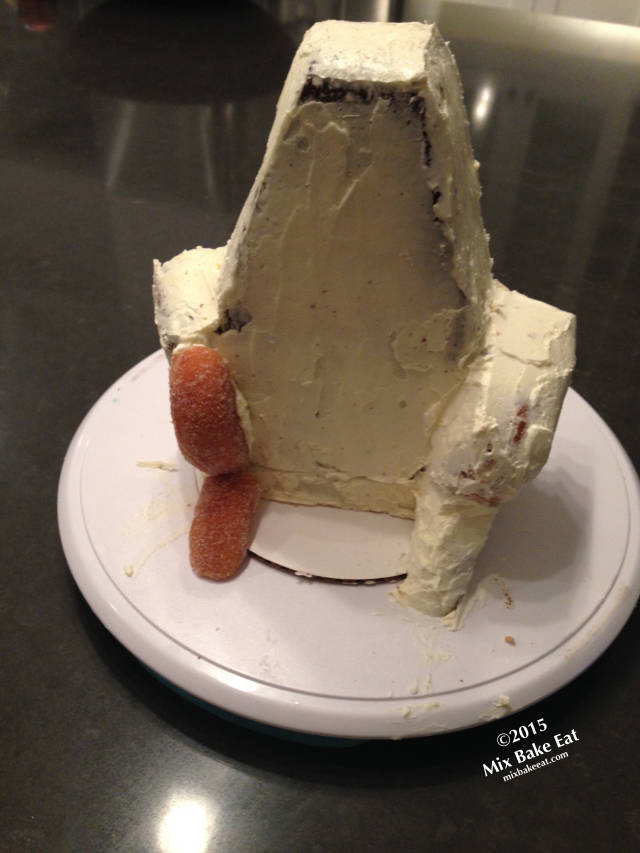
Trim the loaf so that it will stand on end and then diagonally cut wedges from the top to about half way down. Attach these wedges to the bottom half of the loaf to create the cat’s haunches.
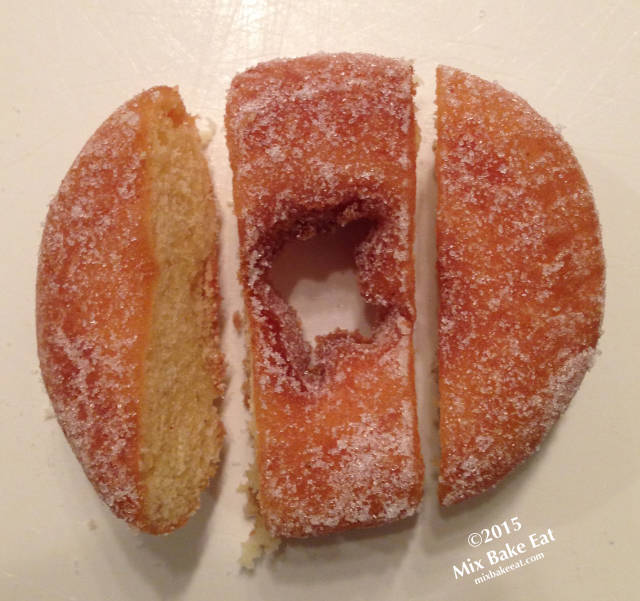
Cut a doughnut as shown and attach to the front of the haunches to form the cat’s ‘knees’ and then add a small piece of doughnut for each paw.
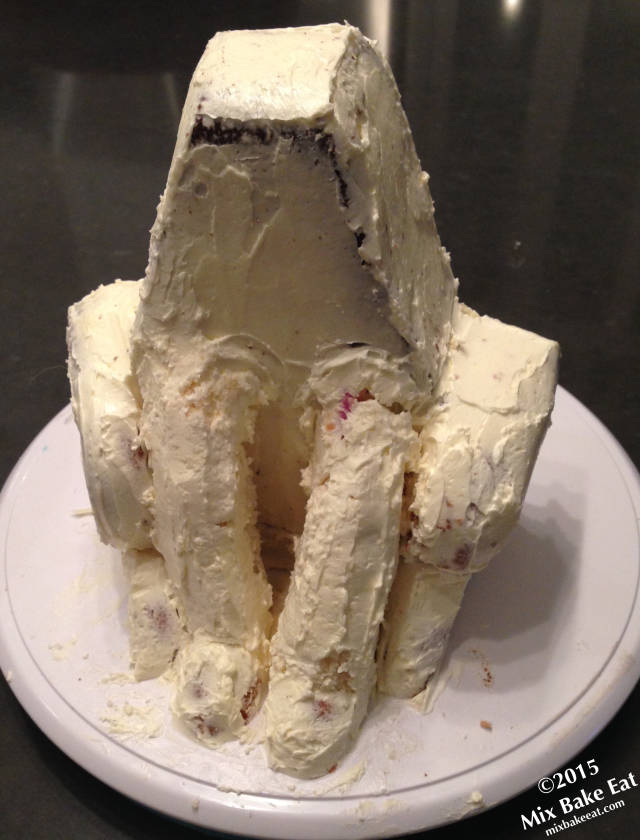
Cover two straws with the trimmed cake bits to form the front legs and then add small doughnut pieces for the paws.
Crumb coat and chill the body
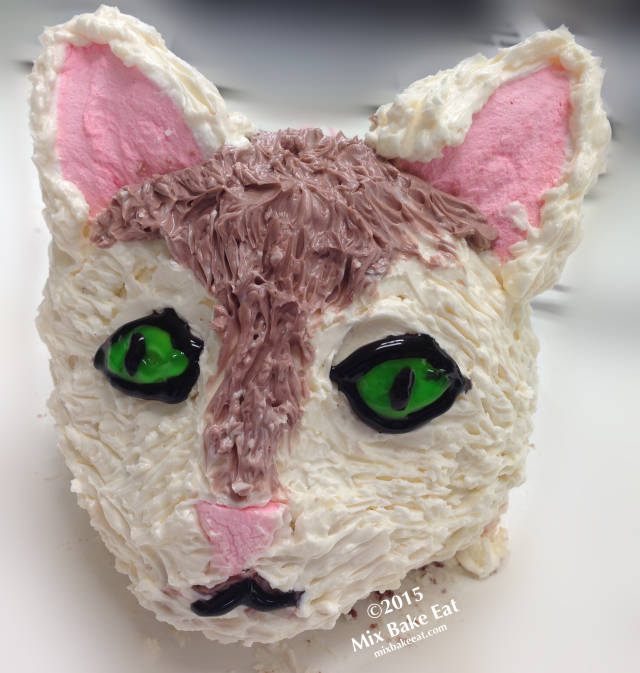
Using the cake baked in the measuring cup trim and sculpt the head with the nose at the narrow part of the cake. Crumb coat and chill.
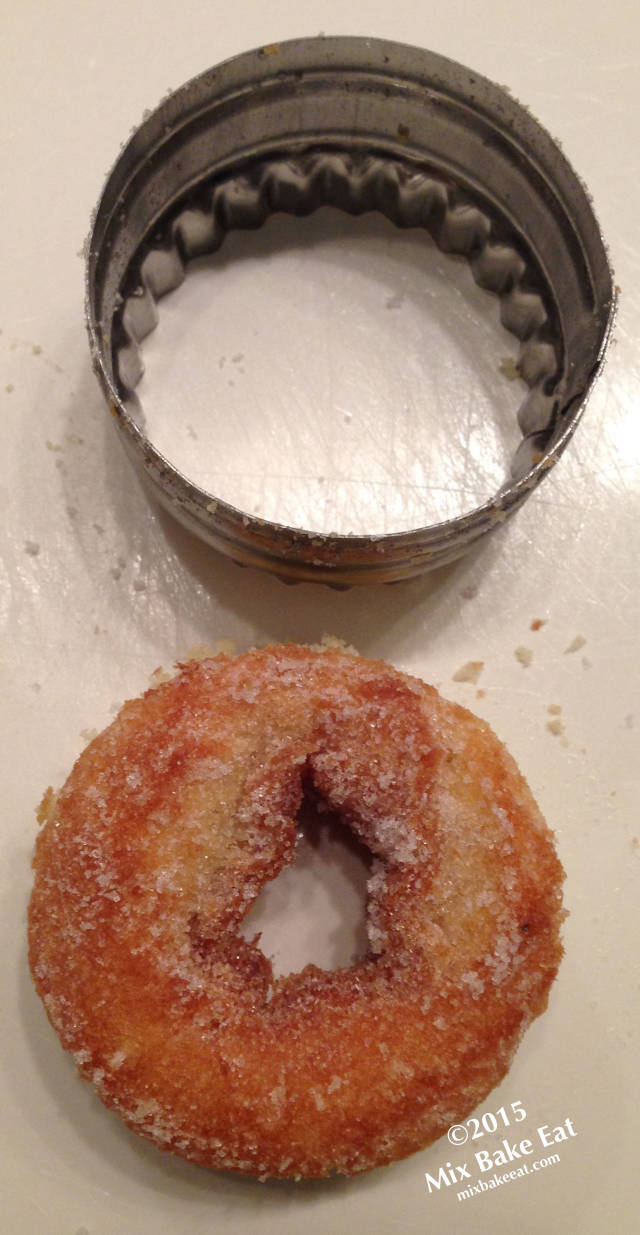
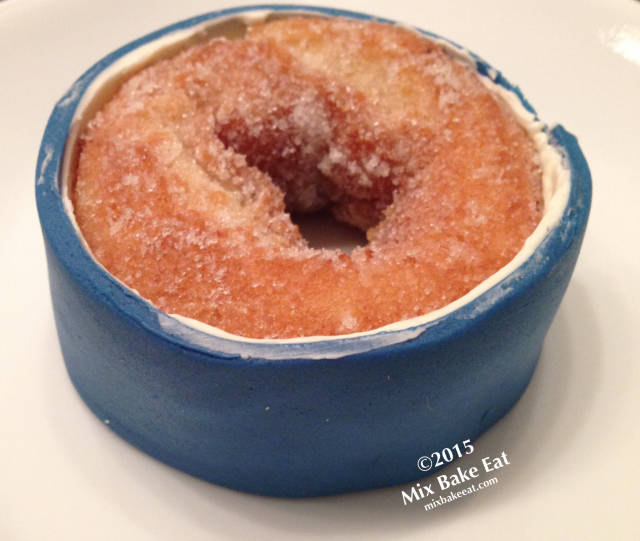
With a cookie cutter slightly smaller than the doughnut, cut it so that the outside edge is straight and then wrap in fondant to form the neck and collar.
Using a bamboo skewer and some royal icing, attach the neck and head to the body
Pipe almond shaped eyes and whiskers on wax paper with royal icing and let set
Cut a large pink centered marshmallow in half on the diagonal to form the ears and attach to the head. A small piece of the pink part can also be added for the nose.
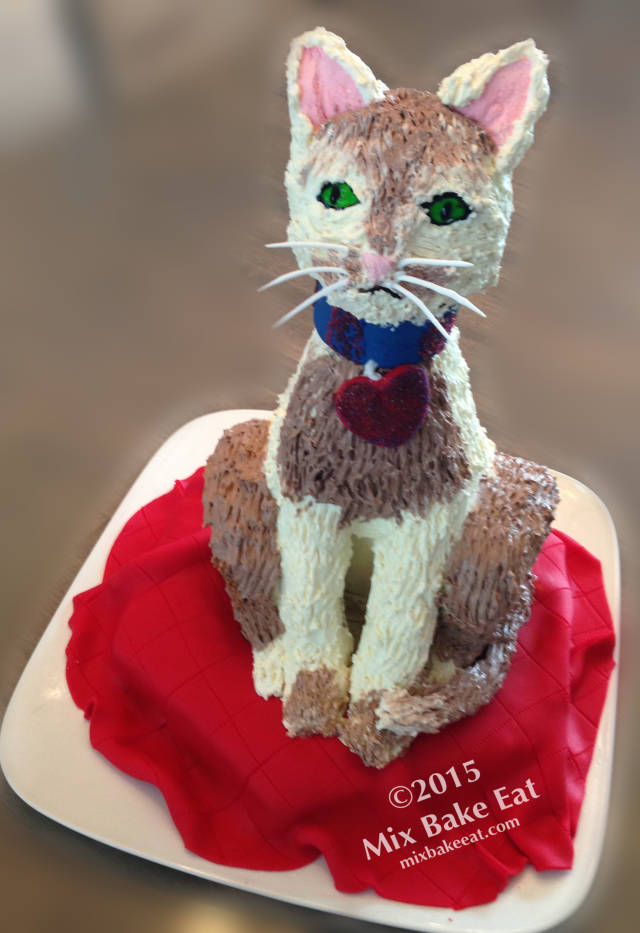
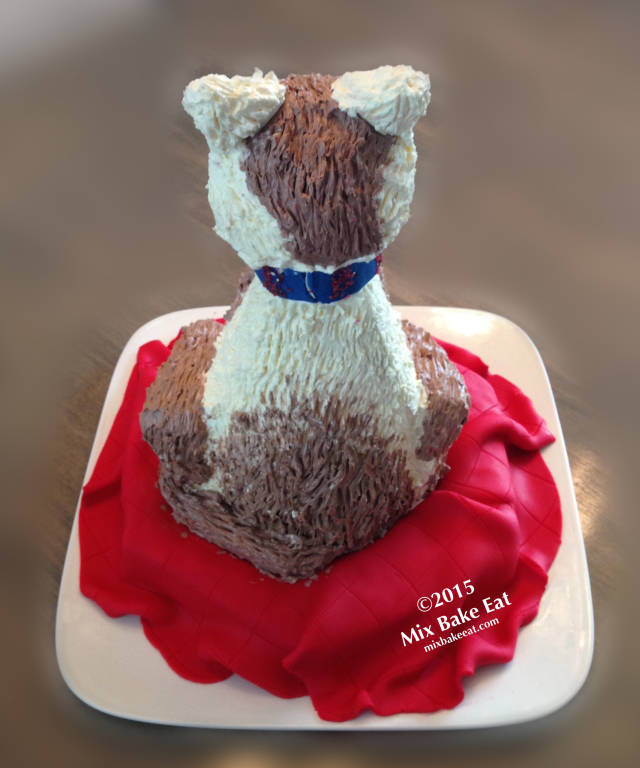
Ice the the whole cake generously in two colours and then using a fork, texture the fur.
Cut and decorate a piece of fondant to form the heart shaped tag and attach
Attach the royal icing eyes and finish them with black and green piping gel. Add the whiskers.
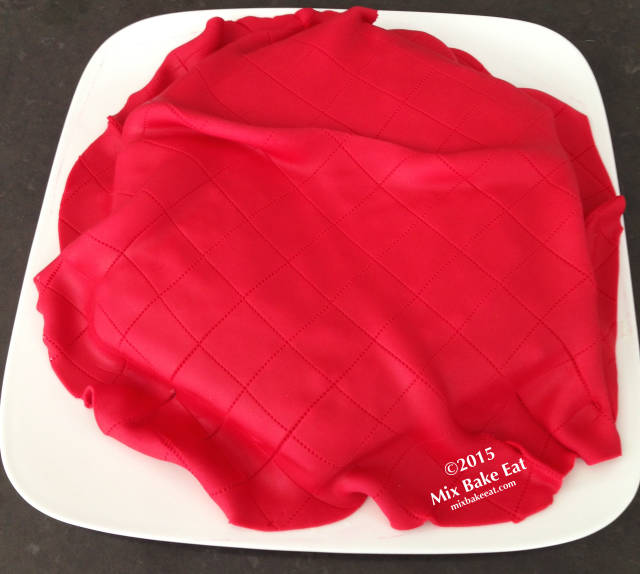
Cover a hexagonal cake with a ‘quilted’ fondant blanket and place the cat on the ‘blanket’
Make a tail out of rolled fondant and coat with icing and then texture and voila… a cat cake!

Mix Bake Eat