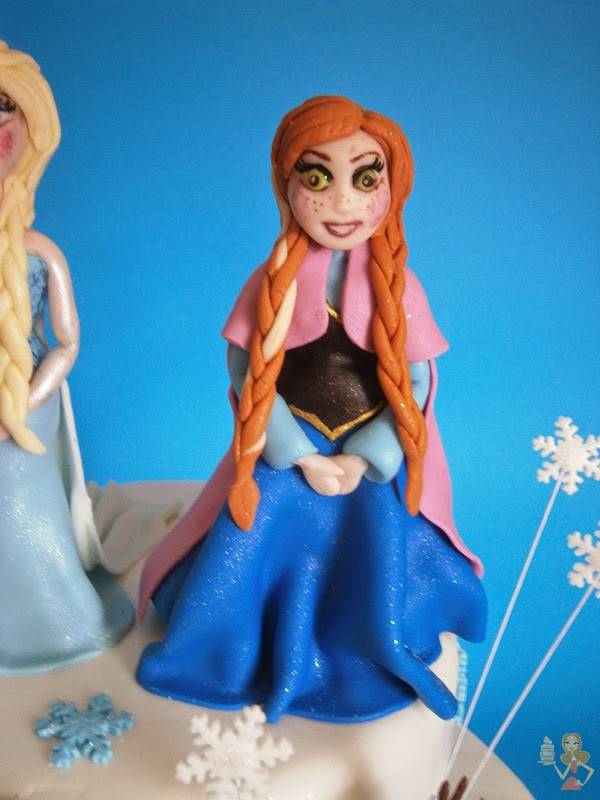
Gumpaste figures tutorials #6: Frozen - Princess Anna tutorial
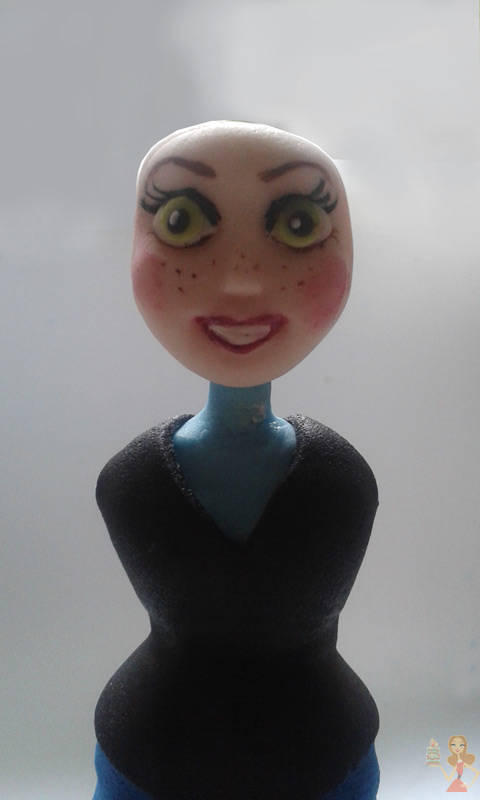
I’ll show you how I did this with my face mold. It’s not the best mold ‘cause it’s too shallow, and faces comes out flat so I have to work on them to make them look better. (I’ve just got some amazing molds, can’t wait to try them!)
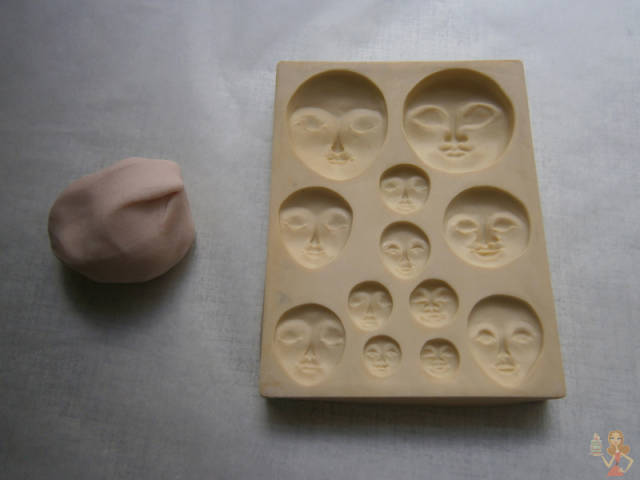
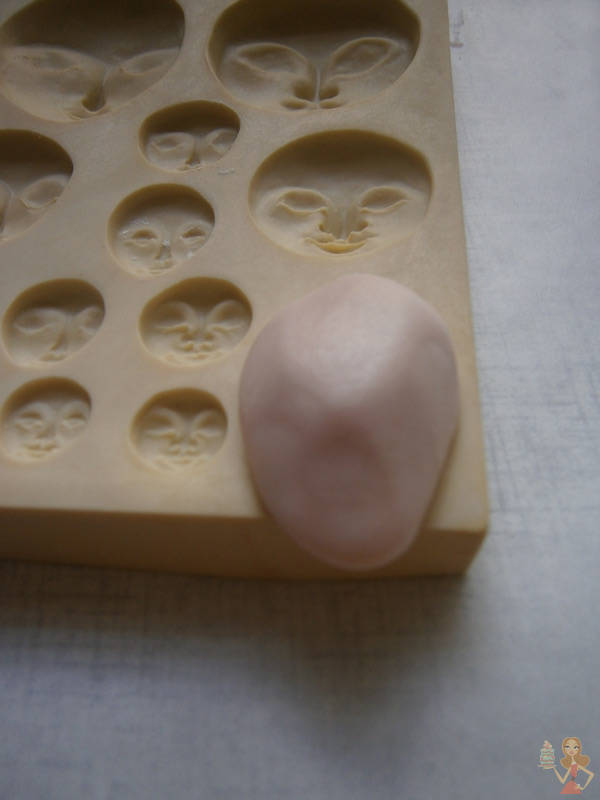
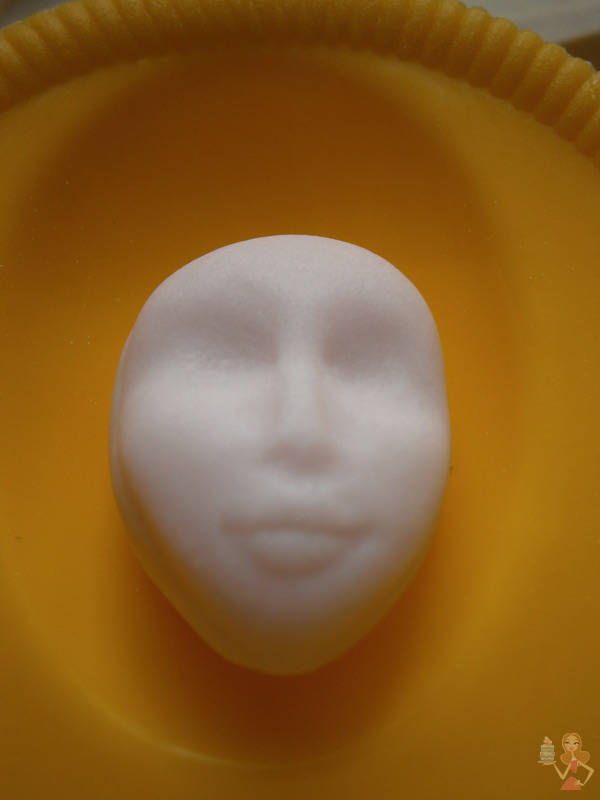
I always make several heads, work and practice on all of them and at the end choose one I like the most. Others I save for next time.
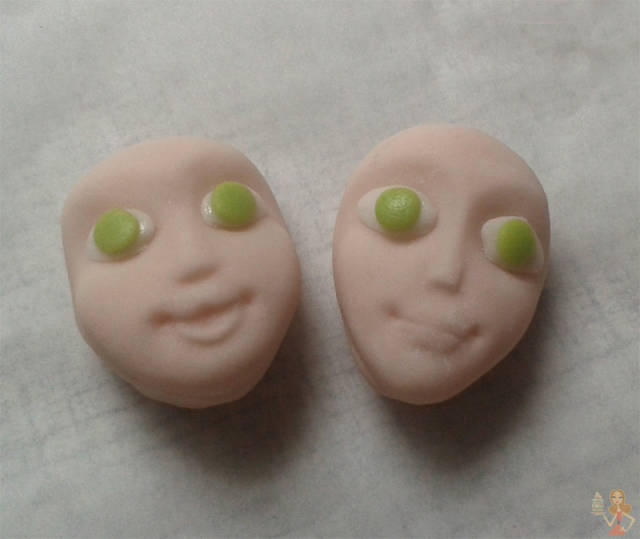
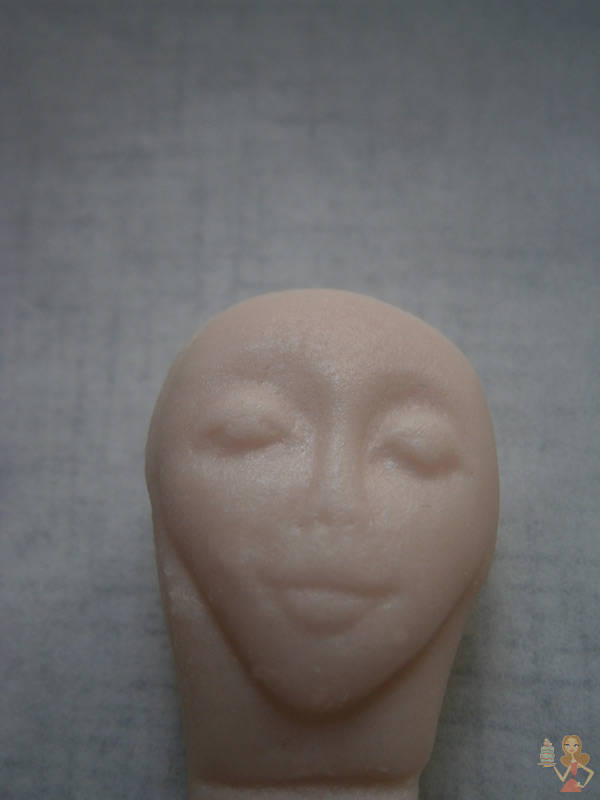
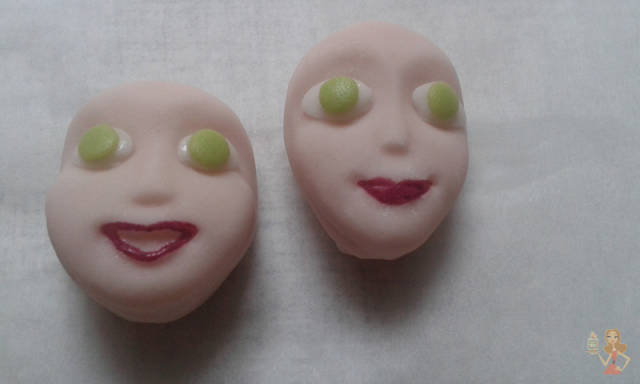
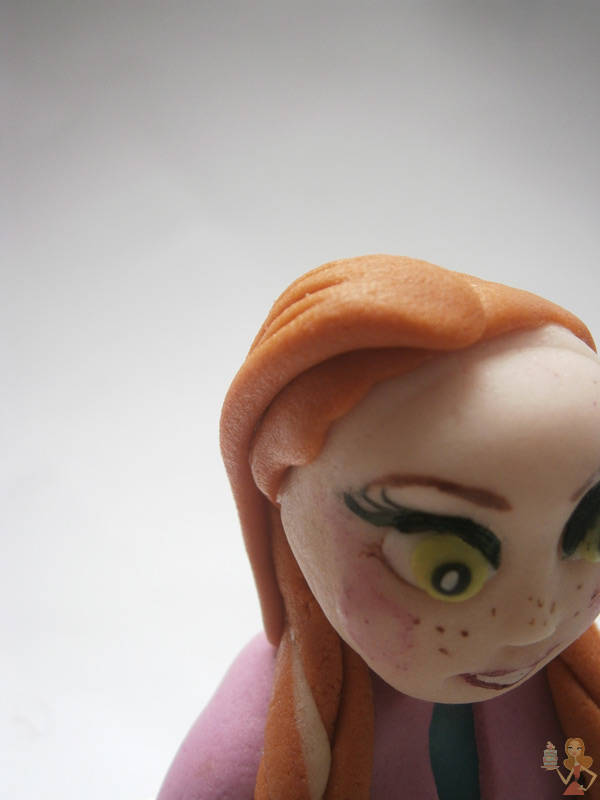
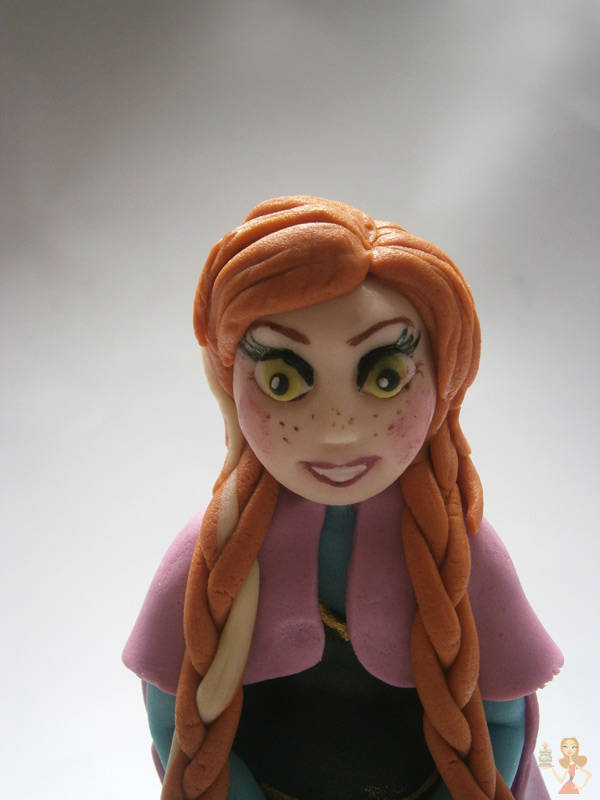
For Anna I chose this two heads, added eyes and using a thin brush draw a mouth. (I also had some old brushes so the drawings are not very nice… I’m going to find better ones, any suggestions are welcome ;) )
Then, I added pupils, drew eyelashes. I’ve decided to go with this head.
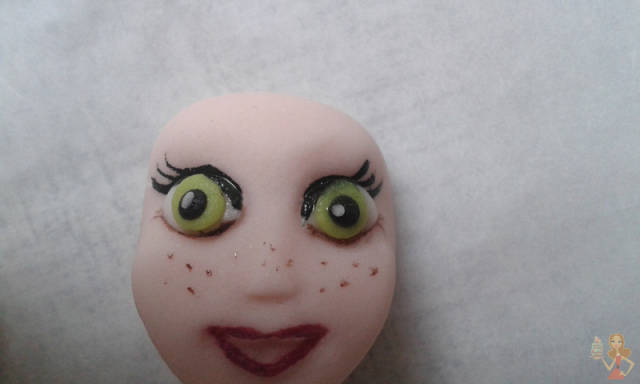
I also drew freckles and eyebrows.
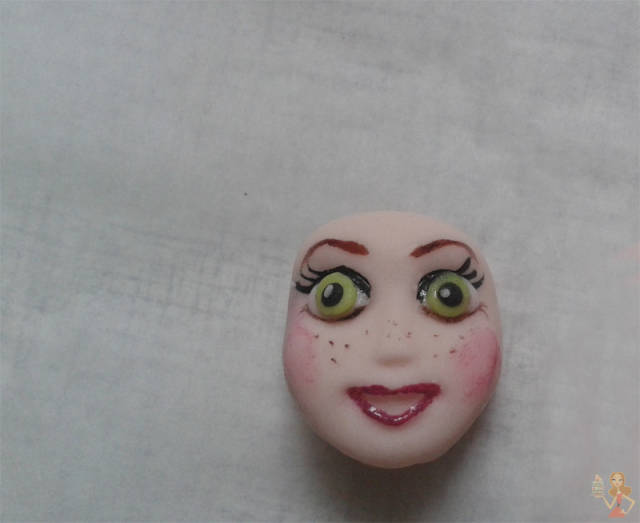
And the head is done.
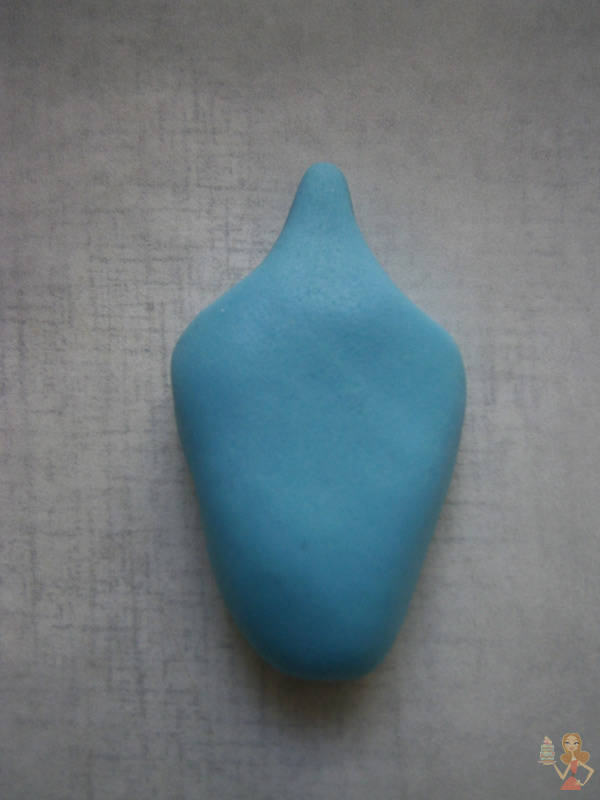
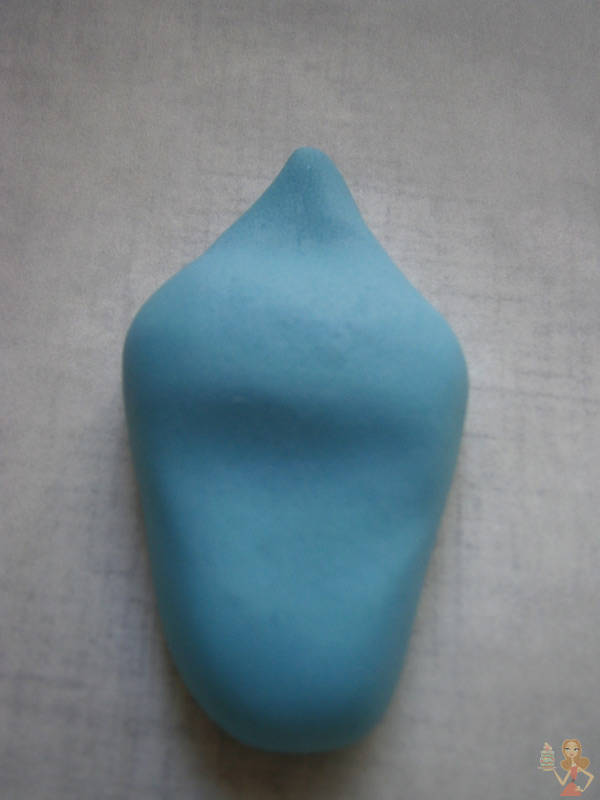
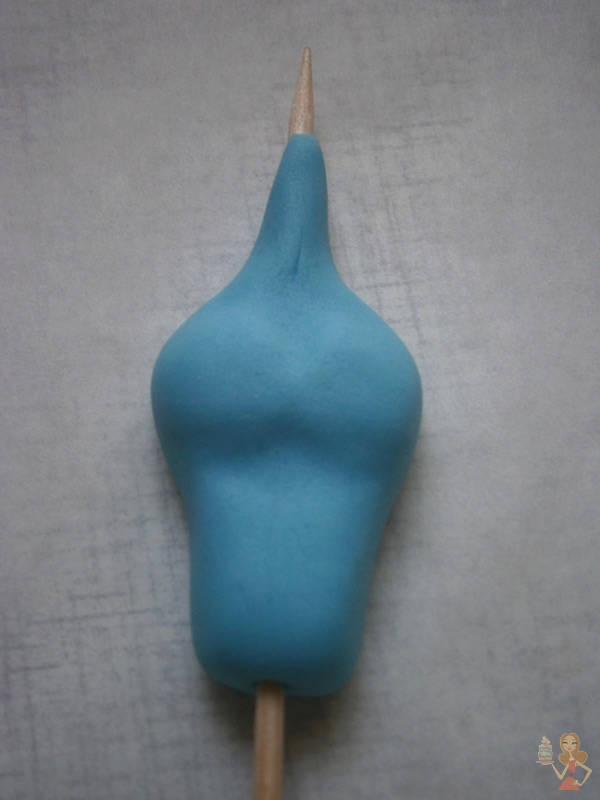
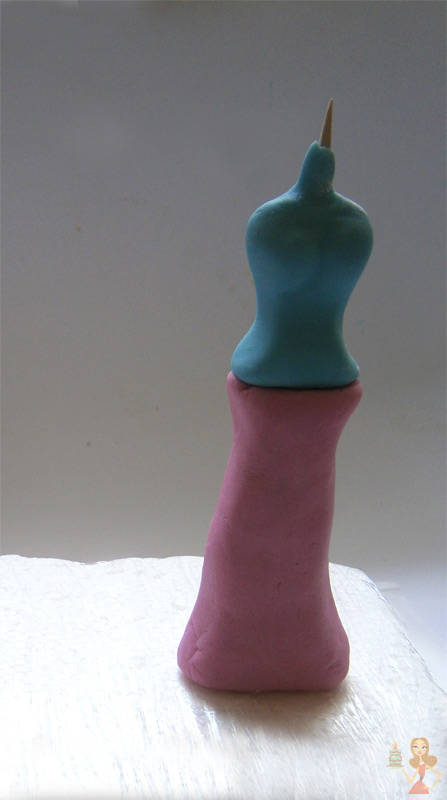
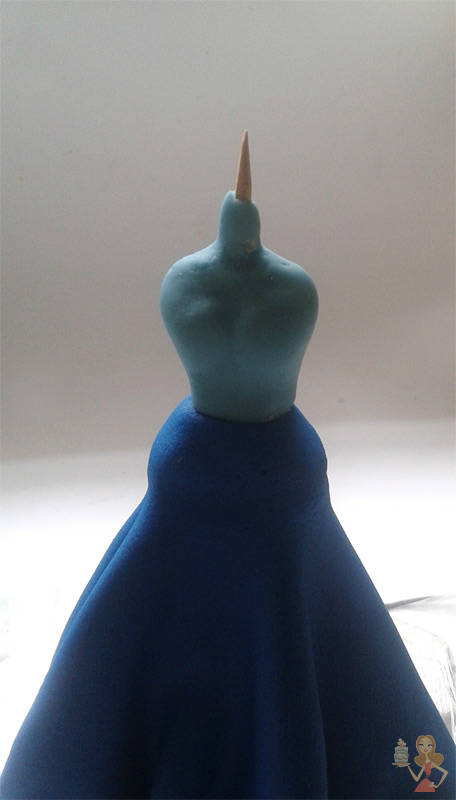
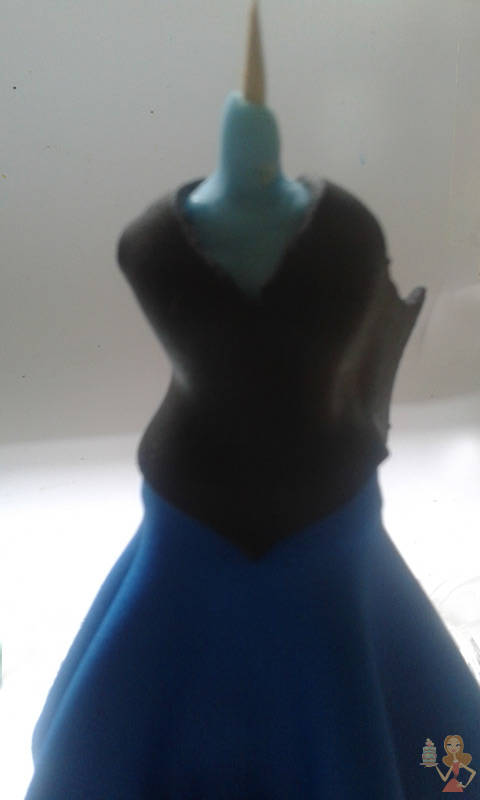
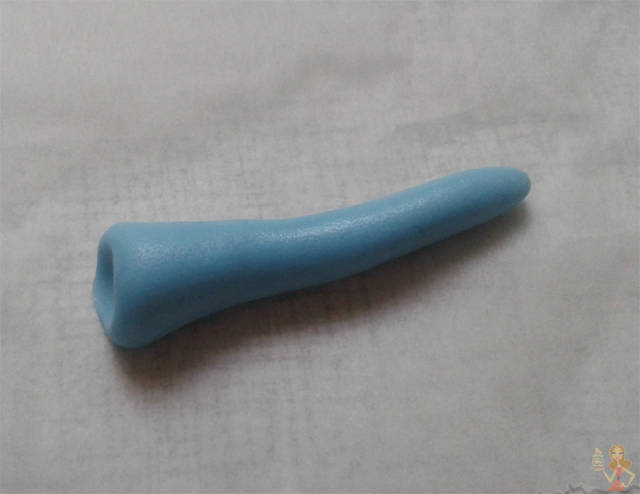
Make the torso using blue gumpaste, just like her shirt.
For bottom, I’ve used some leftovers of gumpaste, and mixed them. For both Anna and Elsa I’ve tried to shape them to get hips, so the skirt and dress look nice, but to be stable enough.
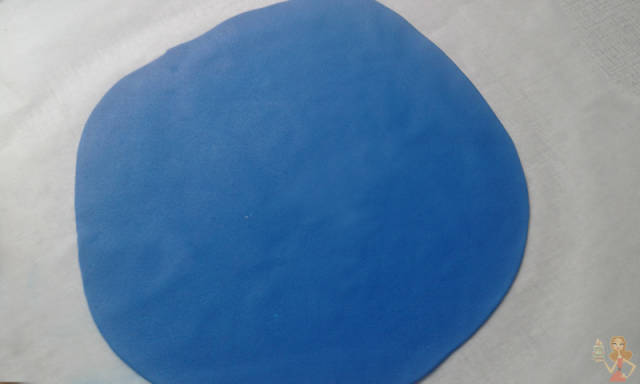
For skirt – cut the dark blue circle (doesn’t have to be precise).
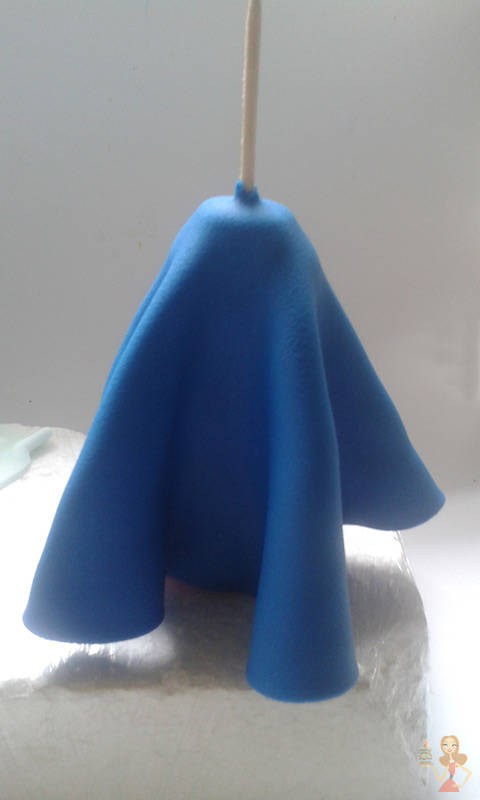
Put it over the bottom part, and shape it into Anna’s skirt.
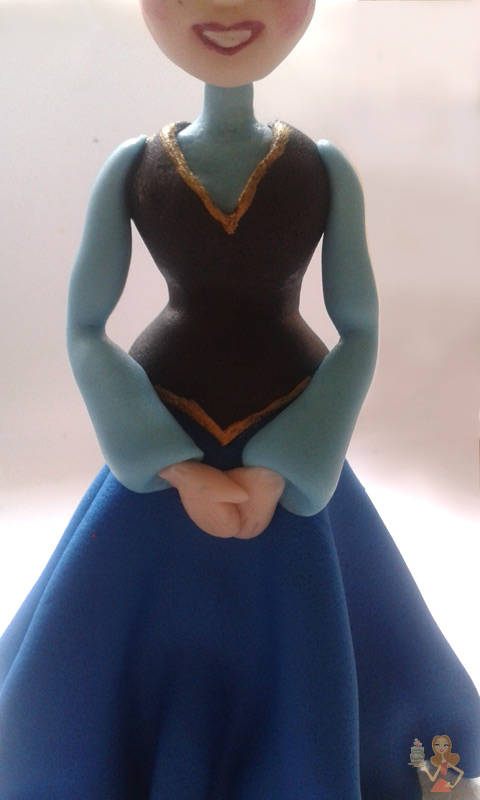
Glue the torso.
Roll a piece of black gumpaste. I used to sew, so I always tailor clothes for my figures :)
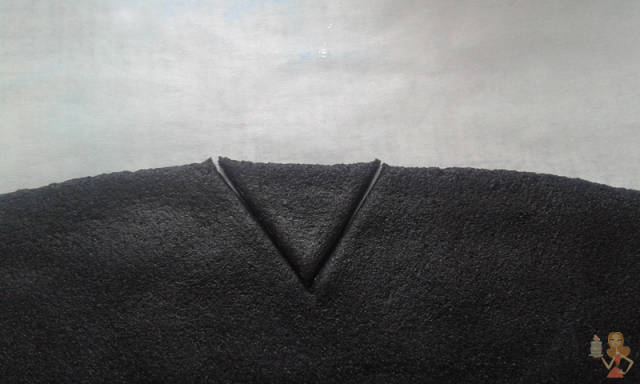
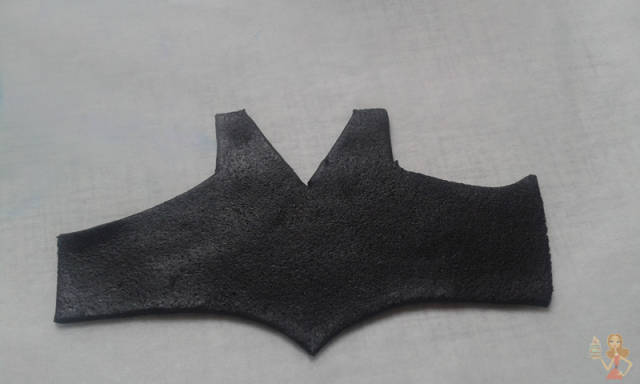

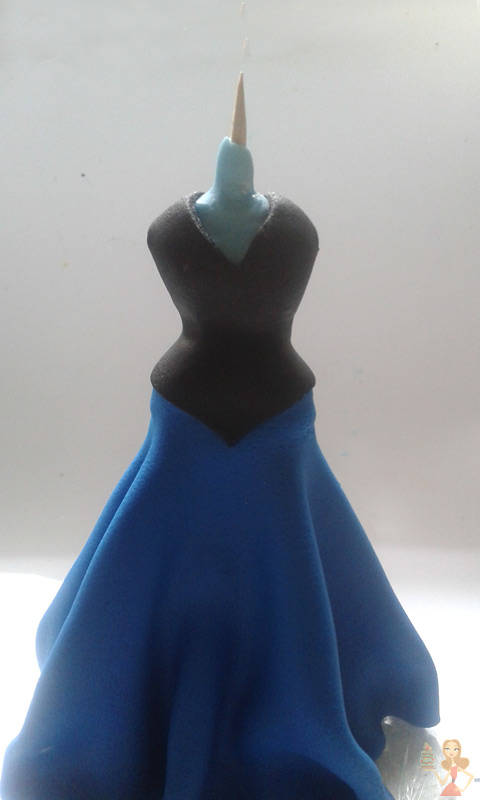
Use some gold dust mixed with alcohol to colour the edges.

Then, just glue the head.
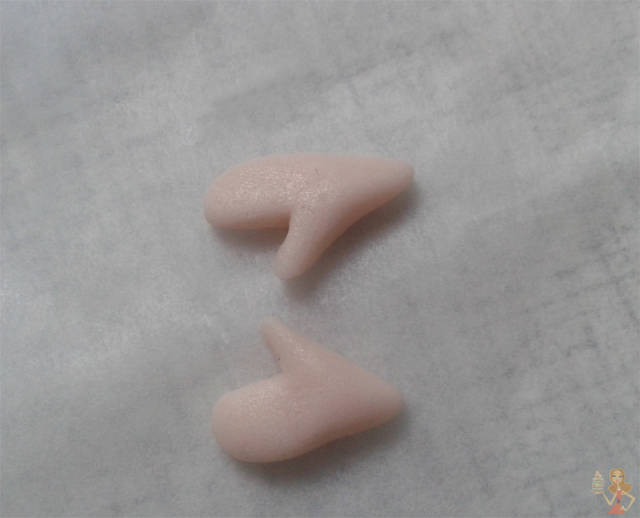
Now, make arms and hands
It’s time for cloak. Just measure the length and cut this shape.


Than add collar


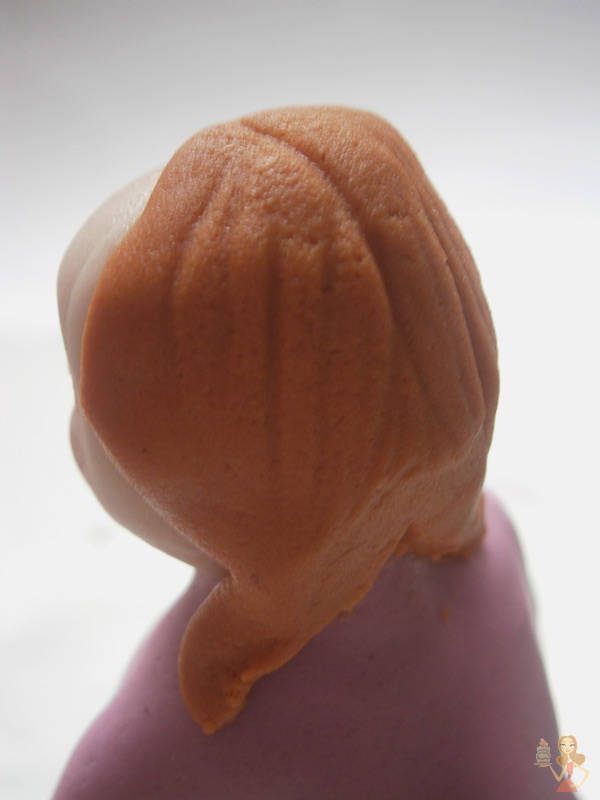
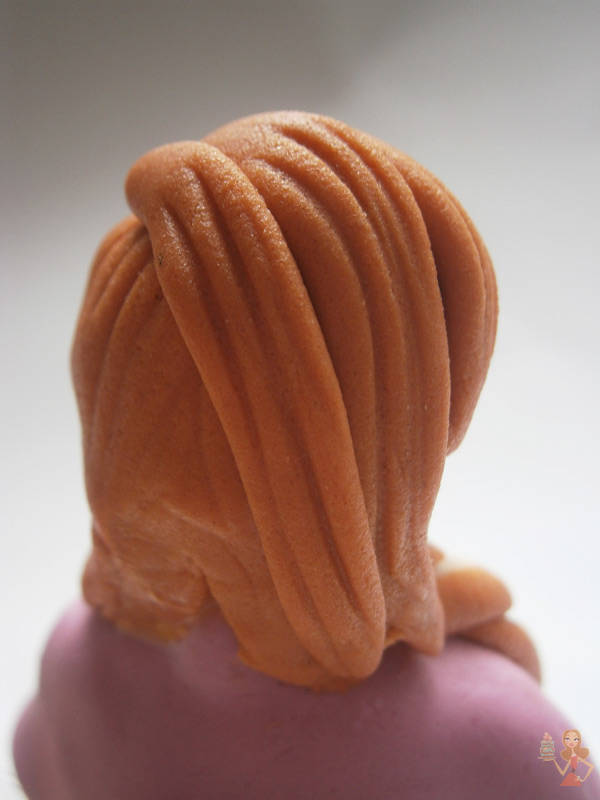
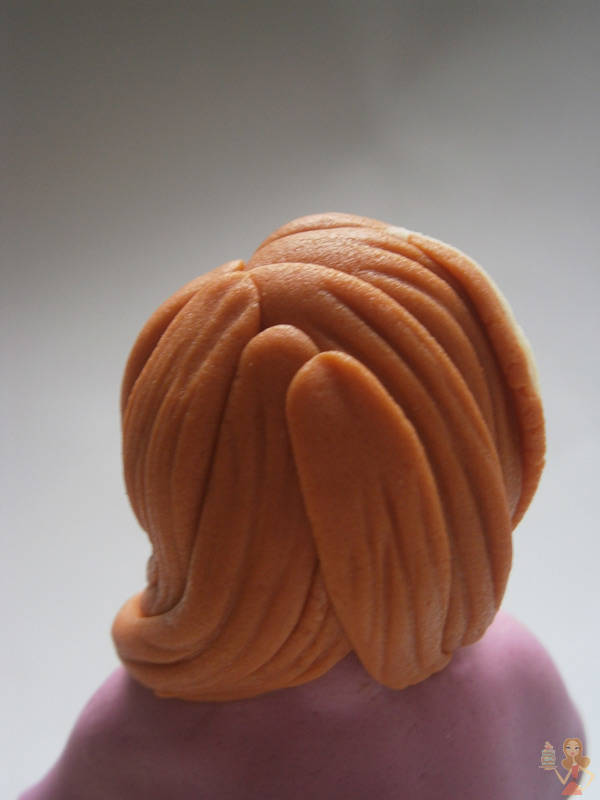
Now, the hair.
First, add some gumpaste on the back of the head, and shape it so it doesn’t look flat.

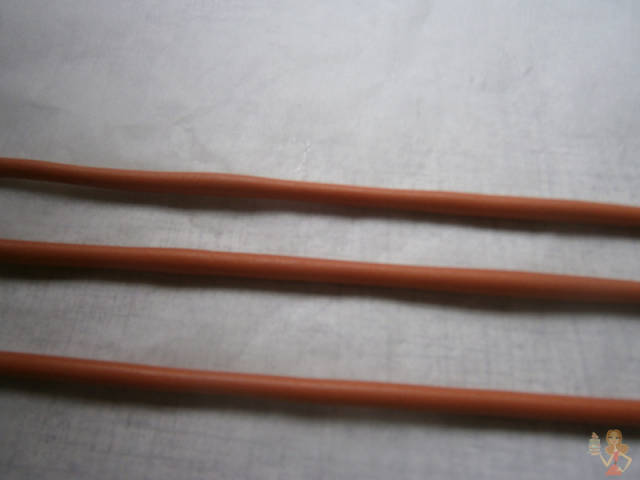
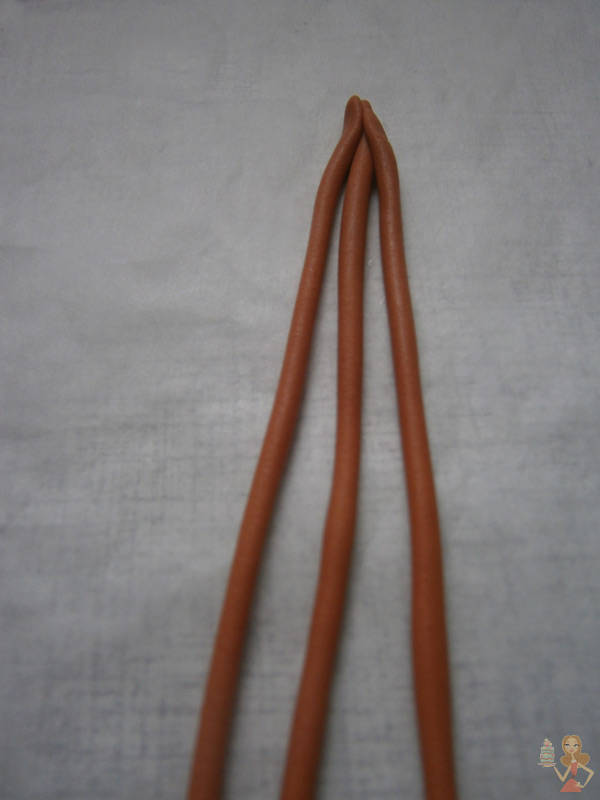
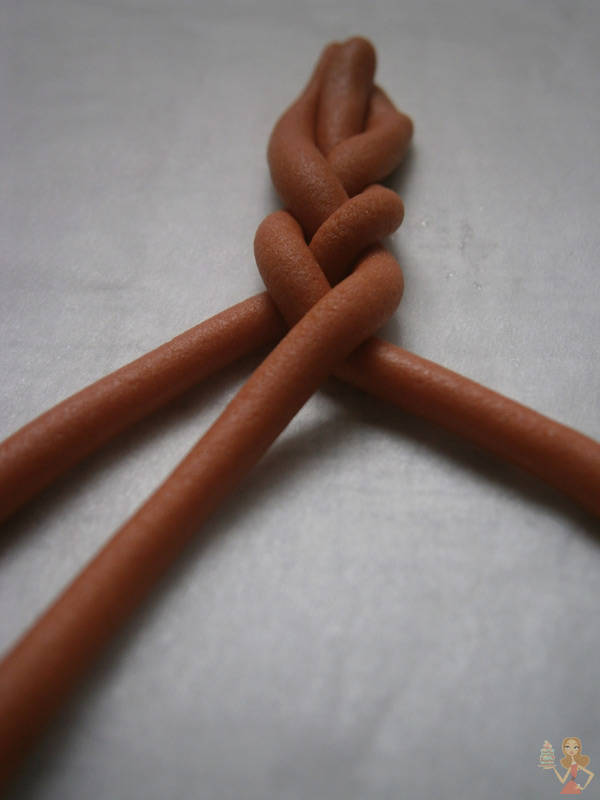
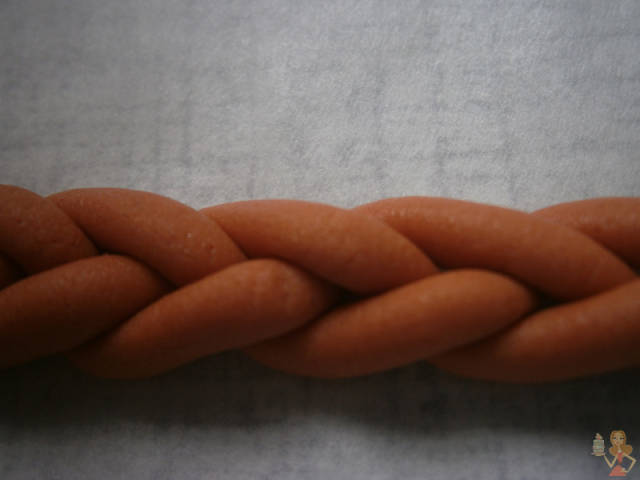
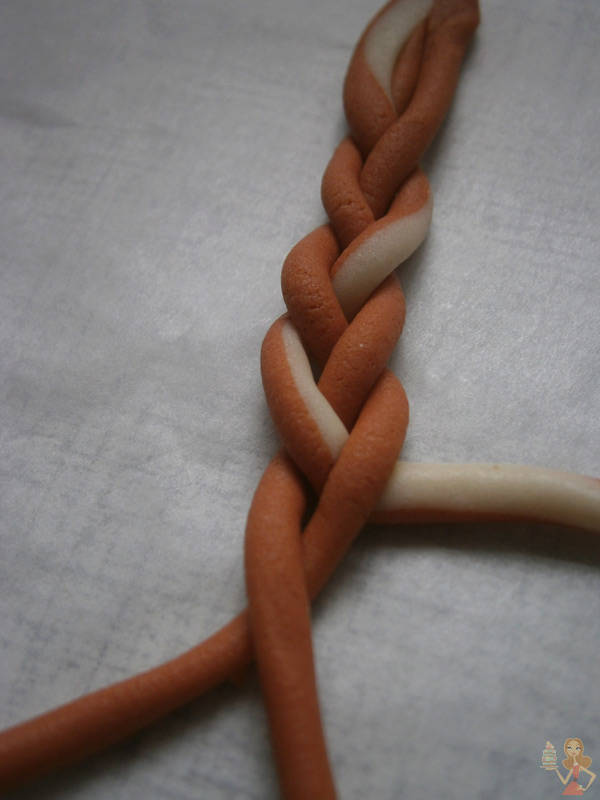
Make the braids.

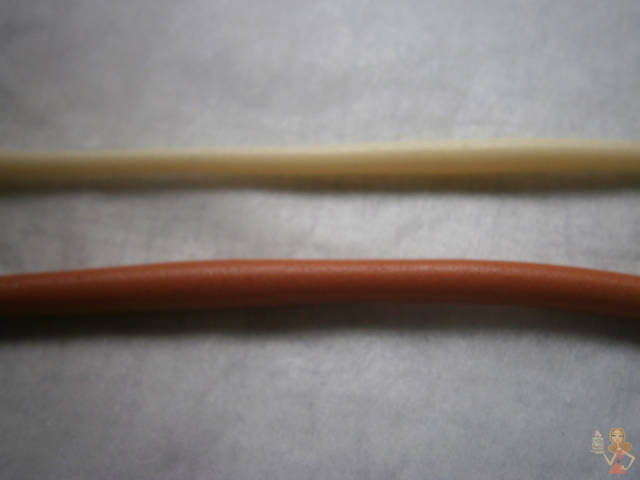
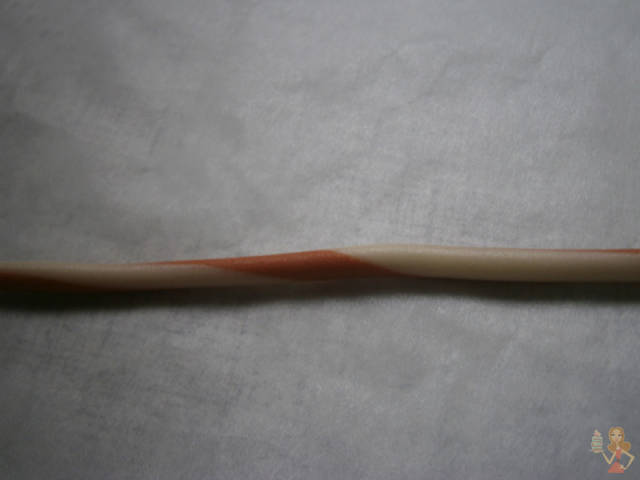
Don’t forget to add one white lock of hair.
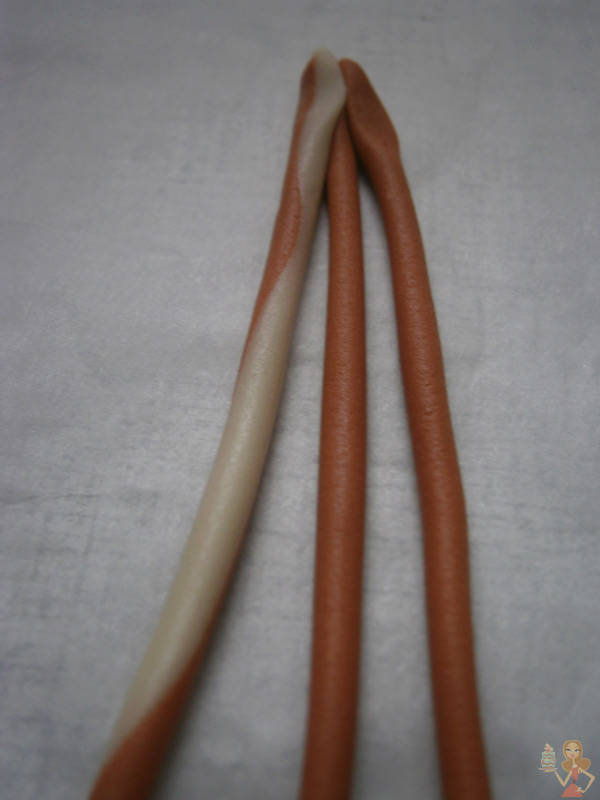
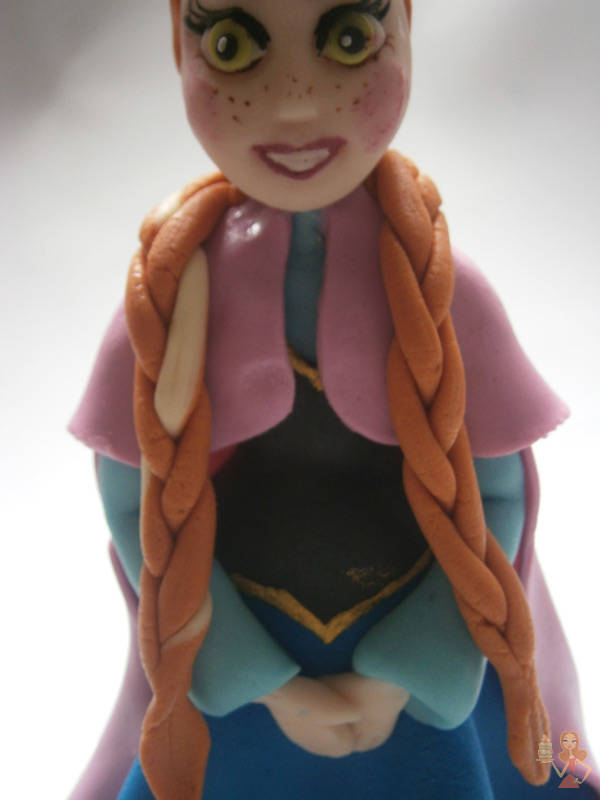
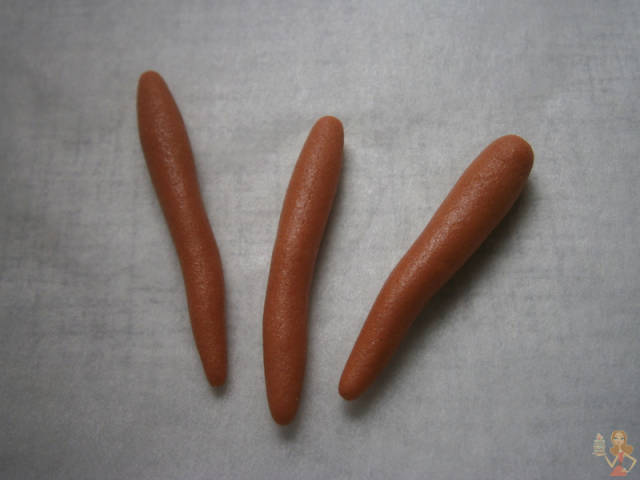
Make locks of hair in different sizes.

And glue them on head.
http://make-me-a-cake.blogspot.rs/2014/09/frozen-princess-anna-gumpaste-figure.html
1 Comment

Lovely! Thank you very much for sharing! :-) x
https://www.facebook.com/elliwarrencakedesign https://www.facebook.com/elliricci elliricci@hotmail.com https://www.instagram.com/elliwarrencakedesign/