
Wafer Paper Lotus BUD.
IF YOU ARE GOING TO COPY MY PICTORIAL TO CREATE A WAFER PAPER LOTUS BUD LIKE THIS, PLEASE GIVE CREDIT TO MY PAGE, BECAUSE I HAVE COME UP WITH THIS DESIGN AND THESE STEPS TO HELP OTHERS. EACH PHOTO IS COPYRIGHTED WITH MY NAME ON IT. THANK YOU.
My Facebook page is https://www.facebook.com/sweetdreamstoyou or mention my Cakes Decor tutorial/link. HAVE FUN. :)
Thank you :)
Using your cut out template, use a straight edge tool to trace around them onto your wafer paper.
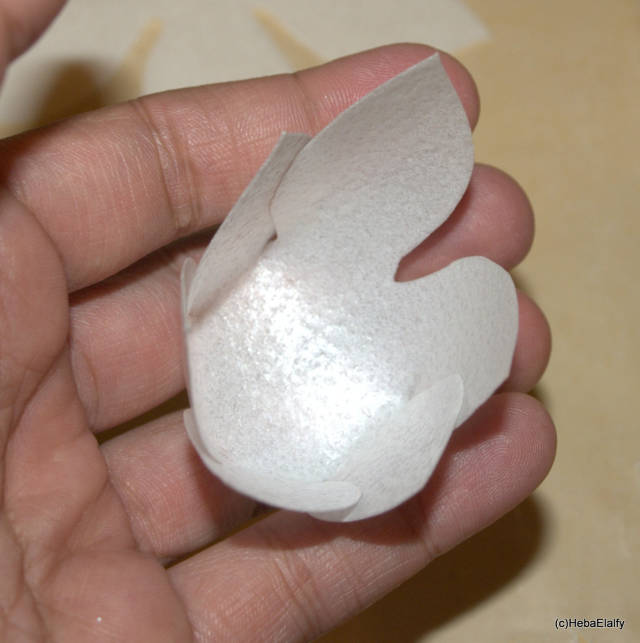
Close up shot.
Three different sizes cut out of wafer paper.
Using very small amounts of water, gently fold over the edges over one another as shown.
This is how they will look.
Here’s the largest flower cut-out to show you closely how to fold over the edges.
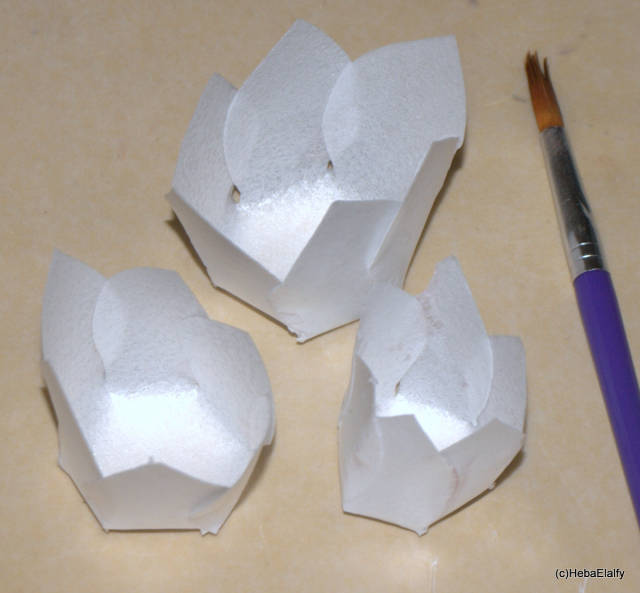
Three finished layers ready to be assembled.
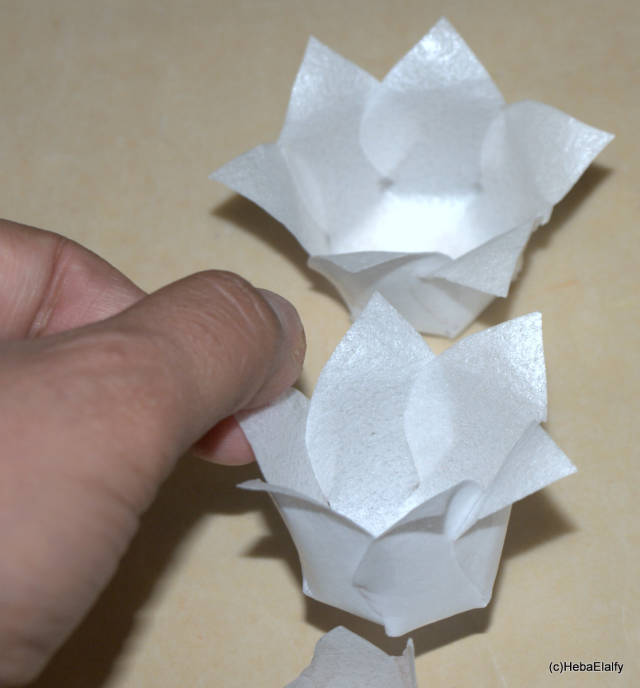
Prior to assembling the layers, I used the warmth of my finger tips to gently caress and bend the petal tips. It takes a little patience and time.
I don’t want to throw away, waste, any left over cutoff wafer papers, so I want to use them for the center of my bud.
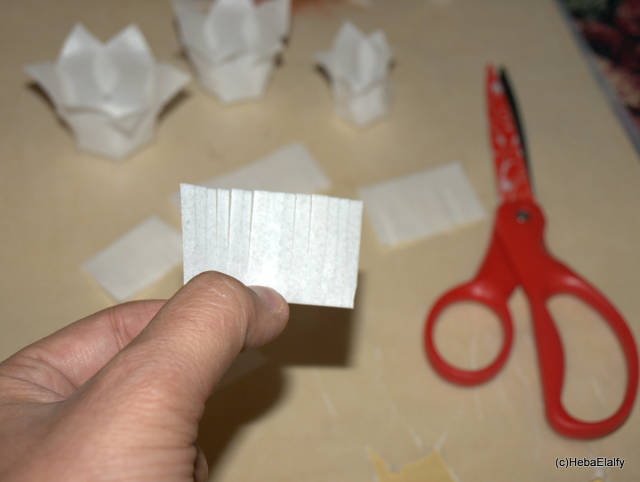
After trimming them into rectangles, I cut them from on one side only leaving about 0.5cm or almost a quarter of an inch from the other edge.

Gently dab one edge of a fringed strip and roll over your paint brush, loosely adding the other fringed strips.

This is how it should look when you’re done – this will be the center of the bud.
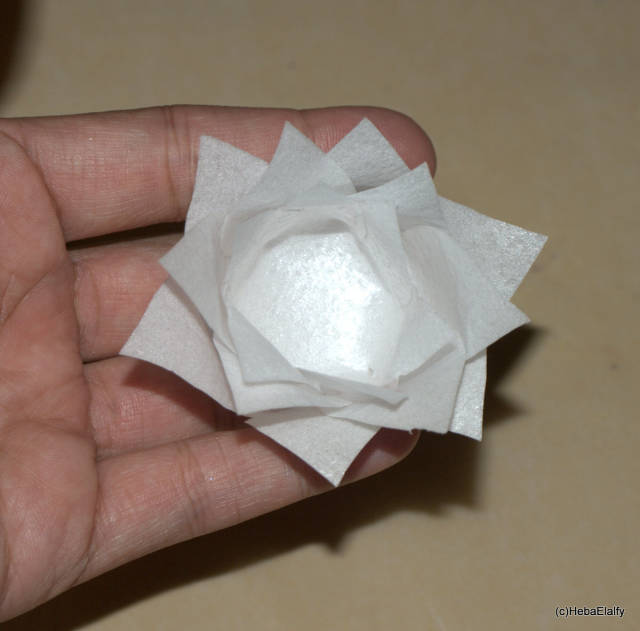
Assemble the three petal layers making them stick with little amounts of water inside to make it look as shown.
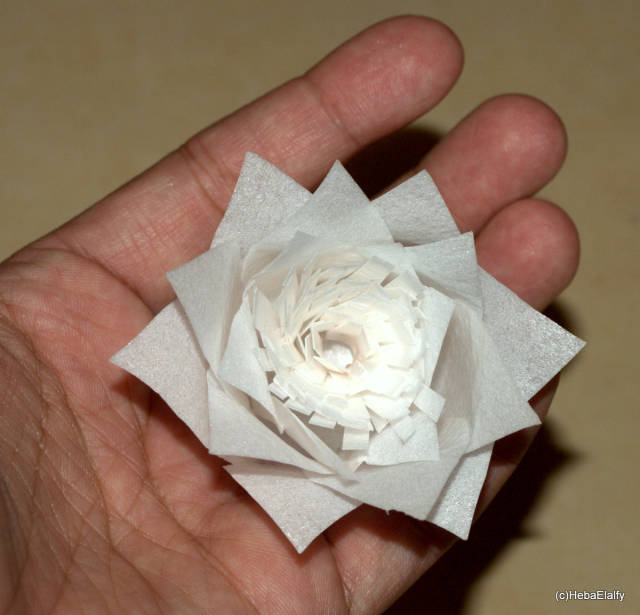
Finally, dab some water at the bottom of your center piece that you just finished and place it in the center, as shown.
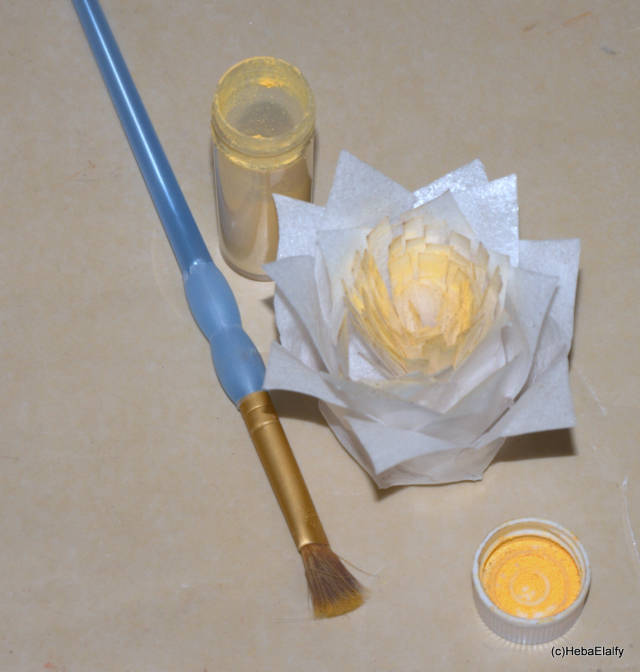
I used some yellow petal dust brushed onto the center of the bud.
You can use whichever color petal dust to add final touches. I used a dark pink.

Using my Picasa editing program, here’s a more ’contrasted" version of my previous photo.
Heba Elalfy ***more photos at https://www.facebook.com/sweetdreamstoyou
12 Comments

Thanks!!!
Sweet Rocket Queen - https://www.facebook.com/sweetrocketqueen

Cool, thanks Heba x
Alana Lily Chocolates & Cakes
My pleasure, ladies.
Heba Elalfy ***more photos at https://www.facebook.com/sweetdreamstoyou
Fab tutorial. Thank you so much x

Thank you Heba.xx
Thanks so much, stunning
You must never limit your challenges, instead you must challenge your limits
Lovely, thank you x
Judy
Thank you all very much for your compliments :D xoxoxo
Heba Elalfy ***more photos at https://www.facebook.com/sweetdreamstoyou

So pretty..thank you :)
my pleasure :)
Heba Elalfy ***more photos at https://www.facebook.com/sweetdreamstoyou