Cake Presentation Tips
Like many of us I follow a number of cake related companies on social media sites and forums. Not only do other companies showcase fantastic work and inspire us, they also highlight a couple of bug bears that can be easily avoided. These are; not covering cake boards and taking poor quality images of work.
Read my tips on how to complete your cakes and take great photos that will make people like and share your work.
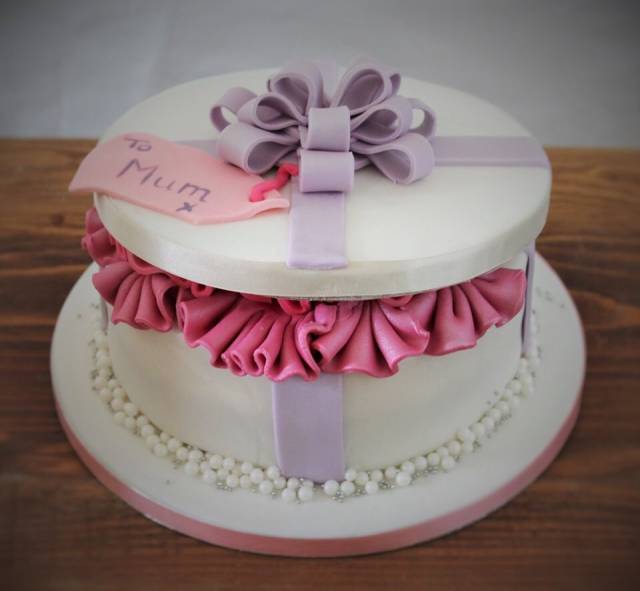
1. Covering a Cake Board
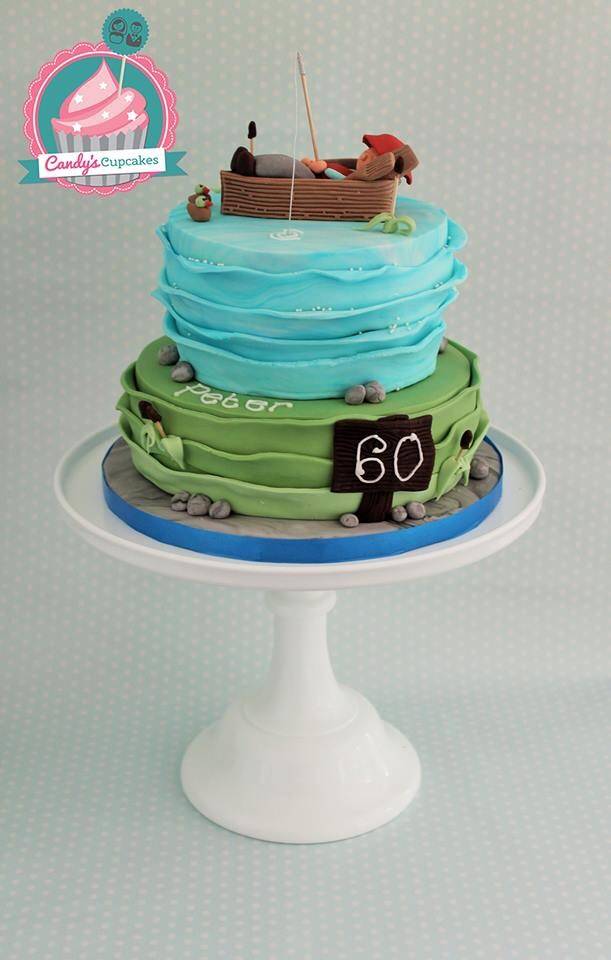
A lot of cake decorators spend hours modelling, baking, covering and decorating a cake to perfection. This requires skill, specialist tools and equipment, and a bucket load of time. It often upsets me to see a stunning cake creation being spoilt by the unsightly silver cake board shining back on an image. Although it can take a little bit more time and effort to cover a cake board, the overall ‘look’ and appeal to the final design is vastly improved.
You can have lots of fun designing a cake board to match the theme of your cake, or keep it clean and simple with a crisp white finish and satin ribbon trim. You can purchase various ribbon trims such as satin, lace or a diamonte style ribbon depending on your design.
To cover a cake board:
- I tend to add a little bit of water to the cake board using a paint brush.
- Roll out the fondant to the diameter of the cake board and smooth over using a smoother tool.
- Roll it onto a rolling pin and transfer onto your damp cake board.
- Using a smoother, iron out any creases or air bubbles.
- Holding the cake board in the air, balanced on your fingertips, get a sharp knife and carefully hold the knife vertically at the edge of the board. In long slow gliding movements trim off the excess fondant to create a perfectly covered board.
- Measure your ribbon by simply wrapping around the cake board and marking off where the ends meet.
- Using double sided tape or glue, cover the edge of the board.
- Finally attach your ribbon and voila!
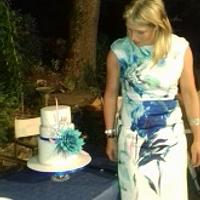
2. Taking Pictures of Cakes
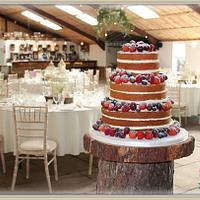
I’m no expert by any means when it comes to photography. However, I am aware of some basic principles, and dos and don’ts when taking pictures of cakes. Again it upsets me to see a stunning piece of work being showcased on a kitchen work top with shopping bags, toys and general clutter in the background. It doesn’t do the skilled decorator any justice nor the masterpiece they have created. Here are a couple of pointers;
Dos
- Use natural light opposed to spot lights or household lighting.
- Use a background, this can be achieved inexpensively by using wallpaper, wrapping paper or a plain wall.
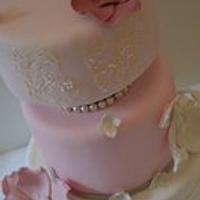
- Play around with angles of the shots and take close up pictures of detail on the cake to showcase your skills.
- Use Instagram, Pintrest, Twitter, Google Plus and of course Facebook to share your images and create an interested audience.
- Finally use a photo editing programme on your computer to add watermarks, logos and brighten up an image if taken in low light. Let’s face it, British weather is rarely bright and sunny unless you’re more fortunate to live in sunny climates.
Don’ts
- Don’t take pictures at night, you will end up with ugly shadows and poor colour quality ruining the overall image.
- Don’t take a picture from above as it will make the cake appear small and out of proportion.
- Don’t spend a fortune on lighting and photography equipment. A simple light reflecting disc can maximise the natural light on the cake when taking a picture . A phone camera or inexpensive digital camera can achieve a good quality picture of your work if you’ve taken note of some of the pointers above.
Go and have fun creating the final touches to your cakes and get sharing your wonderful creations with me. You can follow me on Twitter, Pintrest, Facebook, Google Plus, and Instagram to see my latest creations.
Visit my website for further blogs and images to accompany – http://www.candyscupcakes.co.uk/blog/cake-presentation-tips/
Candy's Cupcakes
8 Comments

Thanks for the comprehensive information… I agree wholeheartedly with the importance to presentation and photography… With all the hard work that goes onto our creations, it needs to me immortalised with clear, sharp imaging too.
You must never limit your challenges, instead you must challenge your limits
Thank you for sharing <3 very useful post

These are such good points, I often see such beautiful hard work ruined by overlooking these pointers. Whenever I am out and about I pick up wrapping paper that catches my eye, have a little collection to draw on to suit every style of cake. Love the “crop” tool when editing too, invaluable.
Roo's Little Cake Parlour
Have got to agree with all of the above, but have one point to make.
Where I live I have to import all of my cakeboards in, as well as fondant and pay postage according to the weight, and this results in the drums costing considerably more than a flat cake board. With a basic 20cm cake being the choice of many people for birthdays, the cost does not include any extra for a drum covered with sugarpaste. Whenever I produce a larger, more expensive cake, I use a drum board.
So please bear with me for the moment, and when France gets up to date and you can buy fondant and cakeboards in the local shops, I will be liberated.
gateaux de mandy
Forgot to add, in the DIY shops over here we do have sheets of whitewashed fake wood panelling which I am going to get and use as a backdrop.That will save on ironing.
gateaux de mandy
Some lovely comments, many thanks for reading and interacting x
Candy's Cupcakes

The moment I got better photography tools, the better my reviews and overall attention got. It’s absolutely important to make sure you take good photos. For my back drop I use a simple sheet!
Unfortunately I see so many cakes that are absolutely gorgeous but you can’t see through the bad photography.
Leslie Bruckman, Owner of Nom Nom Sweeties
Totally agree x