Fondant cake tutorials #2: DISNEY PRINCESSES CASTLE - EDIBLE IMAGE TRANSFER TUTORIAL
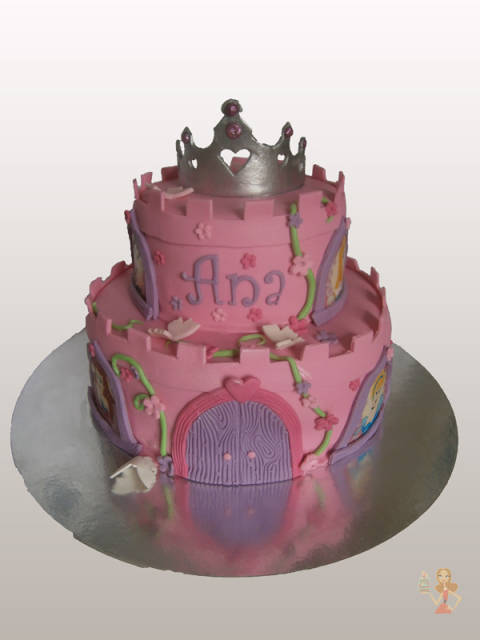
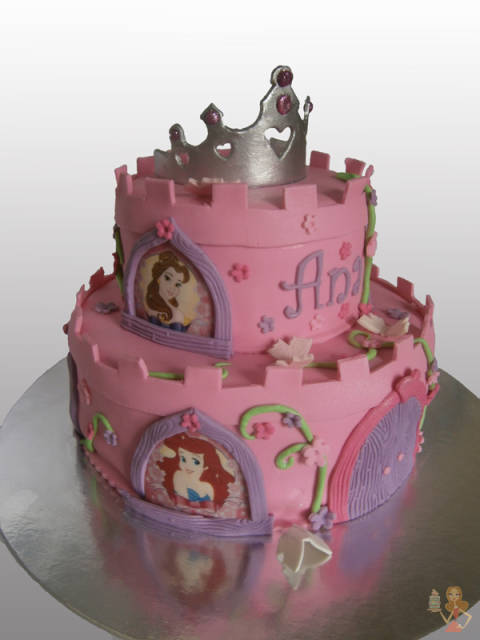
This is an short tutorial to help you transfer edible images on little pieces of fondant. The girl wanted all Disney princesses on her castle cake, so this was great solution.
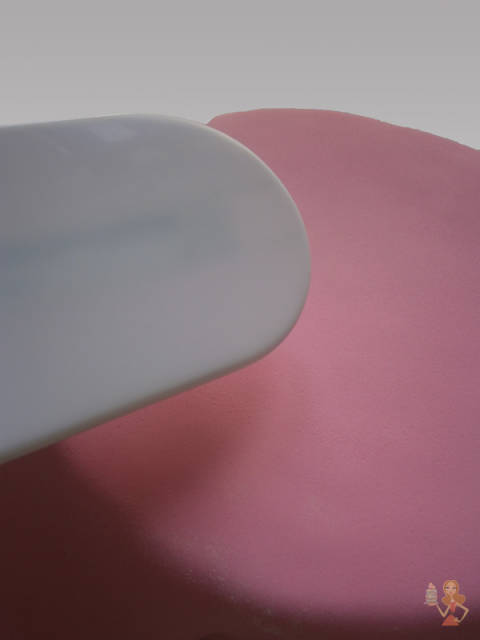
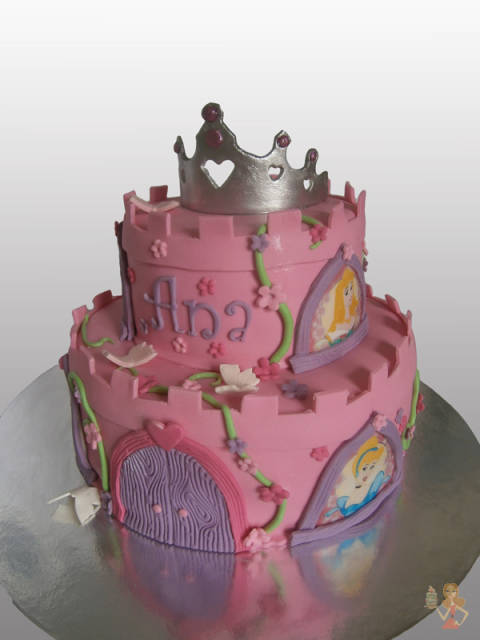
First, cover your cake in fondant. We chose pink colour.
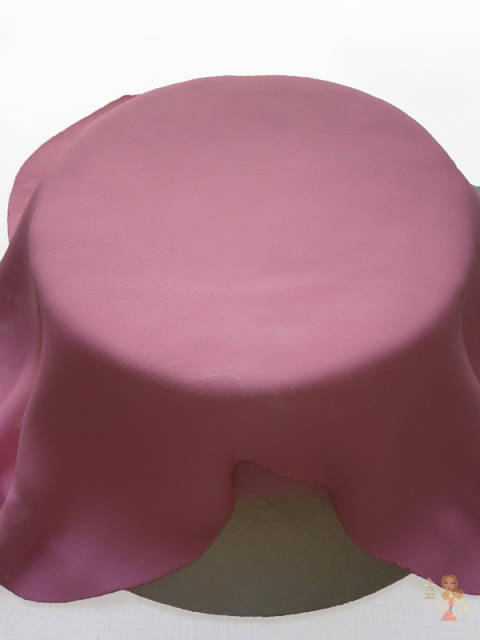
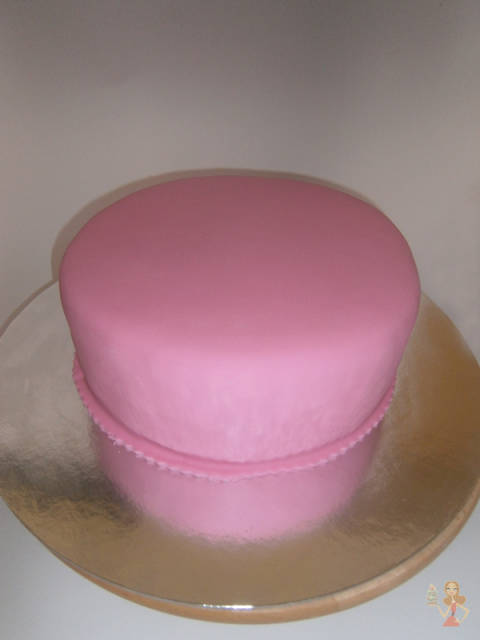
Add more tiers if you need it, I’ve put two tiers.
Roll pink fondant and cut the walls for the castle. Glue them around the cake.

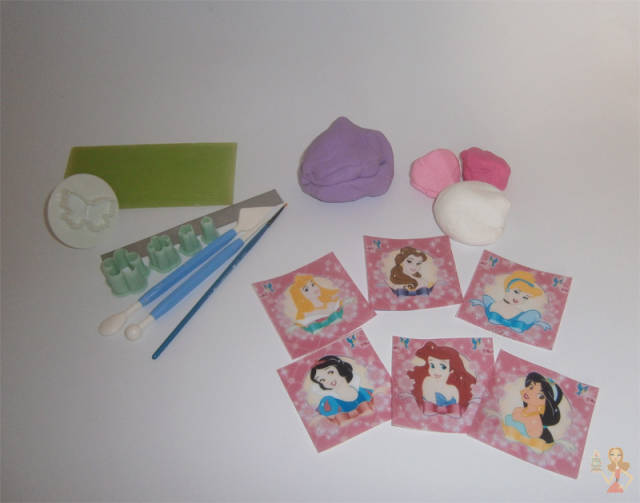
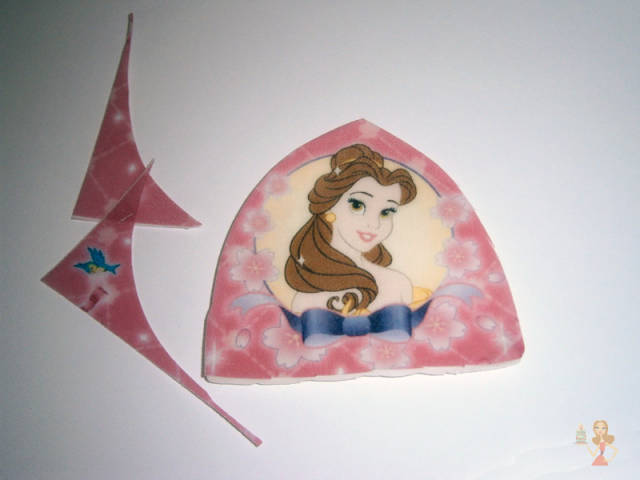
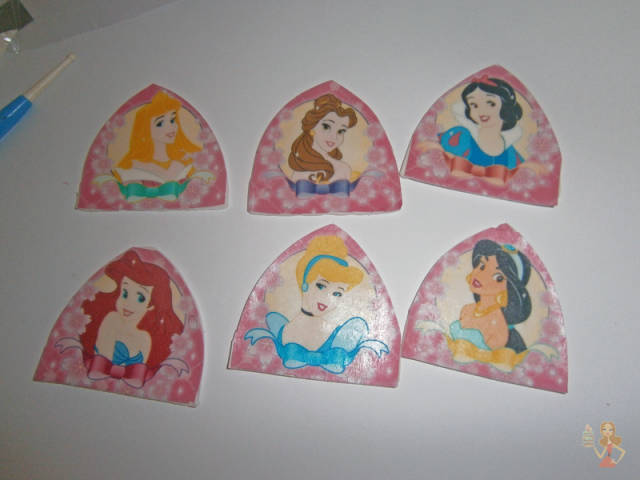
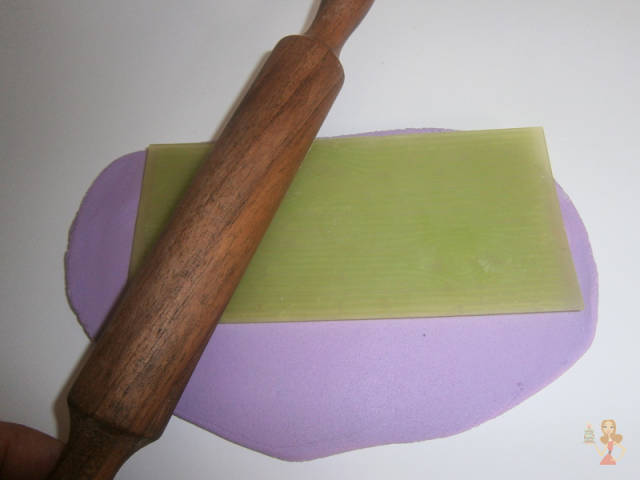
Prepare fondant in white, different shades of pink and purple, tools. Cut the images of princesses (it was printed on A4 format).
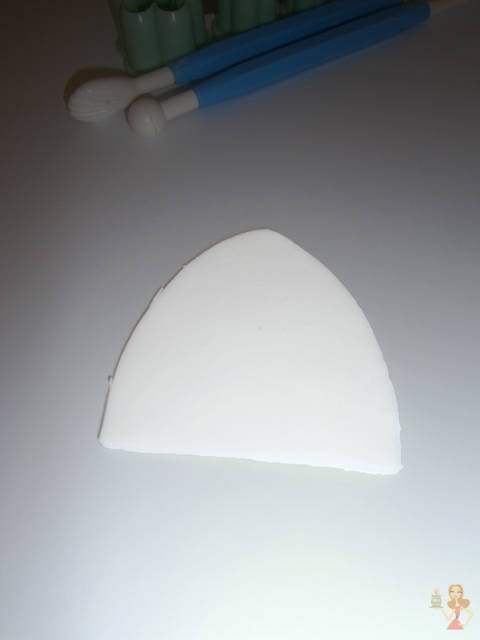
Cut the windows in white fondant. Use the shape you like, I did it like this.
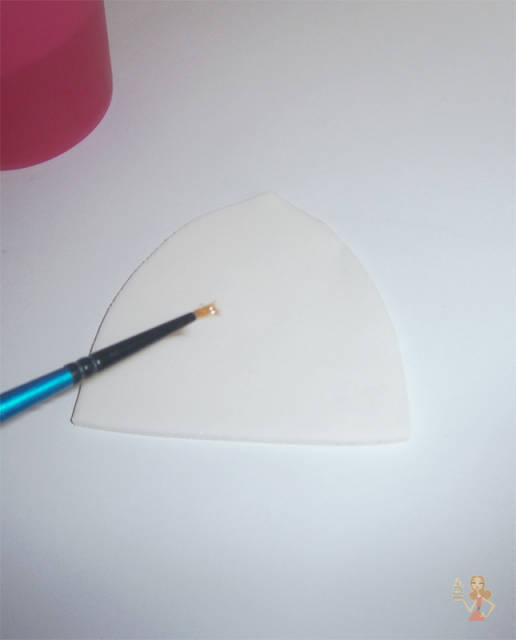
Apply just a little water, use thin brush
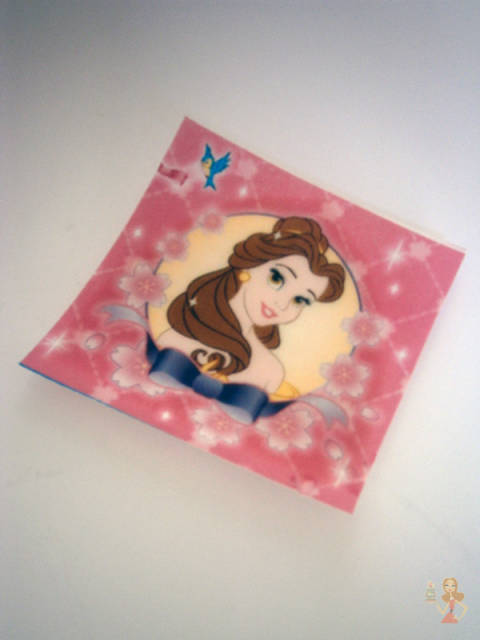
Put the image and press gently. Be careful, the image will melt if there is too much watter, don’t move it, it’s very sensitive.
Use scissors and cut the paper in window shape.
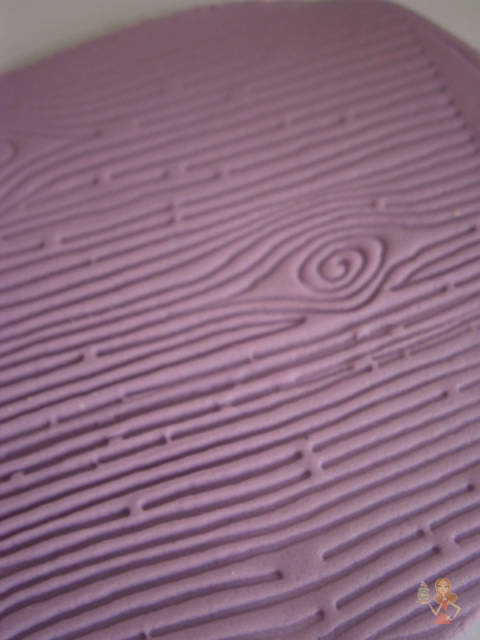
I’ve used purple fondant to make door and frames for windows. I have this great silicone mold for wood texture.
Add door, windows with princesses and the details you like on your castle. I’ve put silver crown for princess, some flowers and butterflies.
Find it on http://make-me-a-cake.blogspot.com/2014/07/disney-princesses-castle-edible-image.html
5 Comments
Lovely idea, thank you
Judy

Perfect, thanks for sharing!
-- Michal, http://cakesdecor.com | My Facebook: http://www.facebook.com/michal.bulla
thank you for sharing x
https://www.facebook.com/pages/For-the-Love-of-Cake/539125856108107

So lovely! Thank you for sharing!
Toni, Pennsylvania, https://www.facebook.com/WhiteCraftyCakes

I love this cake! Perfect way to get all the Disney Princesses incorporated – also love how they are picture windows – I’m a rubbish artist so’s there no chance I’ll ever be able to realistically reproduce them, so this is the perfect solution :)