
"Home Sweet Home" Royal Icing Sugar Art
I have always wanted to try Sugar Art ever since I was a young girl. Each year we went to the Royal Adelaide show, my favorite part was to look at the cake decorating exhibit. I just loved to look at the beautifully decorated cakes, gorgeous sugar roses and Australian String work piped to perfection. We would all stand there with our nose up against the glass and wonder how could someone do that with icing? ……
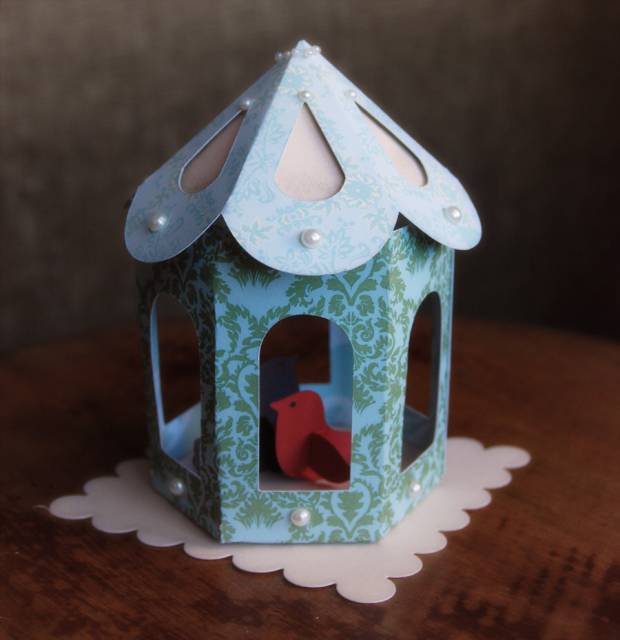
Well I never thought I’d get the opportunity to have a crack at it, but since I find myself here, living in the Australian outback, I am fortunate enough to have the time now to build my skills in the areas I want to, with Cake decorating and sugar art. So this is my first go at making a Royal icing Gazebo. I live four hours away from the nearest cake decorating store so the internet is my BEST FRIEND in relation to just about everything! Out here I have to make do with what supplies I have or wait a week for online ordering and have it posted.
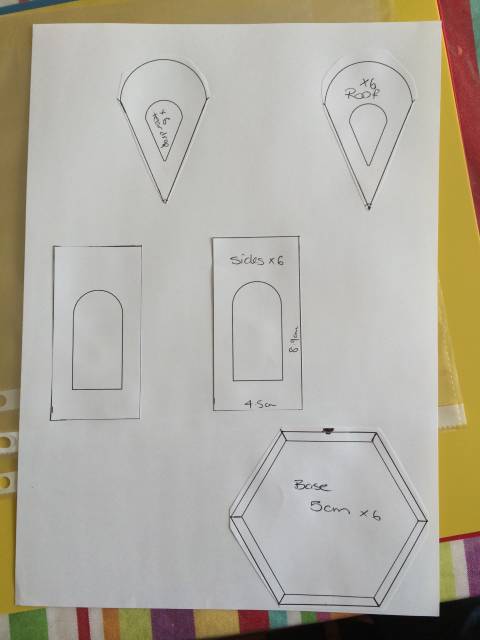
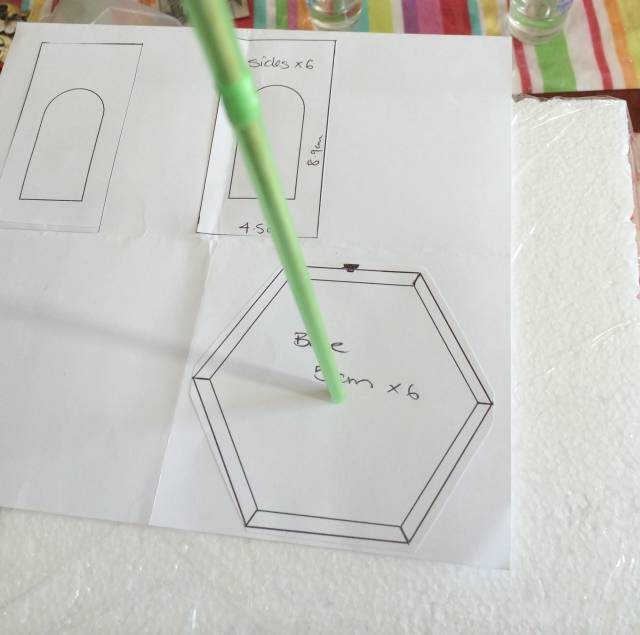
I looked everywhere to find a template for royal icing but found nothing much at all. So I decided to make my own from a scrap booking design I had found in all my old scrap booking boxes. And this was my inspiration, as I had to chop and change some sizes as what works with cardboard, does not always work with icing. :)
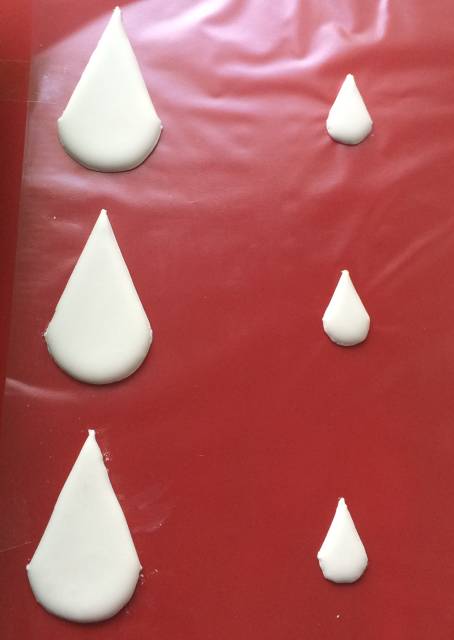
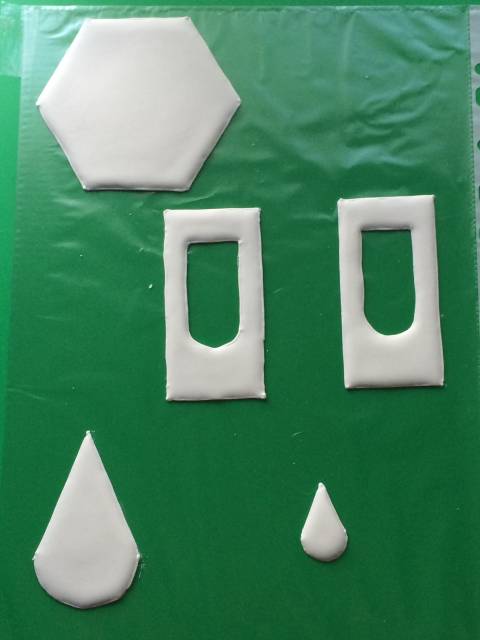
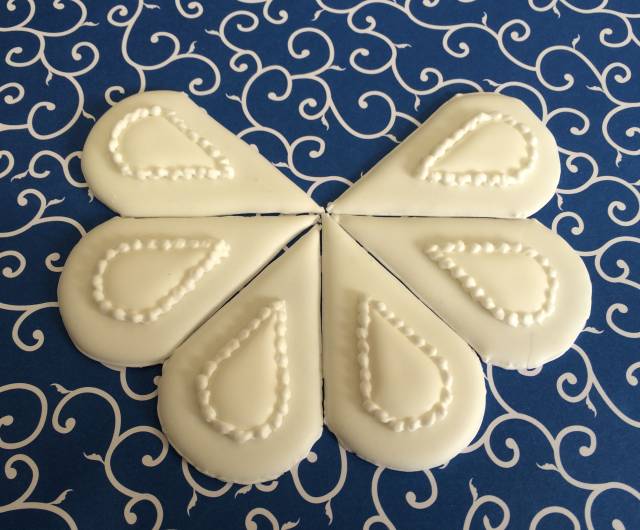
So after drawing up a template I started outlining and flooding the stencils. And as a golden rule of working with royal icing sugar art…. always make more than what you need ….. as there are ALWAYS breakages!!! ALWAYS!! (trust me on that one…. yes I had a few :) )
So another thing to remember with royal icing is LET IT DRY! DO NOT TOUCH IT! for some reason I had to keep checking to see if it was drying, and just keeping touching it to see how dry it was. Refrain from doing this!! I have little patience where this is concerned!
Anyhow…. I left them to dry for 48 hours because there was a fair bit of icing in the flooding to dry.
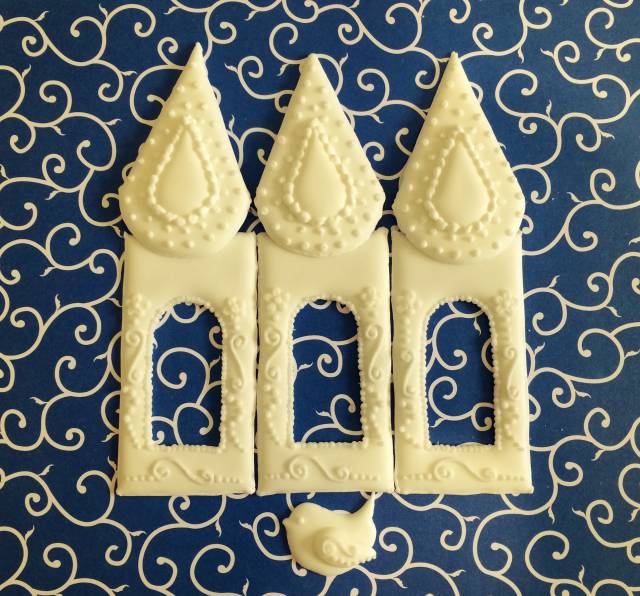
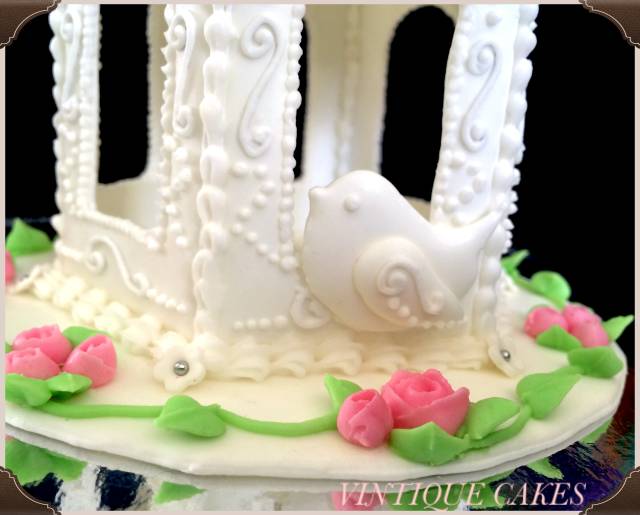
once done I started the decorating stage of bead piping the roof and the piping scrolls and dots on the side panels. I figure it would be easier to the finer decorations while it was still in pieces rather than do fiddly stuff when its all put together and have it collapse on me ( Because then I would cry!! )
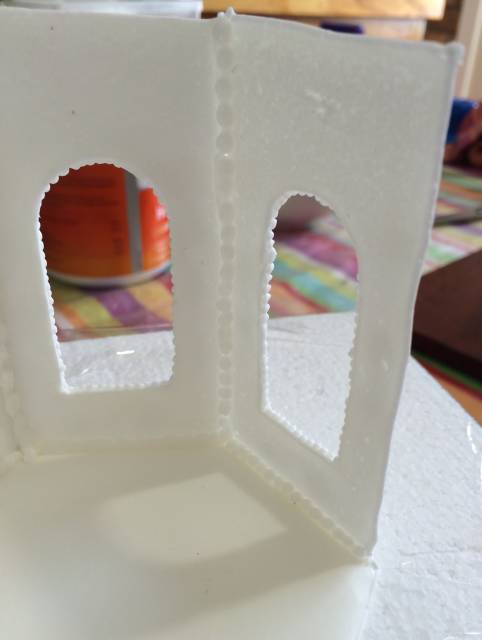
Ok! So after doing all the pretty things… which I made up as I went along … because what I had in my head wasn’t really working when trying it out for real…. it was time for the scary part of construction!!! To be honest the base went together like a breeze! If only it was the same for the roof!!
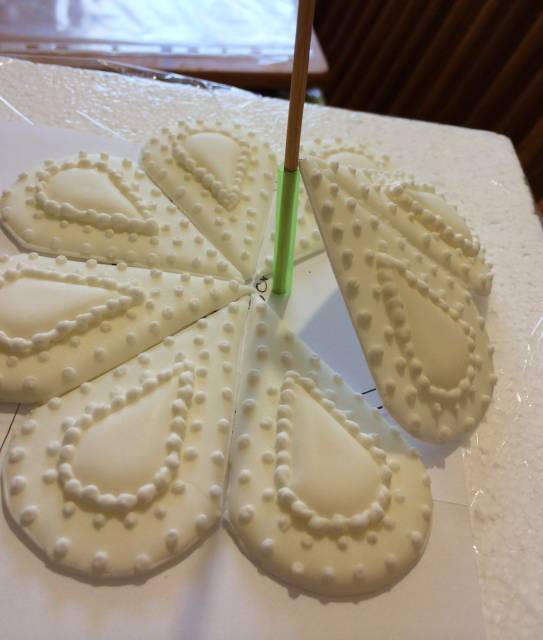
Well since I had no tutorial to go by I had to use my initiative. So to get the pitch roof I used the base template and put a skewer down the middle, then marked the height of what I thought would get the right angle and cut the straw at this height for the roof tip to lean on while drying.
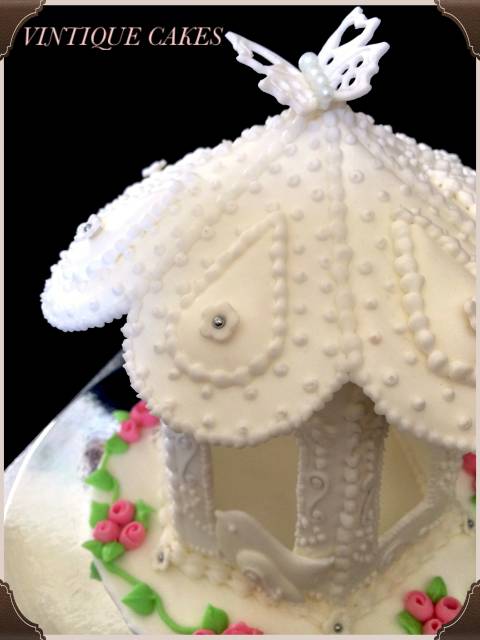
So four hours and three roof collapses later…. ( yes I wanted to throw it at the wall at this stage) …. I finally had the roof iced/glued together! The next morning I had my heart in my mouth attaching the roof to the wall panels, I don’t think I breathed at all through that stage incase it all came tumbling down! BUT… it all went well, and with the roof on I could finish of all the rest of the piping and little extras to have it finally finished. It took four days and a lot of patience and concentration…. and I cant wait to do it all over again! xx

"Sugar Hugs"
6 Comments

Beautiful work… <3
Julez, https://www.facebook.com/pages/Allways-Cakes/450634018350115?ref=hl
Thanks so much! xx
"Sugar Hugs"

Thanks for sharing Anita! This is most impressive and very beautiful :)
Thanks Donna your a sweetheart! Xx
"Sugar Hugs"

Fantastic job, its beautiful! Thanks for sharing xx
sugar and art - perfect combination! sugarmagic22@gmail.com
Your most welcome Christine! Thanks for the kind words xx
"Sugar Hugs"