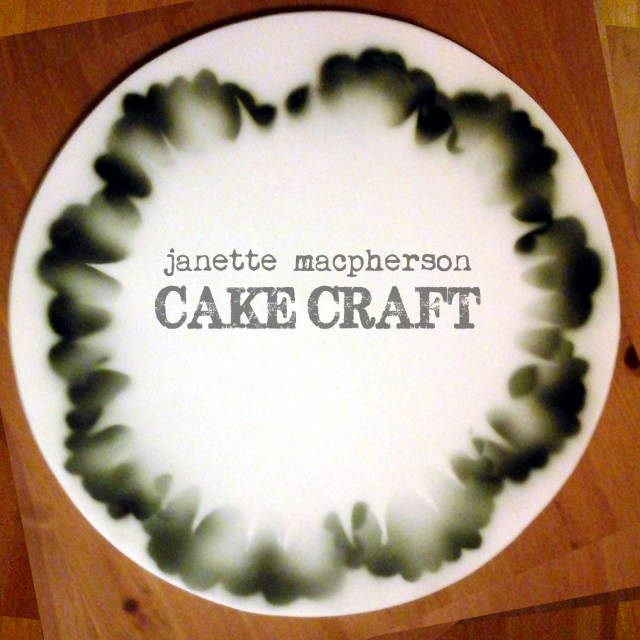
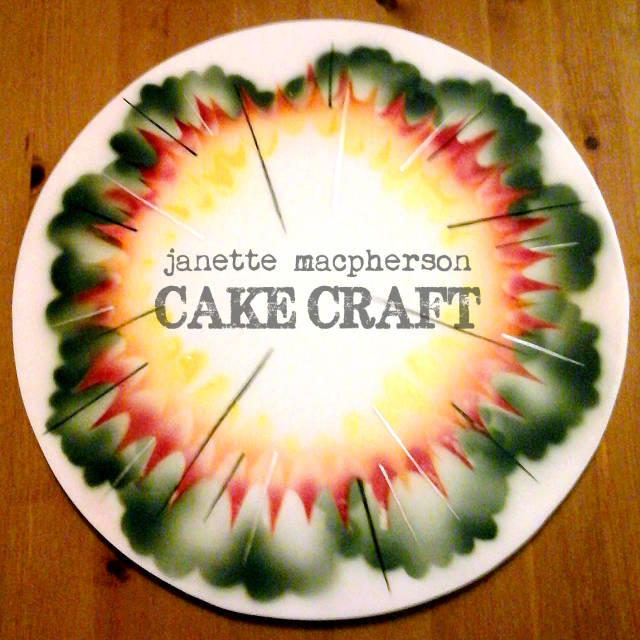
Airbrushed cakeboard - explosion pattern
Hi there! My first blog here on CakesDecor so hope it all goes well!!
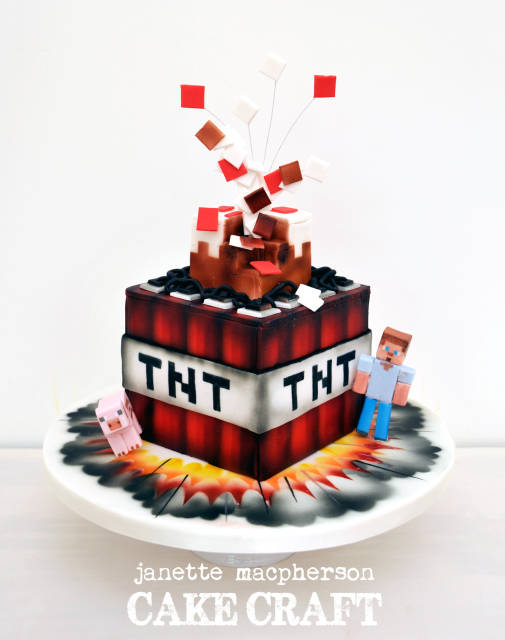
Lately, cake decorators have been seeing squares in front their eyes….. one of the latest kids craze just now is Minecraft, so needless to say, Minecraft Birthday cakes have become a popular request! Posts about spending hours cutting squillions of squares soon appeared on Facebook, and we all waited to hear the dreaded ‘M’ word mentioned by our customers.
When my turn came, I decided to look at the design slightly differently, and after researching the game (with guidance from my 8 yr old!) I decided to put my airbrush to good use to create a different look. I created a red TNT block, airbrushed shading onto it, made an exploding cake block on top, added hand painted ‘Steve’ and ‘pig’ figures, and finished the design off with an airbrushed explosion pattern on the cake board.
So here are the steps I took with my airbrushed board… late at night photos, apologies in advance for photo quality!! But I hope it is of some interest to you.
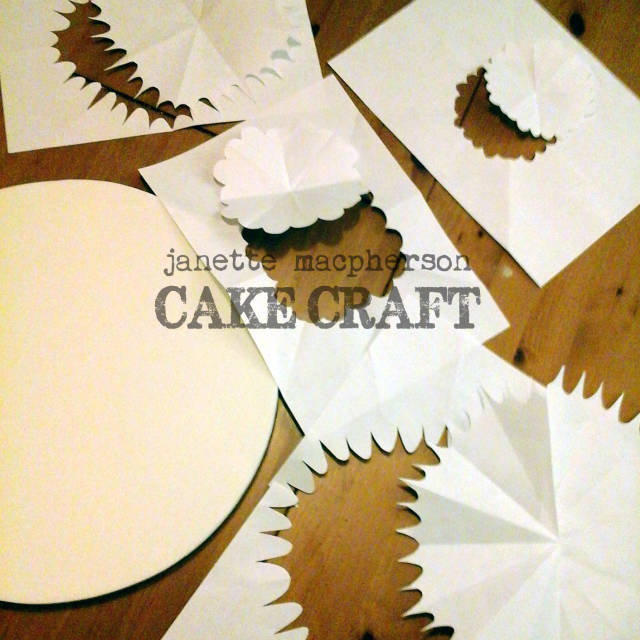
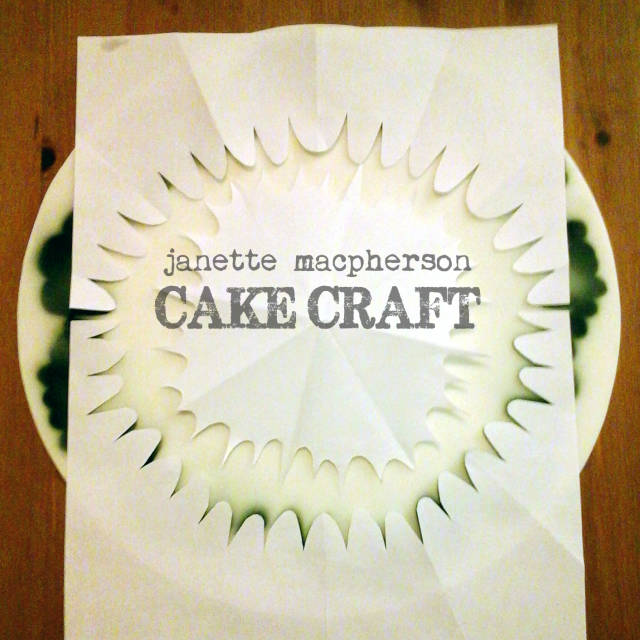
Step 1.
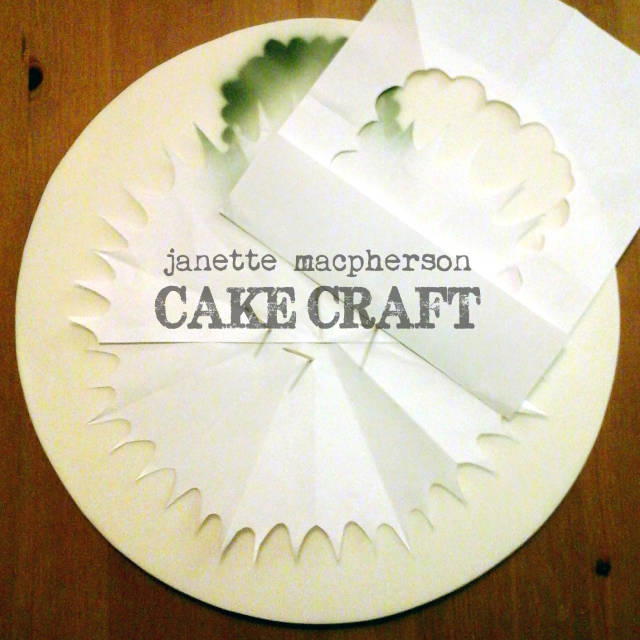
I drew out the explosion pattern I wanted to make, then hand cut paper templates for each section. You need both the cutout piece (cutout), and the paper from which the section is cut (template).
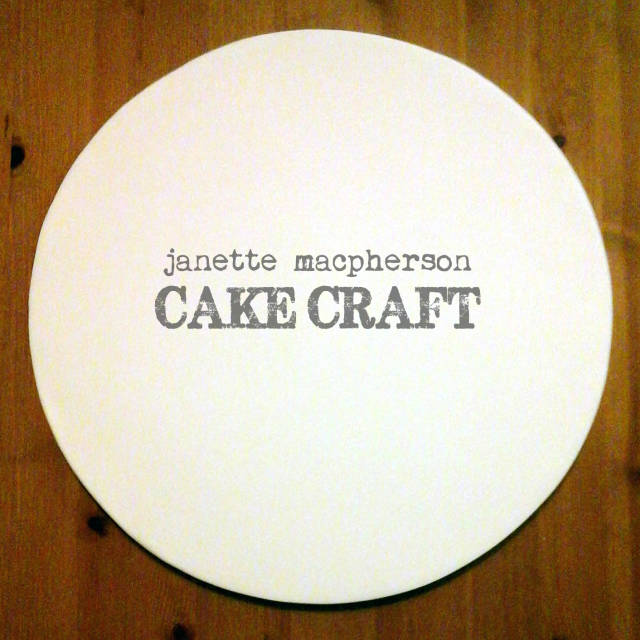
Step 2.
I started with a plain white iced cake board. Allow the icing to dry overnight before airbrushing.
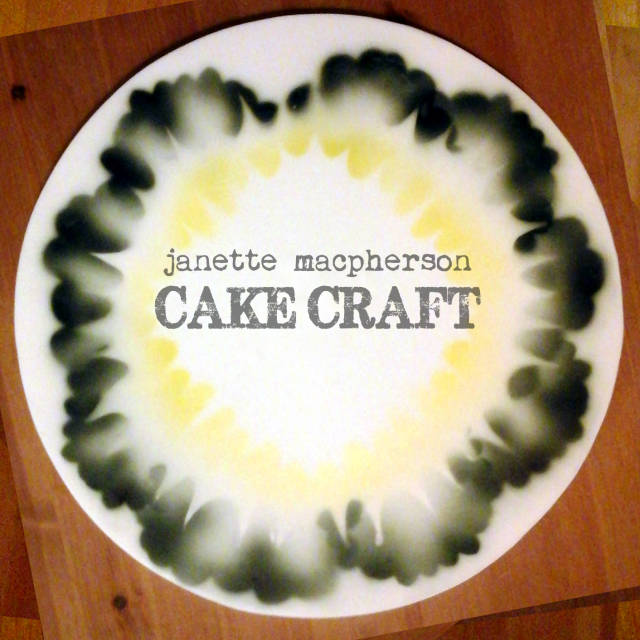
Step 3.
To create the billowing smoke around the edges of the board, I laid on the cloud shaped template, plus the largest explosion cutout, so that this central area would remain white for now. I then used black in my airbrush, and using small circular motions worked my way along the outer edge of the cloud.

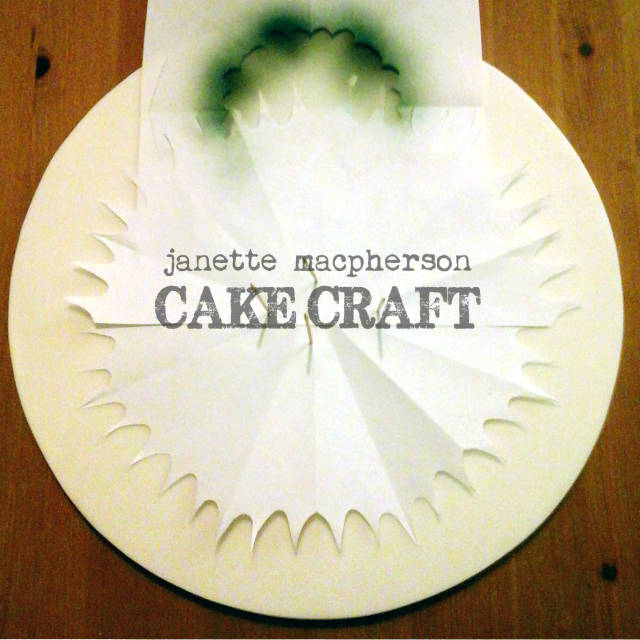
Step 4.
I added extra shading by going over small sections with a second coat of airbrush.
Step 5.
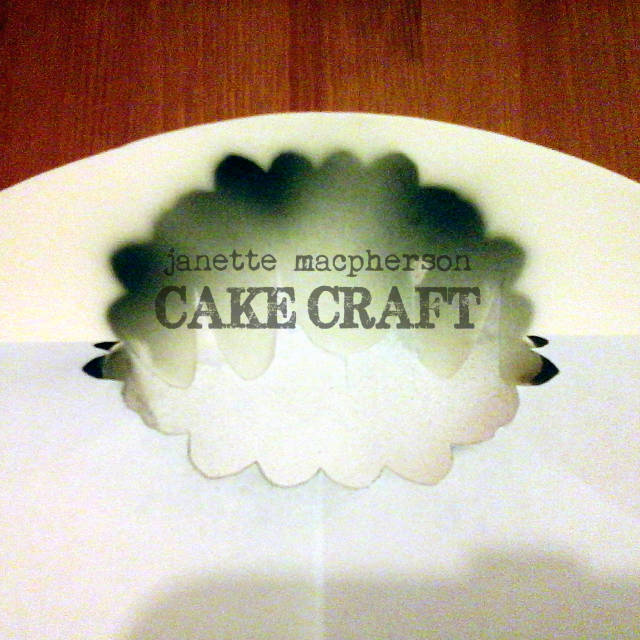
I then moved the cloud shaped template along, repeating the airbrushing until I had made my way around the whole board.
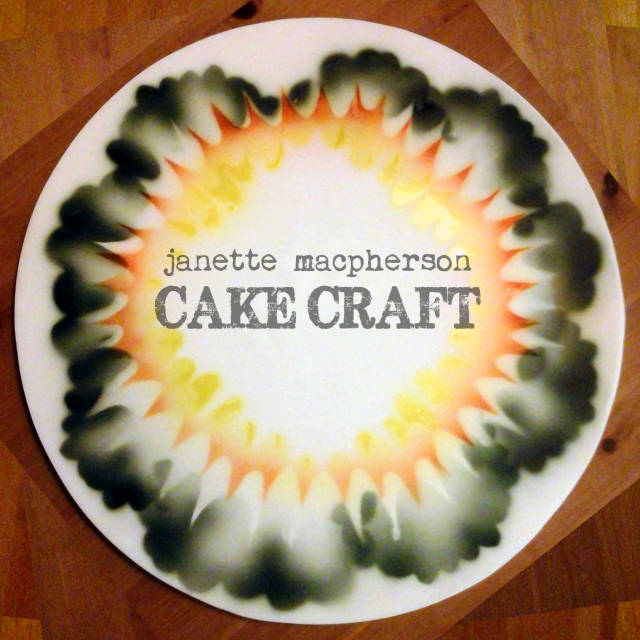
Step 6.
I then started to add the explosion. I placed the smallest explosion cutout in the centre of the board along with the next size up template, which creates an explosion ring area.
Step 7.
I used yellow in my airbrush and worked my way around the ring, concentrating on the inner edge.
Step 8.
I then used orange in my airbrush and concentrated on the outer edge.
Step 9.
Using the next size up cutout, and the largest size template, I positioned the next explosion ring. (sorry I don’t have a photo of the templates in place, but basically you’re covering up the yellow and orange explosion). Using red in my airbrush I worked my way around the ring.
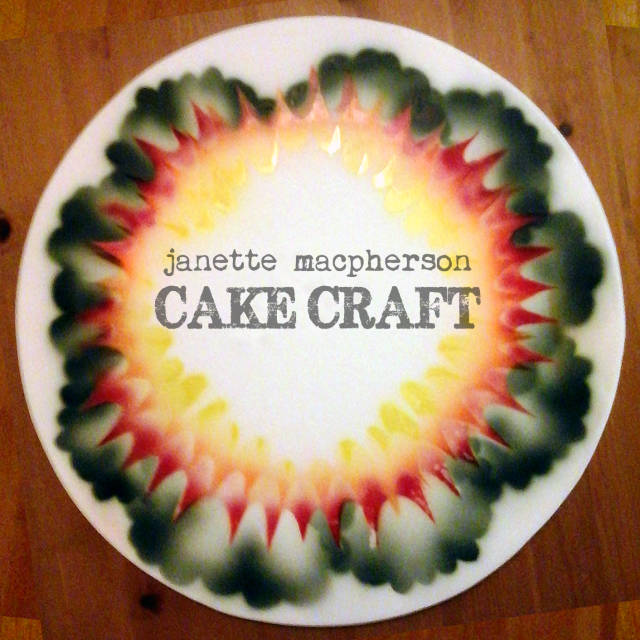
Step 10.
Using a very fine brush, I hand painted black and silver lines to further emphasize the explosion effect and complete the board. KABOOM! :)
Janette MacPherson Cake Craft, www.facebook.com/JanetteMacPhersonCakeCraft
34 Comments

Brilliant! Thanks for sharing Janette!
Bobie - OUT-OF-THE-BOX Cake Design

Amazing! I love it…thanks for sharing Janette =D
Violet - The Violet Cake Shop™ - http://www.facebook.com/TheVioletCakeShop

So creative! What a great tutorial! Thank you for sharing!
Toni, Pennsylvania, https://www.facebook.com/WhiteCraftyCakes

Awesome thanks for sharing

Thanks for sharing.. brilliant idea… amazing cake!!
Dina @ miettes, http://www.facebook.com/pages/miettes/257790597632317

Nice demo!
Absolutely brilliant! Thank you for sharing!
Gulnaz Mitchell, New Zealand, https://www.facebook.com/pages/Heavenlycakes4you-by-Gulnaz-Mitchell/113619242162187
Janette!!!!! You’re killing me…I have another minecraft this week and still no airbrush sobs BUT I think your way is genius! Fab tutorial. Are you putting it on your Facebook page? I’d love to share it on mine as we’ve had lots of said minecraft debates on there!!!
Mel, Yorkshire, http://www.facebook.com/doncastercustomcakery

Brilliant and clear!! Thank you so much!! :-) x
https://www.facebook.com/elliwarrencakedesign https://www.facebook.com/elliricci elliricci@hotmail.com https://www.instagram.com/elliwarrencakedesign/
Thanks so much everyone! Glad it’s useful :) Any yes, there’s a link on my Facebook page to this tutorial. Xx
Janette MacPherson Cake Craft, www.facebook.com/JanetteMacPhersonCakeCraft