Cake-sprite tutorials #1: Minion mini cakes
Minion mini cakes.
Ideal for children’s parties, adult birthdays or as a ‘Thank you’ gift.
Since this is the first tutorial on here I’d appreciate any feedback anyone has.
(This tutorial makes both the minion and evil minion at the same time. Please let me know if this is confusing, or if you’d prefer 2 separate tutorials).
You will need:
Tools- Small rolling pin, circle cutter, straight edged modelling tool, small dry paint brush (for sticking) sharp (vegetable) knife, large (bread) knife, palette or butter knife.
Materials- Small square, rectangular or loaf shaped cake, jam (frosting optional), green, purple, grey, dark blue, white and black sugar paste, icing sugar (to prevent sticking)
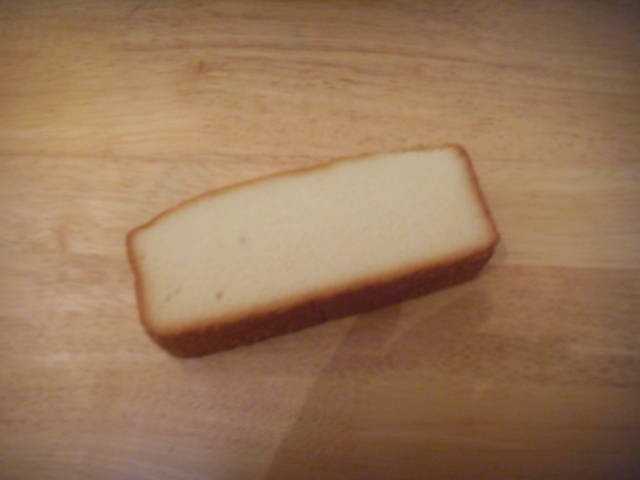
I bought a ready-made madeira loaf from my local supermarket, any small rectangular cake will do.
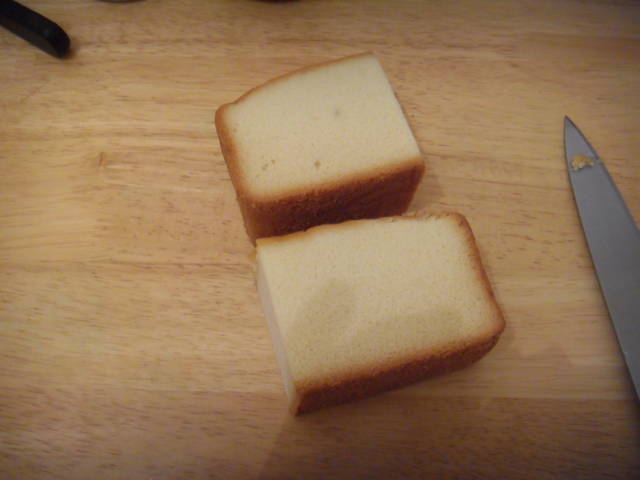
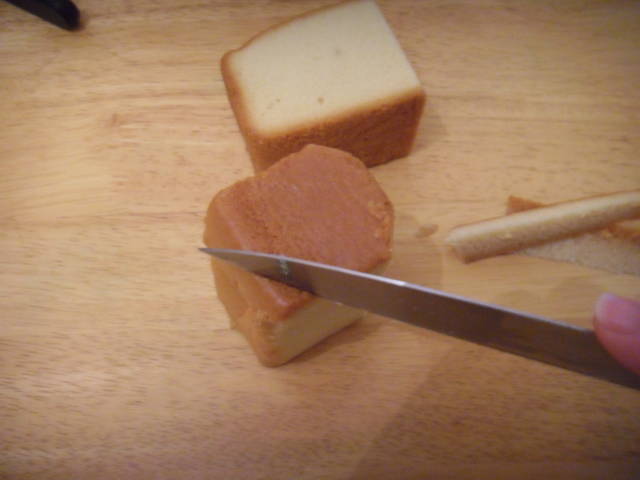
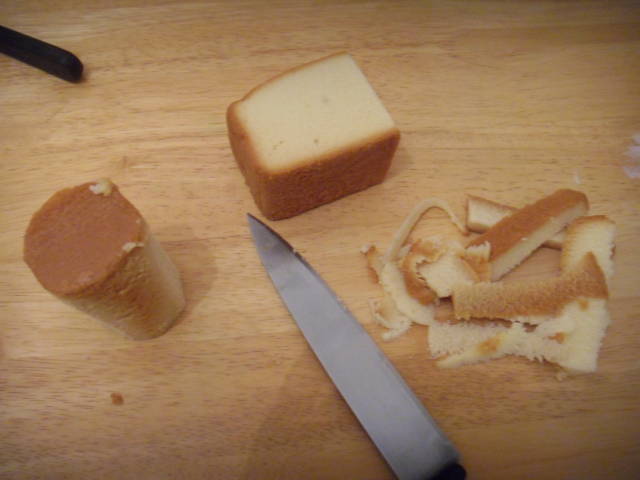
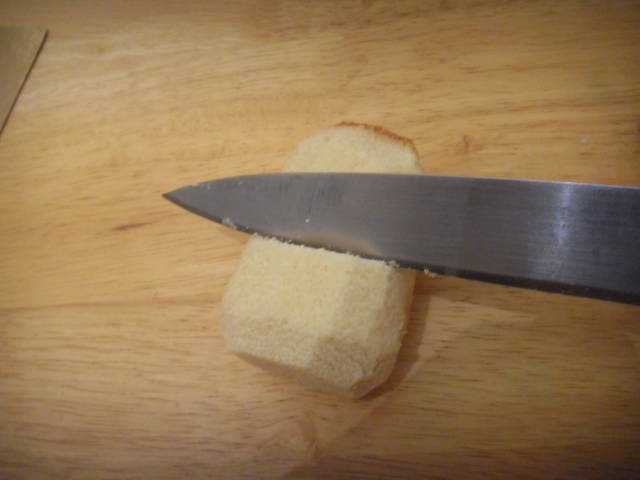
Cut the cake into 2 smaller rectangles, one slightly larger than the other.
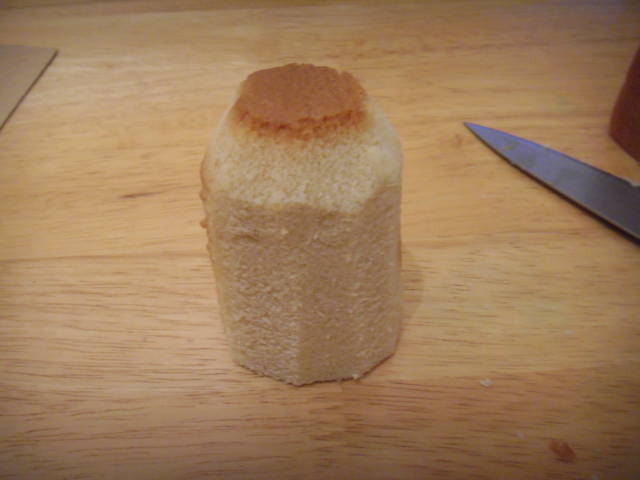
Stand upright, cut off all 4 corners top to bottom.
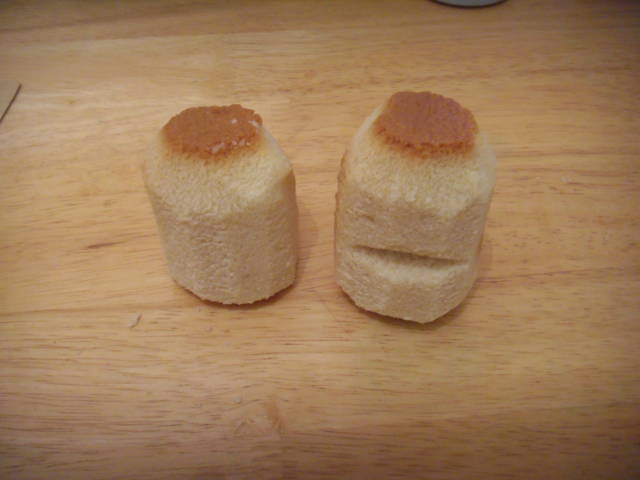
Cut off the new ‘corners’ formed when you cut the corners off. This should make your cake rounded.
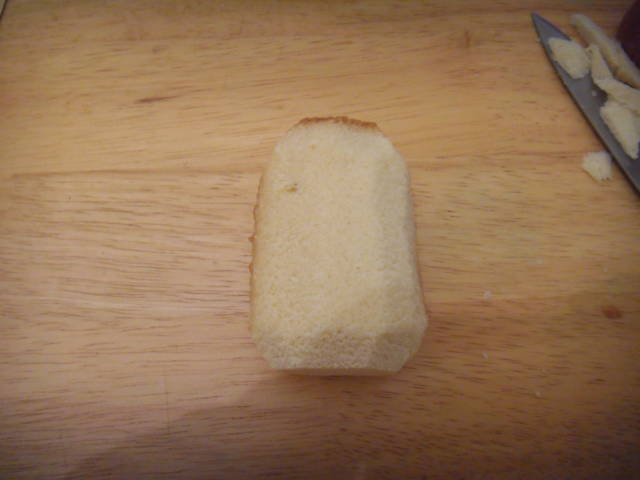
Cut the top edge off at a 45 degree angle all the way around.
Trim the bottom edge off all around.
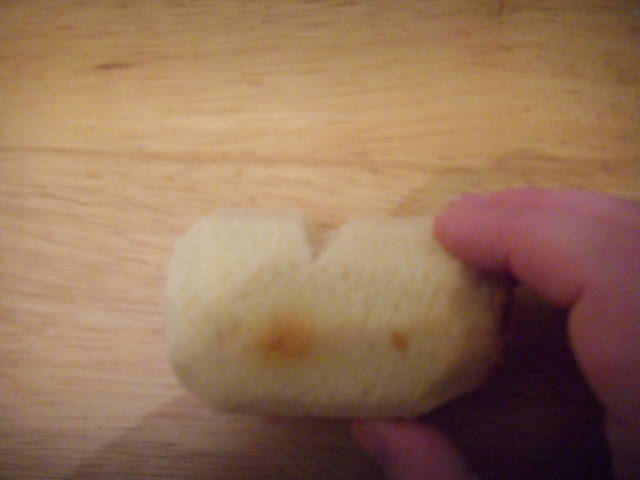
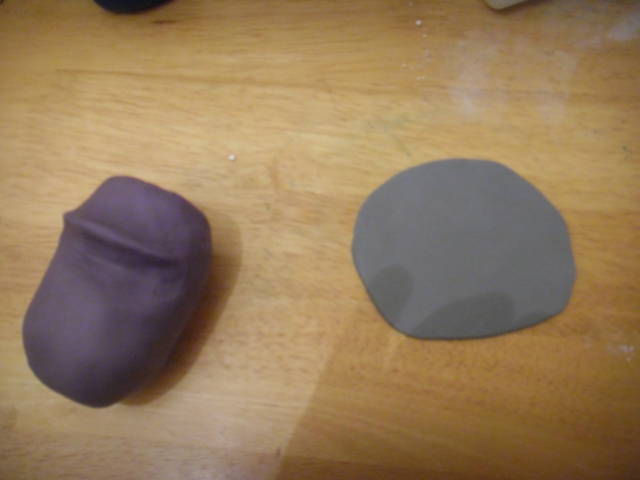
For ‘evil’ (purple) minion, cut a groove out of the cake about 1/2 way up to form the mouth.
(Side view of mouth groove)
(Shaped cakes)
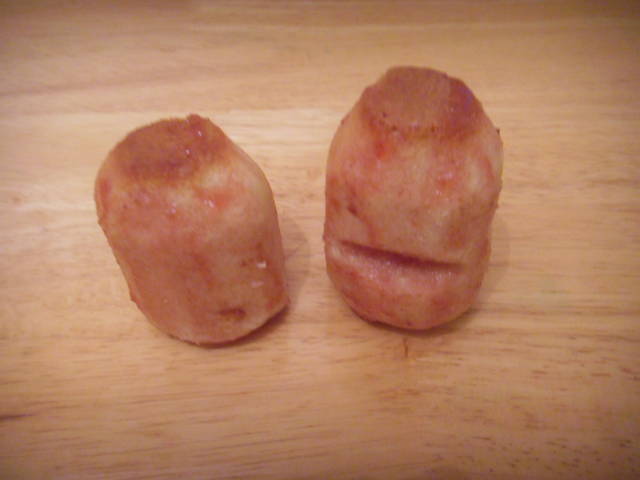
Cover lightly in smooth jam (and frosting if you like). You can also cut the cakes in half height wise and fill if you like, but this may make them more difficult to cover.
Roll out green sugar paste.
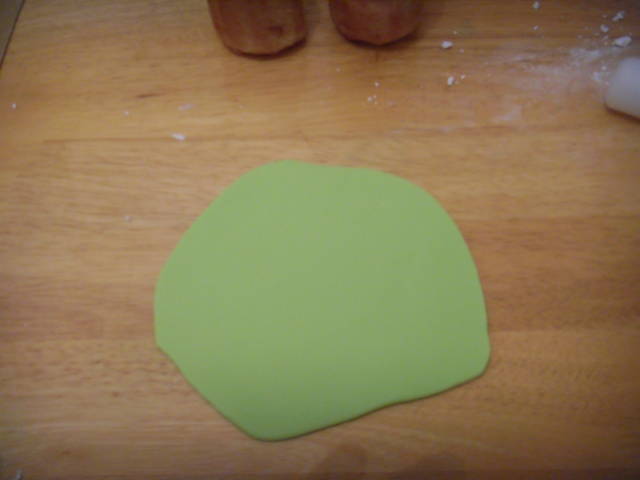
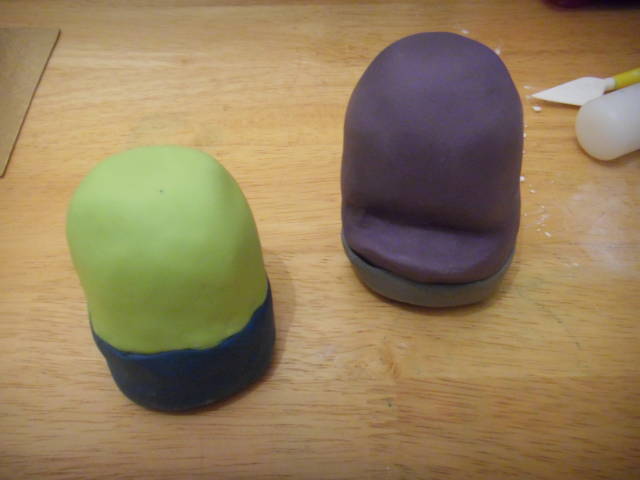
Gently place the paste over the top of your cake, smooth it down the sides with your palm.
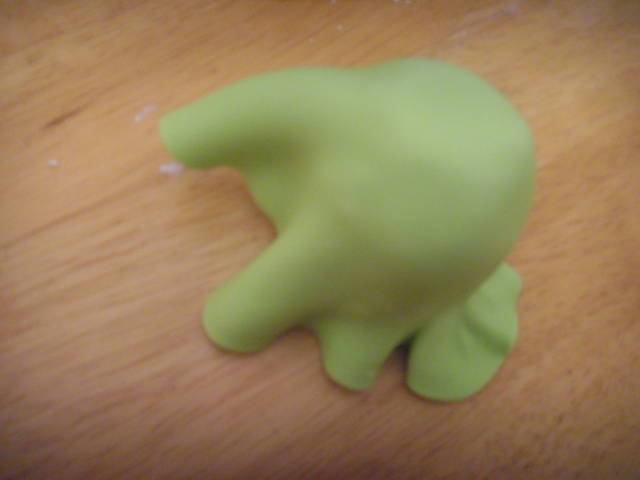
pull any wrinkles or pleats forming away from the cake and smooth down to prevent creasing.
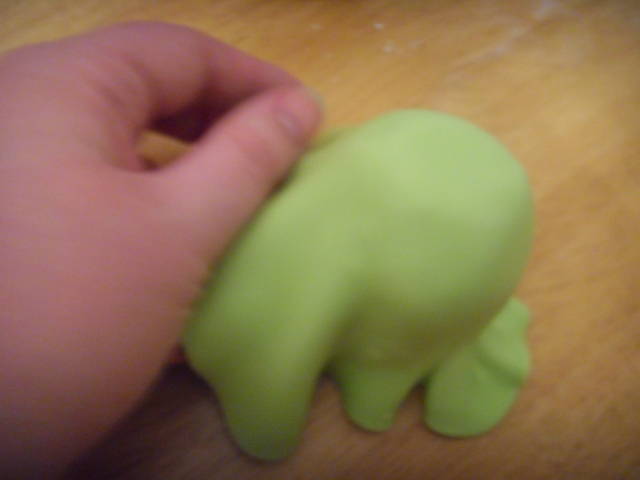
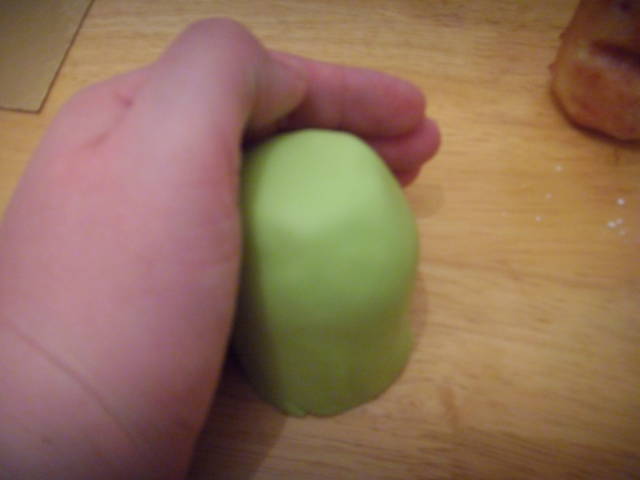
Smooth down to the bottom edge using the side of your hand (smoothing tools are a bit big and flat for such a small, delicate project, but do try these if you prefer). Smooth the cake all over with a cupped hand.
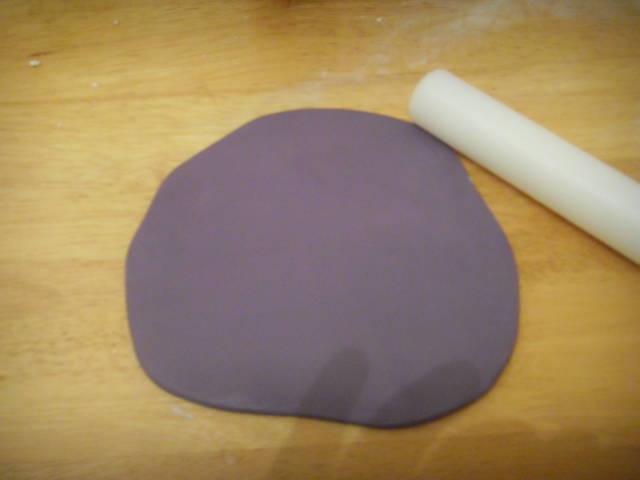
Roll out purple icing.
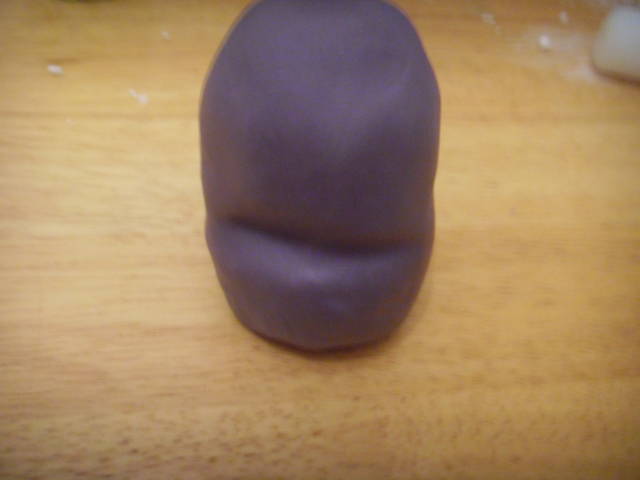
Cover cake with the same technique as the green minion, mark in the mouth groove.
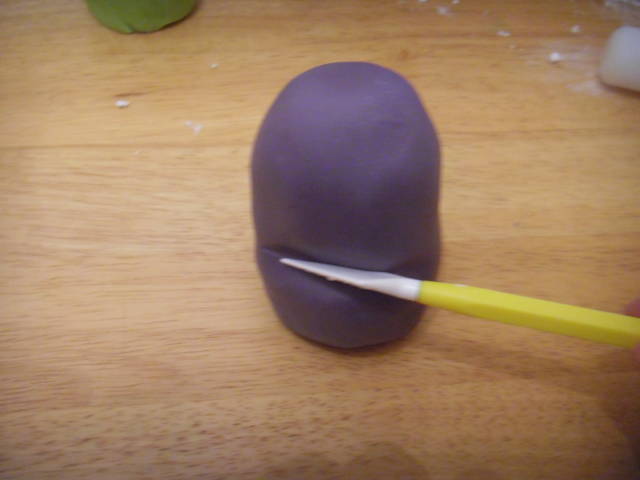
Define the mouth groove using a modelling tool.
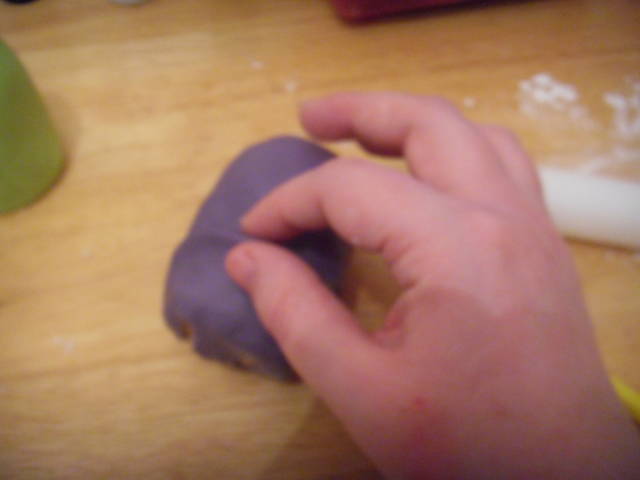
Pinch along the bottom of the mouth to define the bottom lip.
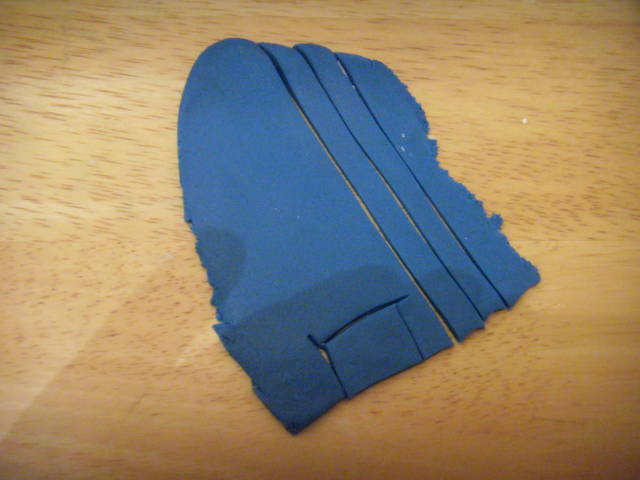
Find a circle cutter a couple of inches bigger than the base of your minions.
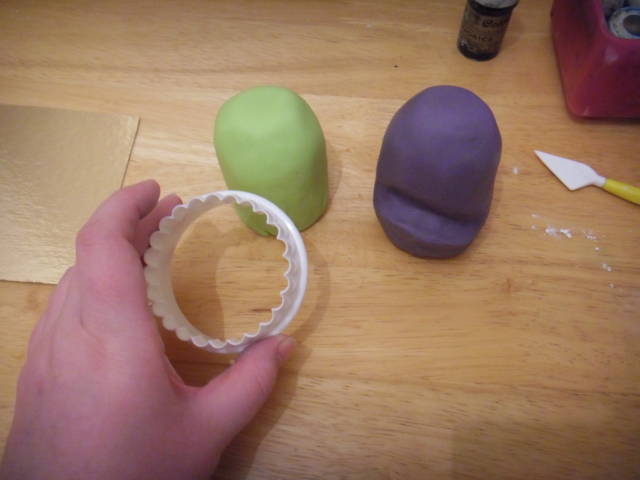
Cut a circle of blue, smooth over the bottom of your upturned cake.
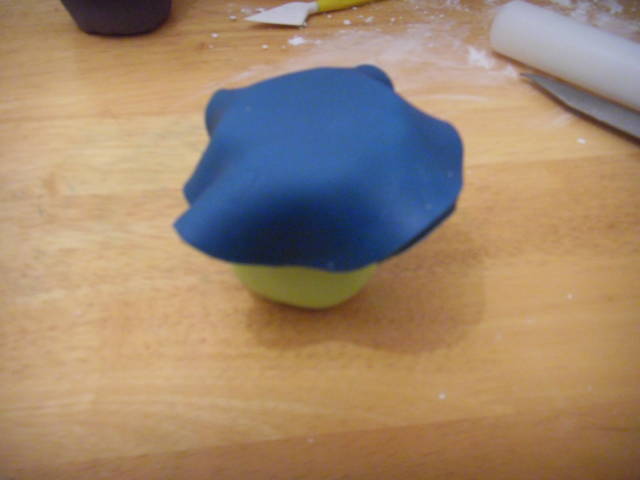
Trim off the excess to about 1/4 of his height to make his dungarees. Stand upright again.
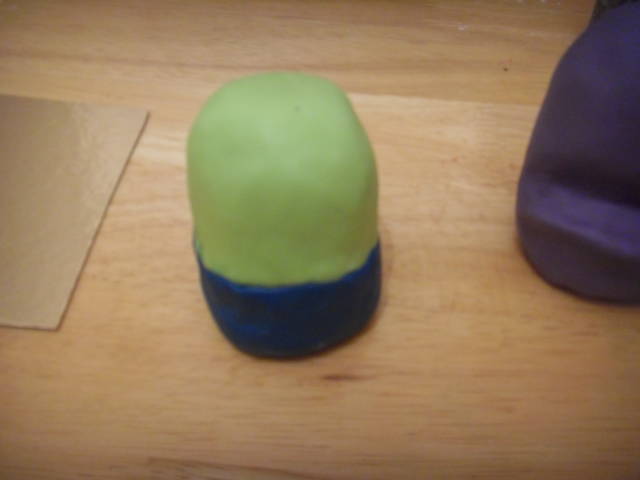
Repeat in grey on the purple cake.
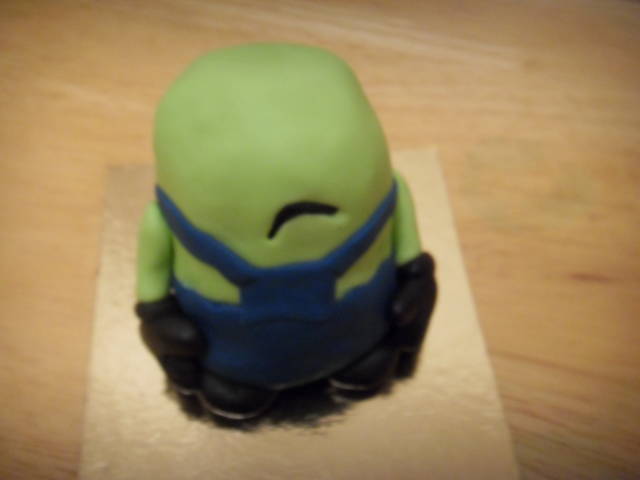
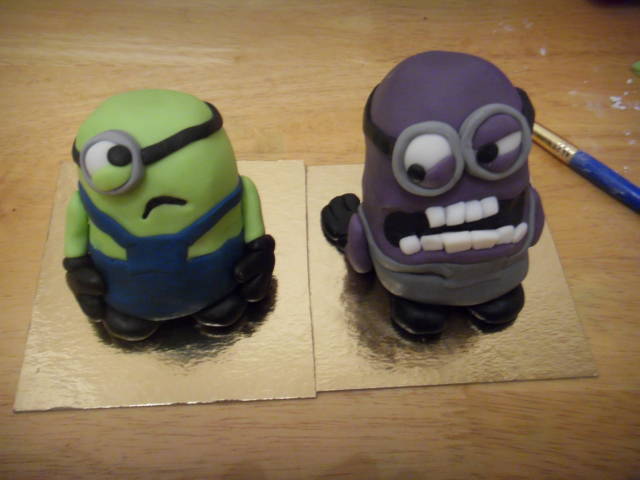
(They should now look like this)
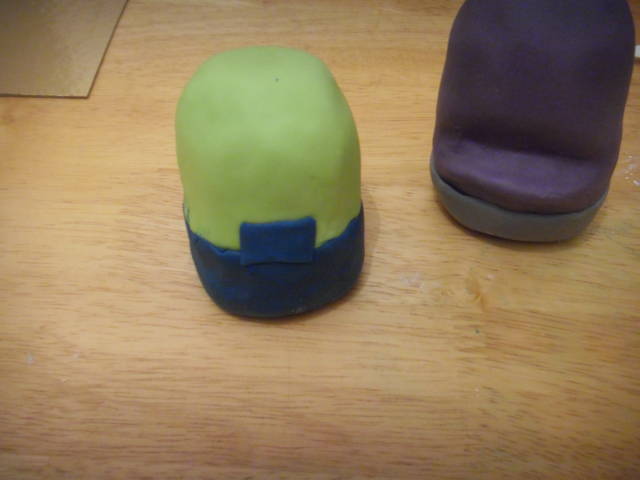
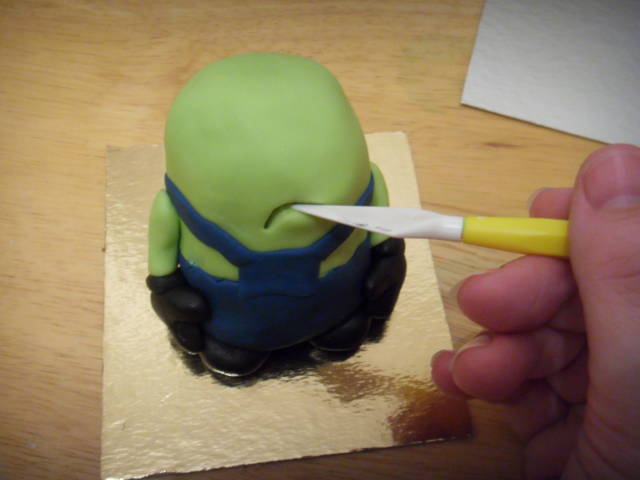
Roll out more blue icing and cut 2 long narrow strips and a small rectangle.
Add the rectangle as the dungaree chest and add the straps over his shoulders. Repeat in grey for the purple cake.
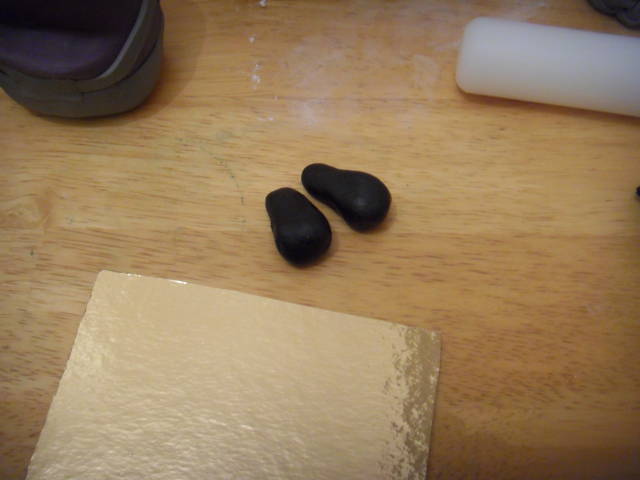
Roll 4 medium sized balls of black sugar paste into pear shapes, flatten the narrow side. Add these under your cake as feet. Stick the cake to a board (or whatever you’re presenting them on).
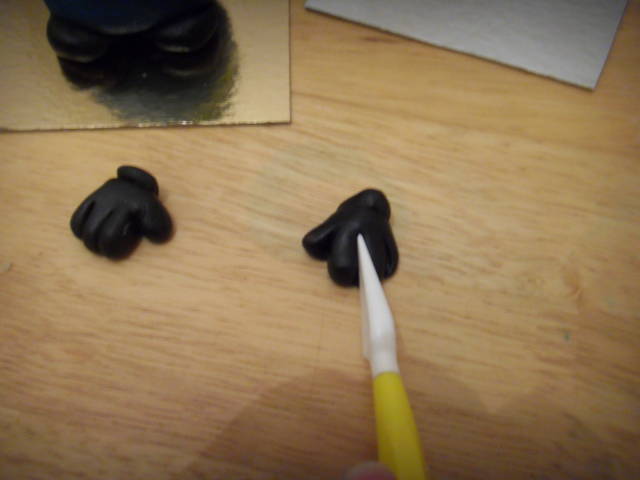
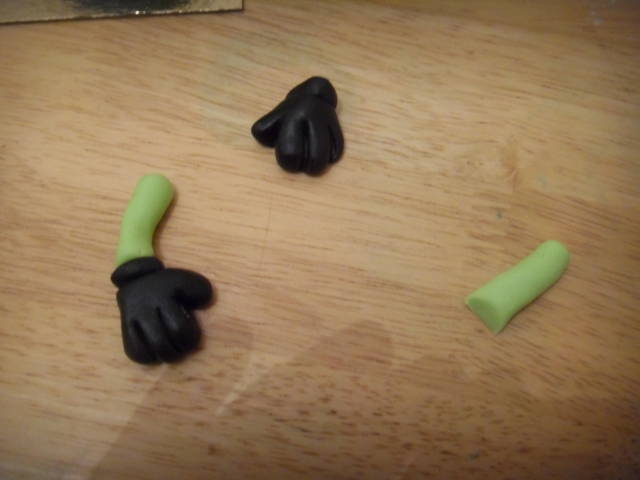
Roll 4 medium black balls for hands, flatten them slightly into ovals, add a small, flattened ball of black to make cuffs. Mark fingers and thumb with your modelling tool.
Roll 2 thin sausages of green, add too hands and attach to the body as arms. Repeat in purple.
Mark a mouth with your modelling tool.
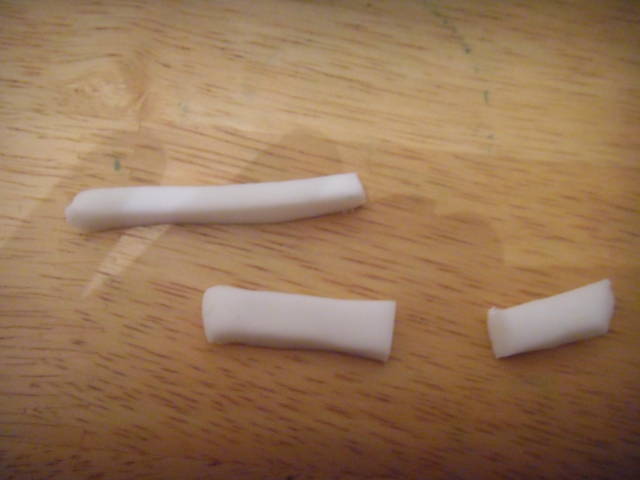
Roll a small, tapered sausage of black, insert into mouth.
Roll a fat sausage of black, flatten into a peanut shape by squashing both ends.

Insert into mouth.

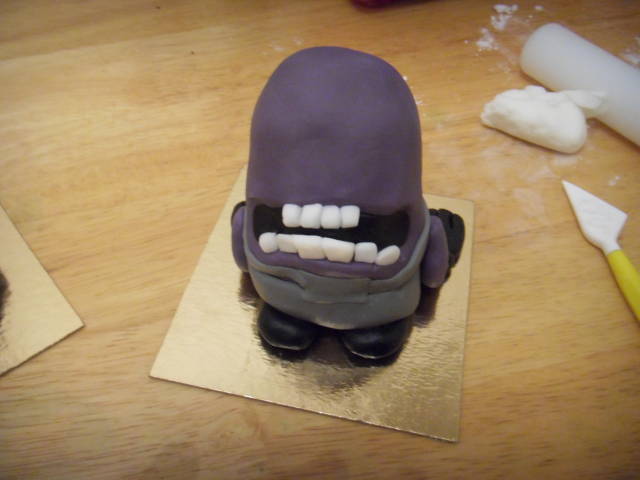
Roll out some white with a rolling pin, leaving the paste about 1/2cm thick. Cut different sizes of rectangle for teeth.
Position the teeth along the mouth, larger ones at the middle. Shape with the modelling tool.
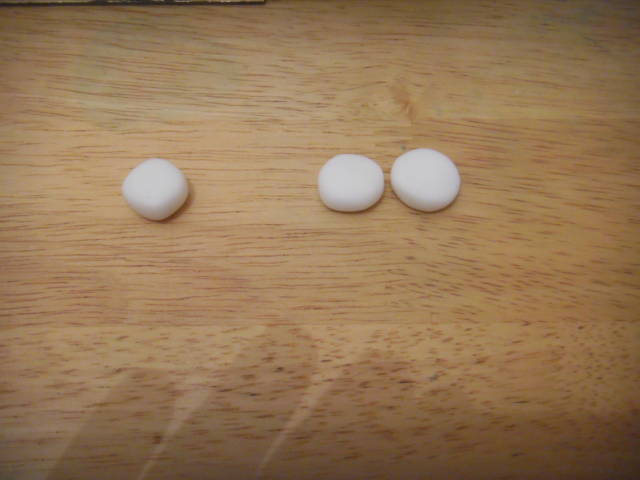
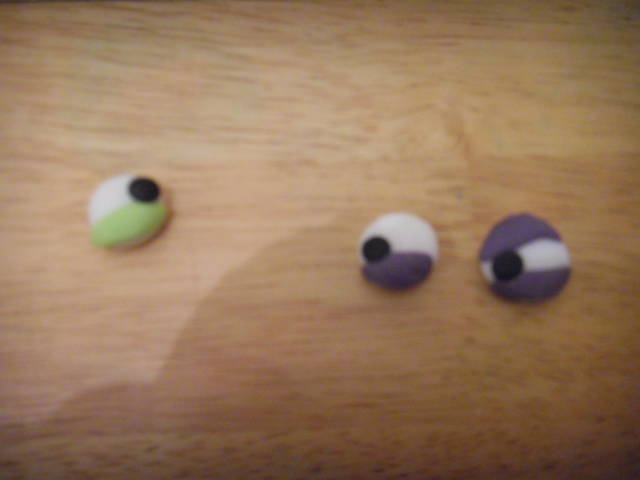
Roll 3 balls of white, flatten.
Roll a ball of green flatten it out and cut it in half to make an eyelid. Repeat with 2 circles of purple.
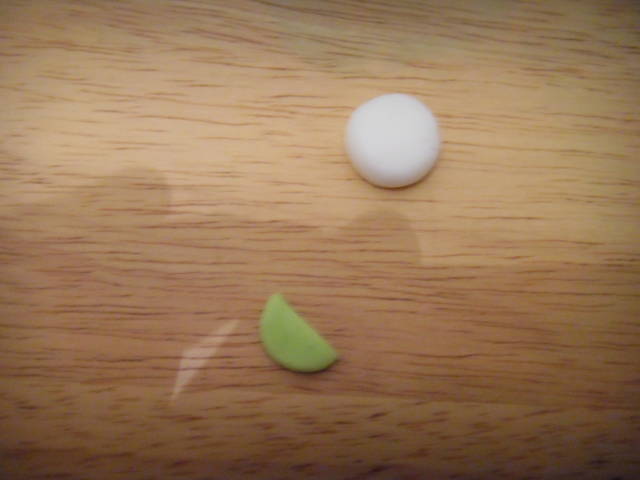
Add eyelids onto the eyes. Roll out 3 small balls of black, flatten them and add them as pupils.
Roll 3 medium sausages of grey, flatten then stick around eyes as goggles.
Stick your eyes onto the cakes.
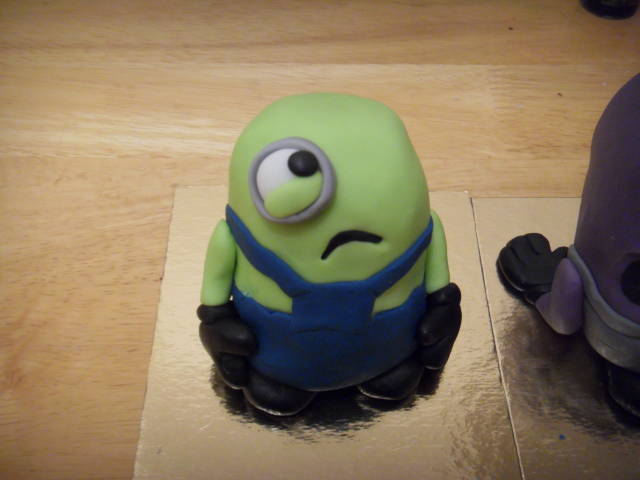
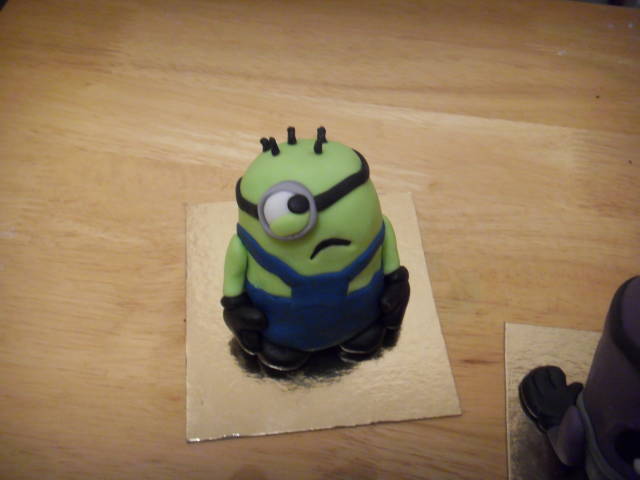
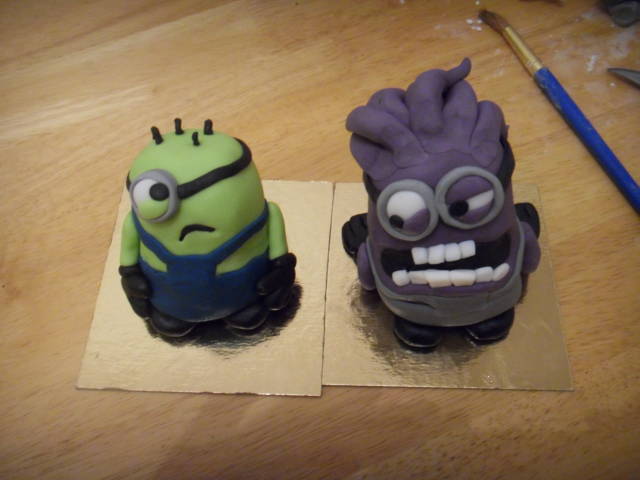
(they should now look something like this)
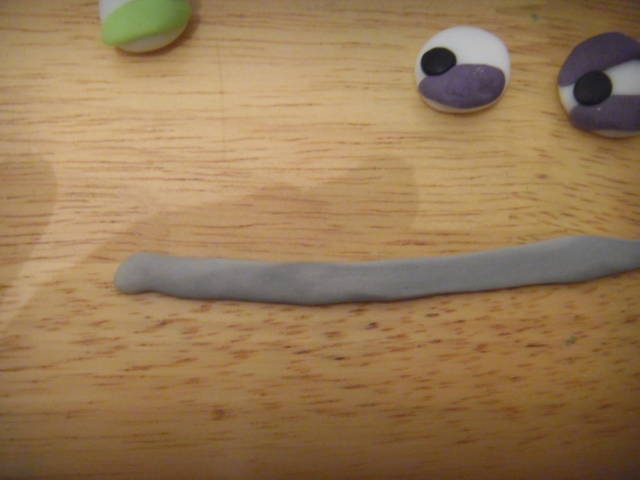
Roll 2 long thin black sausages, flatten and add around the head as bands (alternatively roll out black with a rolling pin and cut strips).
Cut a long thin sausage of black into short sections, add as hair.
Roll long, fat sausages of purple, taper into elongated tear-drop shapes.
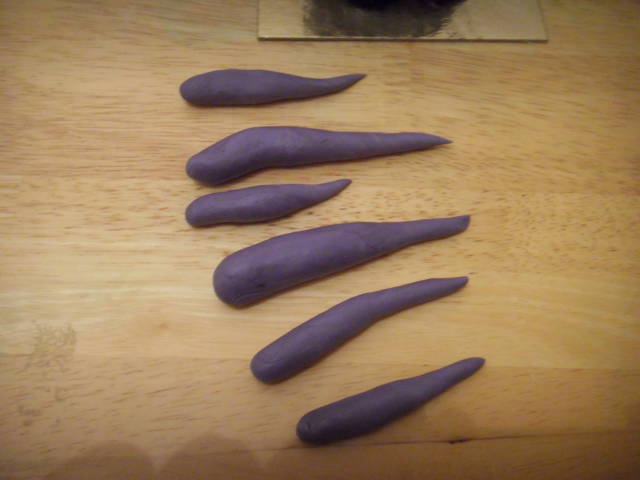
Add as hair.
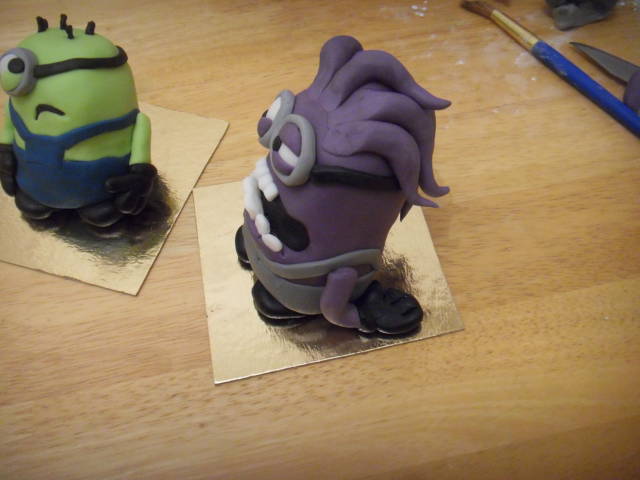
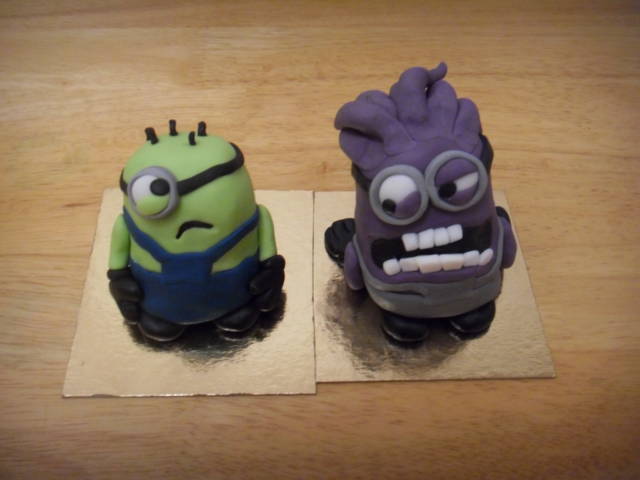
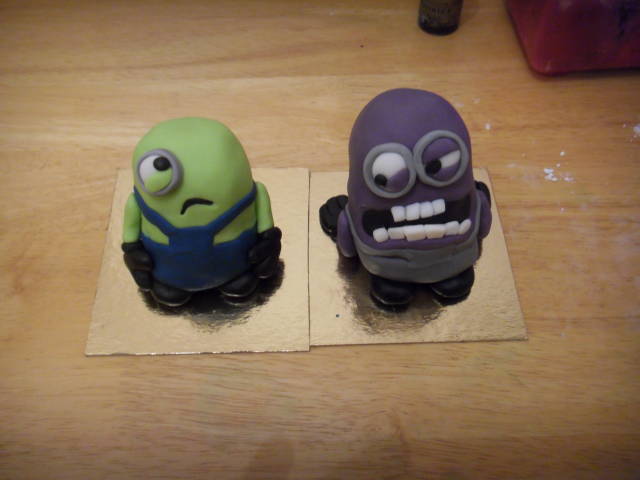
(Finished cakes)
Have fun!
Jenny Cake-sprite follow my blog at: http://cakespriteprojects.wordpress.com/ for my latest tips and tutorials
1 Comment

What a fantastic tutorial!! Very well done with so many amazing easy to follow pictures!! Thank you for sharing it!!
Toni, Pennsylvania, https://www.facebook.com/WhiteCraftyCakes